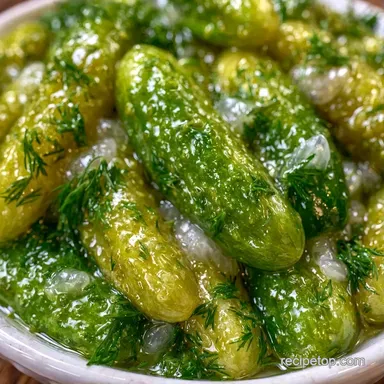
Water Bath Canned Pickles: Crisp and Tangy
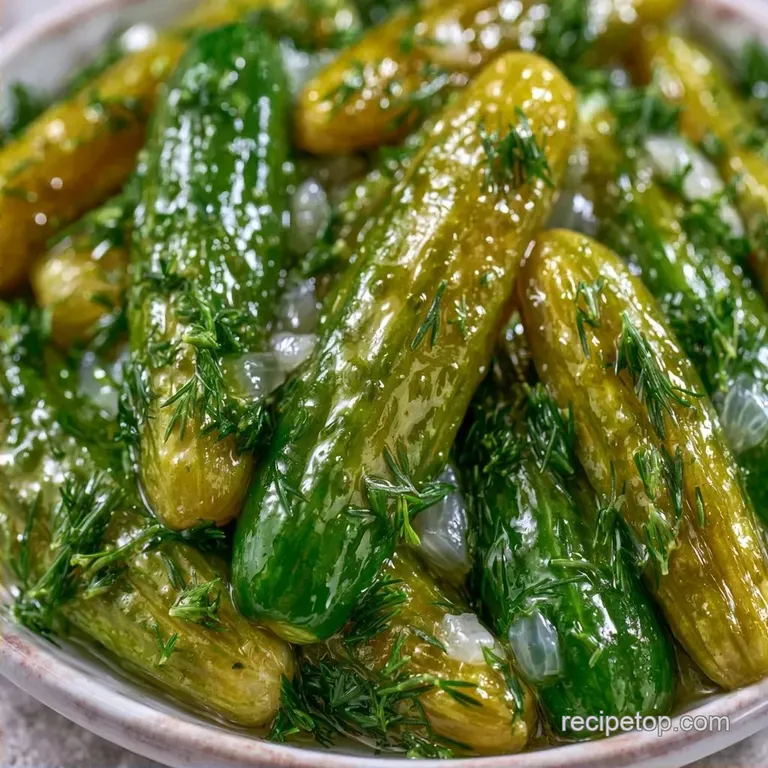
- Time: 30 min active + 24 hours resting
- Flavor/Texture Hook: Sharp vinegar tang with a loud, satisfying snap
- Perfect for: Seasonal garden harvests or bulk meal prep
The late August air always smells like damp soil and cucumbers. My family has a tradition of spending one Saturday in late summer turning the kitchen into a makeshift factory, processing crates of Kirby cucumbers before the first frost hits.
It's a chaotic, loud process that usually ends with everyone smelling like vinegar for three days.
I once spent an entire summer producing what I called "vinegar sponges," which were basically Canned Pickles that had turned into mush. I had ignored the basic science of enzymes and used standard slicing cucumbers, thinking they were the same. They weren't.
Now, we do it right. You can expect a crisp, salty result that stays fresh on the shelf for months. This version of Canned Pickles balances a sharp acidity with just enough sugar to keep the brine from being too harsh on the palate.
Canned Pickles Recipe Specs
Getting the timing and temperature right is the only way to ensure these Canned Pickles stay safe for room temperature storage. I use a standard water bath canner to heat the jars.
For this batch, we're aiming for five pint jars. If you have more cucumbers, just double the brine and the jars. Keep in mind that the total time includes the 24 hour resting period, which is when the flavors actually settle into the vegetable.
According to the USDA Complete Guide to Home Canning, maintaining the correct acidity is the only way to prevent spoilage in home canned goods.
Essential Ingredients
The quality of your Canned Pickles depends entirely on the starting produce. I only use Kirby cucumbers because they have a thicker skin and a denser interior.
Why These Ingredients Work
| Ingredient | Role | If You Don't Have It |
|---|---|---|
| Kirby Cucumbers | Main Body | Persian cucumbers (softer, less shelf stable) |
| Distilled White Vinegar | Acidity | Apple Cider Vinegar (milder, changes color) |
| Sea Salt | Preservation | Kosher Salt (ensure it's non iodized) |
| Cane Sugar | Balance | Honey (will cloud the brine) |
Full List and Swaps
- 5 lbs Kirby or pickling cucumbers Why this? Dense cell walls stay crunchy
- 5 cloves garlic, peeled and smashed (Substitute: Garlic powder, 1 tbsp)
- 5 sprigs fresh dill (Substitute: Dried dill, 2 tbsp)
- 1 medium white onion, thinly sliced (Substitute: Shallots)
- 4 cups distilled white vinegar, 5% acidity Why this? Required for safe pH levels
- 4 cups filtered water (Substitute: Distilled water)
- 1/2 cup sea salt, non iodized Why this? Iodine clouds the brine
- 1/4 cup cane sugar (Substitute: Maple syrup)
- 2 tbsp whole black peppercorns (Substitute: White peppercorns)
- 1 tbsp mustard seeds (Substitute: Celery seeds)
Required Tools
While you don't need industrial equipment, a few key tools simplify the canning process. A wide mouth funnel is excellent for minimizing spills.
For the brine, stick with a stainless steel pot. Avoid aluminum or unlined copper, as these materials can react with vinegar, potentially discoloring the liquid or adding a metallic flavor to your Canned Pickles.
A jar lifter is absolutely essential. Attempting to remove scalding jars from the water bath with tongs is a quick way to accidentally drop your hard work on the floor.
Step by step Guide
Let's start. Speed and hygiene are essential for success.
- Thoroughly scrub the cucumbers. Trim the blossom end by exactly 1/16th of an inch to eliminate softening enzymes. Tip: This is crucial for maintaining a crisp texture.
- Depending on your preference, cut the cucumbers into spears or coins.
- Evenly distribute the sliced onions, fresh dill, and smashed garlic among five sterilized pint jars.
- In a large stainless steel pot, mix the filtered water, distilled white vinegar, cane sugar, sea salt, mustard seeds, and peppercorns.
- Heat the brine over medium high heat until it boils vigorously, stirring until the sugar and salt are fully dissolved.
- Pack the cucumber slices tightly into the jars, pressing them down firmly but gently.
- Carefully pour the hot brine over the cucumbers, leaving exactly 1/2 inch of empty space below the rim.
- Use a clean plastic tool or a chopstick to stir the inside of the jars and remove air bubbles.
- Wipe the rims with a damp cloth, center the lids, and tighten the rings until fingertip tight.
- Lower the jars into a water bath canner, ensuring they are submerged under at least 1 inch of water.
- Once the water reaches a full boil, process the pints for 10 minutes.
- Lift the jars out with a jar lifter and place them on a towel lined counter for 24 hours.
Solving Common Issues
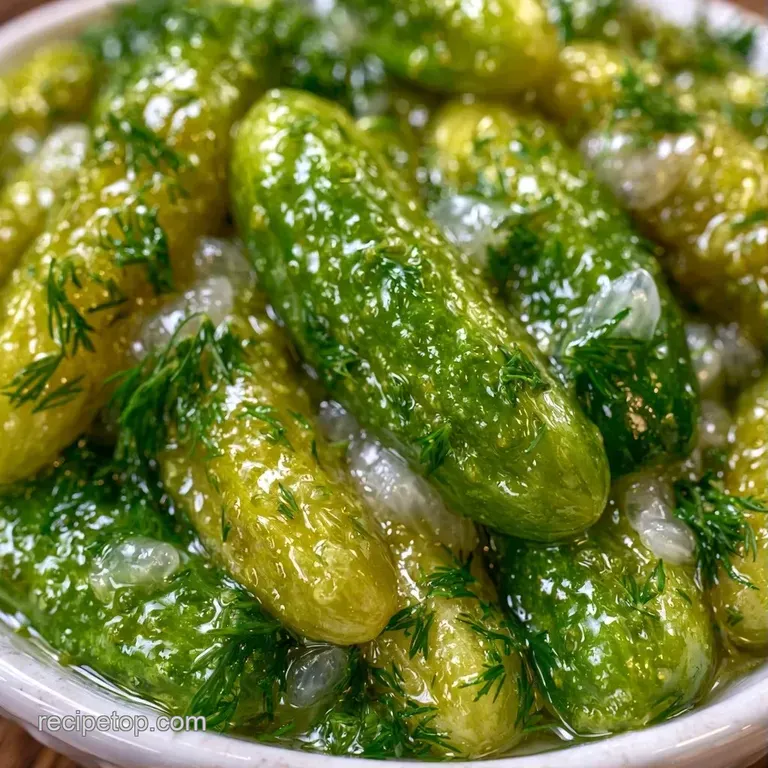
Despite your best efforts, Canned Pickles can sometimes miss the mark. These problems are usually tied to the choice of cucumber or the temperature.
Preventing Mushy Pickles
If your Canned Pickles lack that signature crunch, you may have used "slicing" cucumbers or left the blossom ends intact. Slicing varieties have thinner walls and higher water content, causing them to collapse in the hot brine. Stick with the Kirby variety for the best results.
Fixing Seal Failures
If a lid hasn't popped down after 24 hours, the seal has failed. Do not store these jars on the shelf. Instead, place any affected jars in the refrigerator and eat them within a few weeks. They remain safe to consume, though they are not shelf stable.
Managing Brine Cloudiness
A cloudy appearance in the brine is typically caused by iodized salt, where the iodine reacts with the vinegar. While this doesn't compromise the safety of your Canned Pickles, it does make them look less clear. For a cleaner look, use pure sea salt next time.
Creative Flavor Twists
Once you're comfortable with the base method, you can start messing with the aromatics. I like to keep a few different styles in the pantry.
If you want something with more heat, add two sliced habaneros to each jar. For a more savory, earthy tone, toss in a teaspoon of coriander seeds. If you're looking for a faster version for immediate eating, my Pickles in 20 Minutes recipe recipe is a great shortcut.
For those who prefer a sweeter profile, you can double the cane sugar and add a pinch of turmeric for that classic yellow glow. If you want a larger batch, you can follow my guide for Pickles for 4 Quarts recipe.
Flavor Goal Shortcuts
- Extra heat? → add 2 sliced habaneros per jar
- Earthier taste? → add 1 tsp coriander seeds
- Classic yellow look? → add 1/2 tsp turmeric
| Original Ingredient | Substitute | Why It Works |
|---|---|---|
| Cane Sugar (1/4 cup) | Honey (1/4 cup) | Similar sweetness. Note: Makes brine slightly cloudy |
| Sea Salt (1/2 cup) | Kosher Salt (1/2 cup) | Same salinity. Note: Must be non iodized |
| White Vinegar | Apple Cider Vinegar | Similar acidity. Note: Adds fruitier notes and brown color |
Storage and Waste
Processed canned pickles stay good for up to a year when kept in a cool, dark pantry. Once opened, transfer them to the refrigerator and consume within two months.
Avoid throwing away the cucumber scraps. I toss the blossom ends and peelings into the compost or turn them into quick, fermented "scrap" pickles for my dogs (leaving out the garlic and onion, of course).
The remaining brine in the jar is a versatile asset. I use it to flavor chicken before grilling or stir it into potato salad to add a bright, acidic kick.
Great Pairing Ideas
Canned Pickles are the best way to cut through rich, fatty foods. I always serve them alongside a heavy brisket or a grilled cheese sandwich.
They also work brilliantly as a topping for smash burgers. Chop them into tiny bits and mix them with a bit of mayo and paprika for a quick house sauce.
If you're feeling fancy, slice them thin and layer them on a charcuterie board with sharp cheddar and spicy salami. The acidity cleanses the palate between bites of cheese.
Texture Science
The crunch in Canned Pickles comes from preserving the pectin in the cell walls. Removing the blossom end stops the pectinase enzyme from breaking those walls down.
The salt also pulls water out of the cucumber through osmosis. This makes the vegetable denser and allows the vinegar to penetrate deeper without making it soggy.
High in Sodium
910 mg 910 mg of sodium per serving (40% 40% of daily value)
The American Heart Association recommends a daily sodium limit of 2,300mg to reduce the risk of heart disease and stroke.
Tips to Reduce Sodium in Your Pickles
-
Reduce Sea Salt-25%
Cut the 1/2 cup of sea salt by 25% to significantly lower the overall sodium content of the brine.
-
Increase Acidity-10%
Add a small amount of lemon juice or apple cider vinegar to maintain a sharp, tangy flavor profile with less salt.
-
Amplify Aromatics-5%
Increase the garlic and thinly sliced onion to add more natural pungency and depth to the recipe.
-
Enhance with Herbs
Add extra fresh dill or a pinch of red pepper flakes to create a zesty taste without adding any sodium.
Recipe FAQs
How long should pickles be in a water bath?
Process pints for 10 minutes. Ensure the jars are covered by at least 1 inch of water and that the water has reached a full rolling boil.
How to avoid botulism in homemade pickles?
Use distilled white vinegar with 5% acidity. This creates the necessary acidic environment to prevent toxin growth. Always sterilize your jars and maintain exactly 1/2 inch of headspace.
Is it true that any salt works for home canning?
No, this is a common misconception. Sea salt (non-iodized) is required because iodized salt can cloud the brine and cause the cucumbers to soften.
What is the shelf life of canned pickles?
Stored in a cool, dark pantry, they last up to a year. Once opened, move the jar to the fridge and consume within two months. If you enjoy this level of preservation, see how we apply similar acidity balancing in our summer garden tomato sauce.
Canned Pickles Recipe