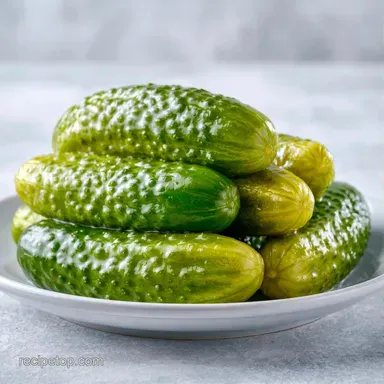
Crunchy Canned Pickle Spears: Kosher Style
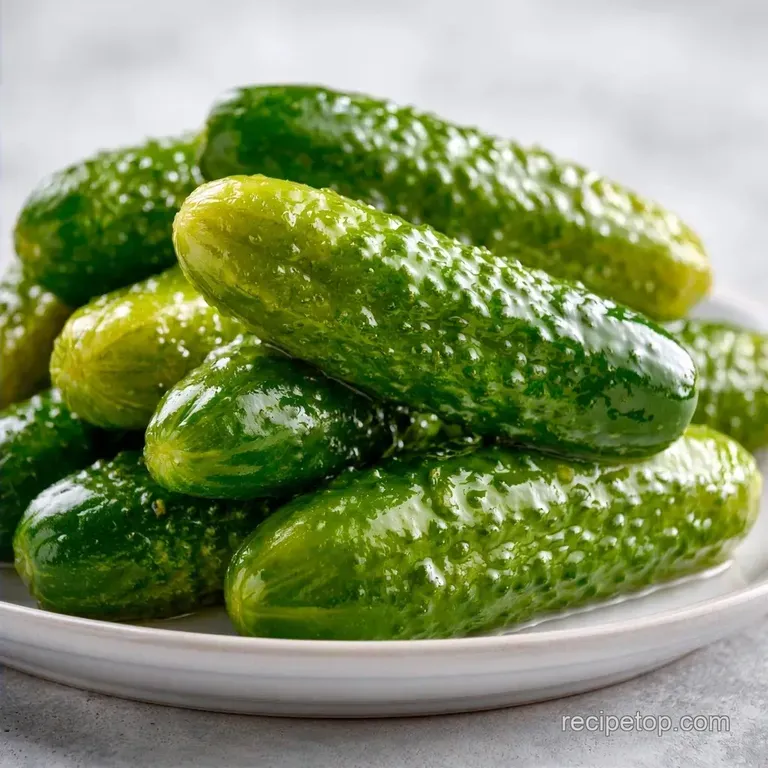
- Time: 15 minutes prep + 2 hours chilling
- Taste & Feel: Pungent garlic and a satisfying, loud crunch
- Best for: Stocking the pantry and affordable meal prepping
Have you noticed how grocery store pickles often taste bland and metallic, whereas deli pickles have that signature snap? I originally assumed some secret industrial machinery was responsible. But when I first attempted home canning, it was a disaster.
My initial effort produced mushy, grey spears that reminded me of soggy cardboard.
As it happens, I was making a couple of beginner mistakes. I had used standard table salt and failed to trim the blossom ends. Those small oversights led to a total failure. Once I corrected those two details, the results were night and day.
Today, these Canned Pickle Spears are a permanent fixture in my cupboards. They are far cheaper than high end organic options but offer a much crisper, more vibrant flavor. If you're looking for a snack that truly pops, this is the way to go.
Easy and Crunchy Canned Pickle Spears
Blossom End: That tiny tip of the cucumber contains enzymes that break down pectin. Cutting it off stops the spears from getting mushy.
Pickling Salt: Regular salt has anti caking agents that make brine look murky. Pure pickling salt keeps the liquid clear and crisp.
Salt Soak: Drawing out excess water before canning ensures the brine penetrates the core faster. This gives you a consistent flavor from skin to center.
Recipe Specs
| Component | Purpose | Substitute Notes |
|---|---|---|
| Kirby Cucumbers | Firm structure | Persian cucumbers work but are softer |
| White Vinegar | Acidity and safety | Apple cider vinegar adds a fruity note |
| Pickling Salt | Brine clarity | Kosher salt works if it's additive free |
| Fresh Dill | Classic aroma | Dried dill is a weaker alternative |
The ratio of vinegar to water is what makes this work. A 1:1 ratio provides enough acidity to prevent spoilage while keeping the flavor balanced.
Gathering Your Essentials
- 2 lbs Kirbys or pickling cucumbers Why this? Their firmer skins help maintain a better crunch
- 3 tbsp pickling salt (split: 2 tbsp for soaking, 1 tbsp for brine) Why this? Ensures the brine remains clear
- 2 cups white distilled vinegar Why this? Provides the acidity needed for safe preserving
- 2 cups filtered water Why this? Tap water minerals can make the jars cloudy
- 1 tsp sugar Why this? Mellows out the sharp vinegar flavor
- 4 cloves garlic, smashed Why this? Contributes a bold, savory richness
- 4 sprigs fresh dill Why this? Delivers that classic deli aroma
- 2 tsp whole black peppercorns Why this? Introduces a hint of earthy spice
- 1 tsp mustard seeds Why this? Offers a touch of zest and texture
These ingredients are available at most discount supermarkets. To save a bit more, purchase your cucumbers in bulk bags instead of by the piece.
Equipment Needed
Basic tools will work, though a few specific items make the process safer. You will need four half pint canning jars with lids and bands. A large pot that allows the jars to be submerged under an inch of water serves as your water bath canner. A colander is required for the salt soak.
For the brine, a stainless steel saucepan is best to ensure the vinegar doesn't react with the pan's surface. A sharp chef's knife will help you achieve consistent, uniform spears.
How to Make It
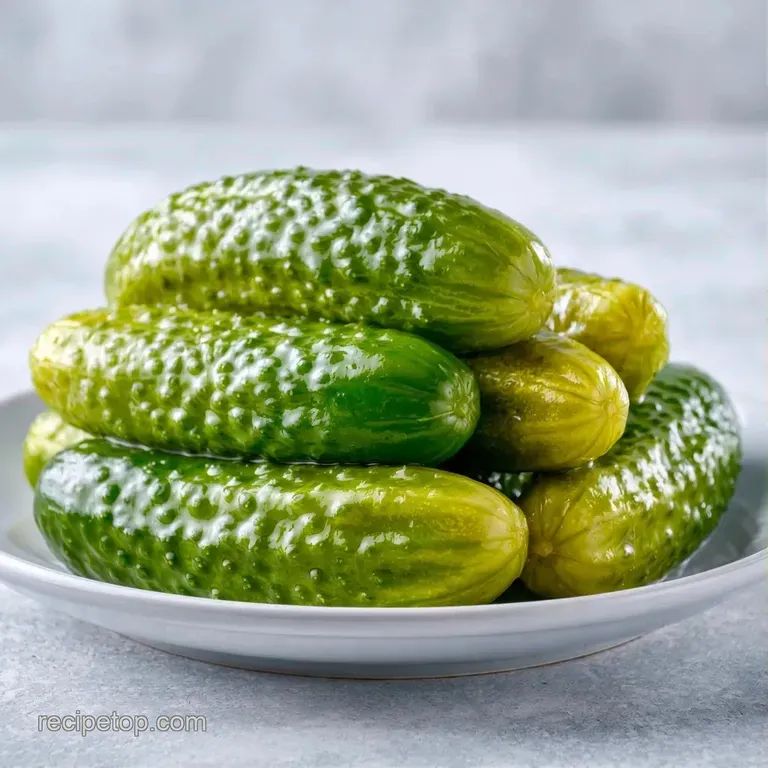
Phase 1: Preparing the Produce
- Wash and scrub the cucumbers. Slice 1/16th of an inch off the blossom end of each one. Note: This removes the softening enzymes.
- Slice each cucumber lengthwise into quarters. Ensure they are uniform spears so they process evenly.
- Toss spears with 2 tbsp pickling salt in a colander. Let them sit for 2 hours.
- Rinse the spears thoroughly with cold water. Wash away all excess salt to avoid over salting the final product.
Phase 2: Packing the Jars
- Place one smashed garlic clove, a pinch of peppercorns, and a few mustard seeds in each sterilized jar.
- Pack the spears vertically. Wedge them in tightly so they don't float. Note: Floating spears can develop soft spots.
- Tuck one sprig of fresh dill into the side of the spears in each jar.
Phase 3: The Canning Process
- Combine vinegar, water, 1 tbsp pickling salt, and sugar in a saucepan. Bring it to a boil.
- Pour the hot brine over the spears, leaving 1/2 inch of headspace.
- Process the jars in a water bath canner for 10 minutes until the timer hits zero.
Wait for the jars to cool for 24 hours before moving them. You'll hear that satisfying "pop" as the lids seal.
What Can Go Wrong
Fixing Mushy Spears
This usually happens if the blossom end wasn't removed or if the cucumbers sat in the boiling water too long. Stick to the 10 minute processing time. According to King Arthur Baking, maintaining precise temperatures is the only way to ensure consistent results in preserved foods.
Clearing Up Cloudy Brine
If your liquid looks milky, you likely used iodized table salt. The additives in table salt react with the vinegar. For your next batch of Canned Pickle Spears, use pure pickling salt or a clean sea salt.
Handling Unsealed Lids
Check the lids after they cool. If one doesn't have a vacuum seal (it springs back when pressed), don't store it on the shelf. Just put that jar in the fridge and eat it within three weeks.
| Goal | What to change |
|---|---|
| More Heat | Add sliced jalapeños |
| Sweeter Taste | Increase sugar to 1 tbsp |
| Extra Tang | Add 1/4 cup more vinegar |
Perfect Complements
These Canned Pickle Spears are a powerhouse on a deli platter. I love pairing them with a cold roast beef sandwich or a sharp cheddar grilled cheese. The acidity cuts right through heavy fats, which is why they're a classic side for burgers.
If you're doing a big spread, these go great with a classic macaroni salad. The creaminess of the mayo based salad balances the sharp vinegar of the pickles. You can also chop them up and stir them into a tuna salad for extra crunch.
Keeping It Fresh
Keep sealed jars in a cool, dark spot, such as a pantry or basement, where they will remain fresh for up to a year. After opening, the jar must be kept in the refrigerator.
Save any remaining brine rather than discarding it. It's a wonderful addition to a vinaigrette or a flavorful soak for chicken breasts before grilling. Toss remaining cucumber ends into the compost or blend them into a green smoothie, provided they aren't too salty.
Mix It Up
To customize the taste, you can easily swap out the aromatics. For a more potent kick, try my homemade garlic pickle spears, which use a larger amount of garlic cloves.
If you prefer a bit of heat, try adding fresh habanero slices or making these spicy pickle spears. You can also stir some red pepper flakes into the brine prior to boiling.
Some prefer a "bread and butter" style, which requires much more sugar and turmeric to achieve that yellow glow. However, for these Canned Pickle Spears, the savory mix of dill and garlic is the gold standard. Just be sure to keep the vinegar ratio exactly as listed to ensure the jars are safe for shelf storage.
Recipe FAQs
How to make these crunchy pickle spears?
Pack cucumbers into jars with spices and pour over boiling brine of vinegar, water, salt, and sugar.
Tip: Wedge the spears tightly to prevent them from floating.
Which cucumbers work best for this recipe?
Use Kirby or pickling cucumbers for the firmest structure.
Tip: Persian cucumbers are a softer alternative if Kirbys aren't available.
What's the process for using white vinegar?
Boil two cups of white distilled vinegar with water, pickling salt, and sugar.
Tip: Ensure the brine is boiling before pouring it over the cucumbers.
Can I use regular table salt instead of pickling salt?
This one's false: Table salt contains anti caking agents that make your brine look cloudy.
Tip: Stick to pure pickling salt for a crystal clear liquid.
Where does the homemade brine come from?
Combine filtered water, white distilled vinegar, pickling salt, and sugar in a saucepan and bring to a boil.
Tip: Use filtered water to avoid chlorine tastes in the final product.
Is it true that cutting the blossom end is optional?
Surprisingly, no: Those tips contain enzymes that break down pectin and make the spears mushy.
Tip: Slice off exactly 1/16th of an inch for the best results.
Why toss the spears in salt first?
Toss sliced spears with pickling salt for two hours before rinsing them with cold water.
Tip: This salt soak ensures the brine penetrates the core faster.
How should the fresh dill be placed?
Tuck one fresh sprig into the side of the spears in each jar.
Tip: If you enjoyed balancing fresh herbs here, see how we use the same skill in our mustard seed pickles.
Classic Canned Pickle Spears