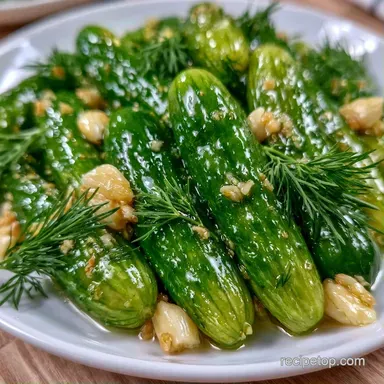
Home Canned Garlic Pickles with Kirby Cucumbers
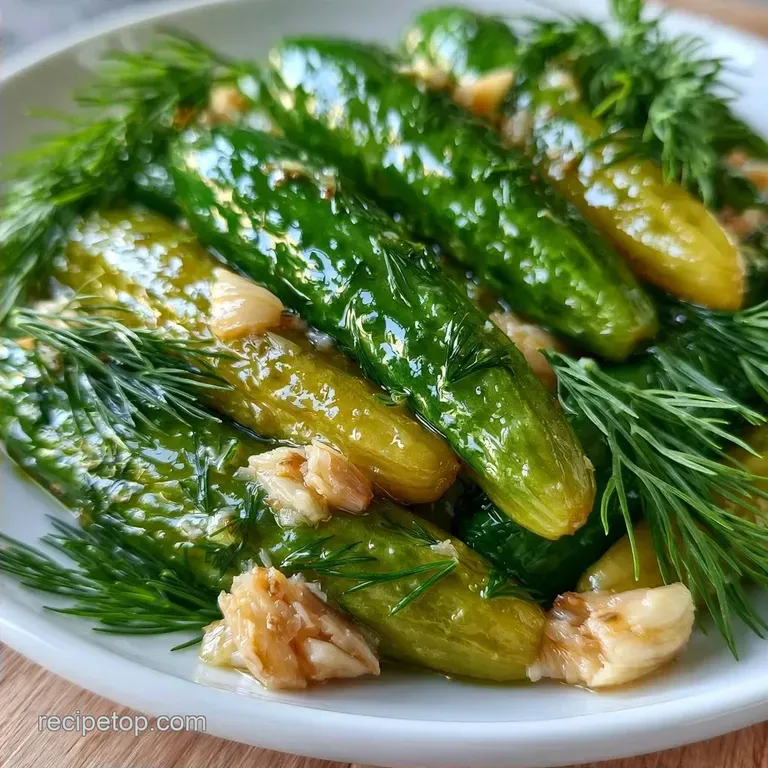
- Time: 30 min active + 25 hours 10 mins total
- Flavor/Texture Hook: Pungent garlic with a shattering crunch
- Perfect for: Long-term pantry storage and healthy snacking
Ever wonder why some store-bought pickles feel like soggy sponges? It's usually because they've been over processed or use low quality cucumbers. There is something about a jar of pickles made in your own kitchen that just hits differently, especially when the garlic is bold and the snap is loud.
I used to worry that canning was too technical, but it's really just about balance and temperature. Once you get the rhythm of the brine and the water bath, it becomes a relaxing ritual.
These Home Canned Garlic Pickles are designed for someone who wants a balanced, nutrition focused snack. We're focusing on high fiber Kirby cucumbers and raw garlic to keep the profile clean and sharp.
Reliable Home Canned Garlic Pickles
We want a long lasting preserve that maintains a satisfying snap. The particular balance of vinegar and water ensures these pickles remain high-quality for several months.
Now, let's go over the basics. While you'll spend a few hours of active effort, most of the process is simply letting the jars seal. A pro tip: leave the jars completely still after removing them from the pot.
| Feature | Fresh Canned | Quick Fridge |
|---|---|---|
| Shelf Life | 12+ Months | 3 Weeks |
| Texture | Briny Snap | Sharp Crunch |
| Storage | Pantry | Refrigerator |
Ingredient Deep Dive
Selecting the perfect cucumber is crucial. I recommend Kirby varieties; their thicker skins and lower water content keep them from getting mushy.
Stick to pickling salt for this recipe. Table salt often includes additives that cloud the brine, as explained in this pickling salt guide.
| Component | Purpose | Substitute Notes |
|---|---|---|
| Pickling Salt | Draws out moisture | Kosher salt works but use more by volume |
| Distilled Vinegar | Lowers pH for safety | Apple cider vinegar works but changes color |
| Garlic Cloves | Adds pungent flavor | Garlic powder is too weak for canning |
| Kirby Cucumbers | Provides structural crunch | Persian cucumbers are too soft for canning |
To keep the flavors balanced, the touch of sugar isn't meant to make it sweet. It simply mellows the vinegar's acidity, allowing the garlic to be more prominent.
Tools You'll Need
While you don't need specialized equipment, a few items help keep things tidy and safe. A wide mouth funnel is highly recommended to prevent brine from splashing across your counter.
You will also need a deep pot for the water bath; ensure it is large enough to cover the jars by at least one inch of water. Be sure to use a stainless steel pan for the brine, as vinegar can react with aluminum.
Lastly, find a tool to remove bubbles. A basic plastic spatula works perfectly for clearing out trapped air pockets from between the cucumbers.
Step by step Process
Let's get started. First, ensure your jars are sterilized; you can achieve this by using a hot dishwasher cycle or by simmering them in water.
Preparing the Produce
- Thoroughly scrub the cucumbers in cold water. Trim roughly 1/4 inch from the blossom end of each Note: this removes softening enzymes.
- Slice the cucumbers into rounds or spears, or keep them whole if using mini pickling cucumbers.
- Evenly divide the smashed garlic, dill sprigs, and pickling spices among the bottoms of 5 sterilized jars.
- Pack the cucumbers into the jars tightly, leaving 1/2 inch of headspace.
Crafting the Brine
- In a stainless steel saucepan, combine the distilled vinegar, filtered water, pickling salt, and sugar.
- Bring the mixture to a boil, stirring until the salt and sugar are completely dissolved.
- Carefully pour the boiling brine over the cucumbers, keeping 1/2 inch of headspace.
- Use a plastic spatula or bubble remover to clear any air trapped inside the jars.
Processing the Jars
- Wipe the rims clean, center the lids, and tighten the bands until finger tip tight.
- Place jars in a boiling water bath, ensuring they are covered by at least 1 inch of water, and process for 10 minutes.
- Set the jars on a towel and let them remain undisturbed for 24 hours to let the seal set.
Chef's Note: If you notice a bubble still floating in the jar after processing, the seal might not have formed. Simply store that jar in the fridge and eat it first.
Fixing Common Issues
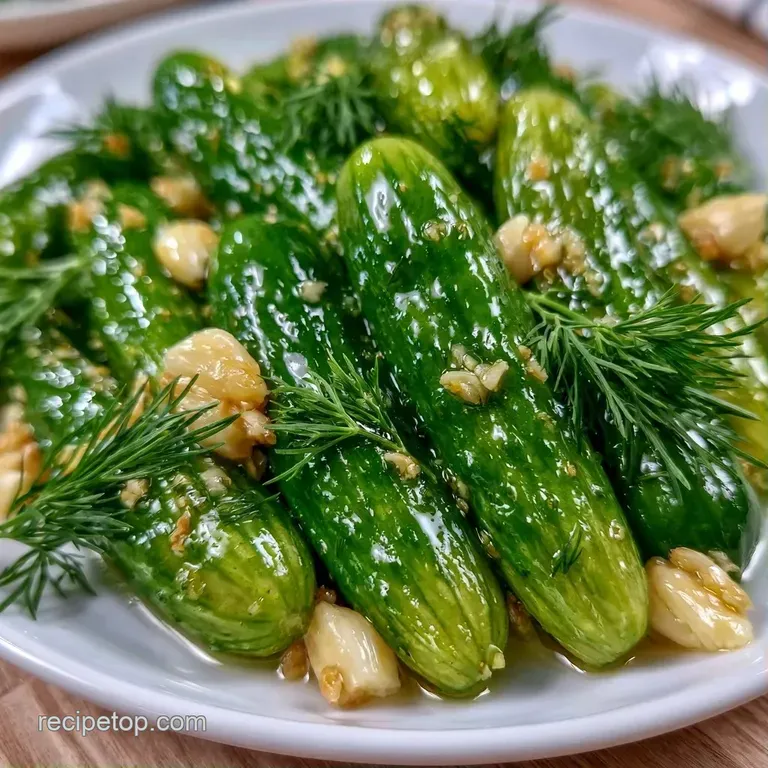
It's common to feel a bit nervous the first time you hear the lids "pop." If you notice the brine looking a bit hazy, don't panic. Usually, it's just the garlic reacting with the vinegar.
The biggest worry for most people is the texture. If your Home Canned Garlic Pickles come out soft, it's almost always due to the blossom end or the cucumber variety.
Fixing Soft Pickles
Ensure you are using Kirby cucumbers. Garden cucumbers have too much water and will collapse under the heat of the brine.
Dealing with Cloudiness
This often happens if you use tap water with high mineral content. Switch to filtered water to keep the liquid clear.
Sealing the Lids
If the lid doesn't dip in the center after 24 hours, it didn't seal. Move it to the refrigerator immediately.
| Problem | Root Cause | Solution |
|---|---|---|
| Mushy Texture | Blossom end not removed | Trim 1/4 inch off the end |
| Cloudy Brine | Mineral heavy water | Use filtered water |
| Loose Lid | Under processed in bath | Re process or store in fridge |
Flavor Twists to Try
Once you've got the basic Home Canned Garlic Pickles down, you can start playing with the aromatics. I like adding a few slices of fresh ginger to the bottom of the jar for a zesty, bright note.
If you prefer a different cut, you can follow my Homemade Garlic Pickle Spears method for a more traditional look.
For those who like heat, drop in a sliced habanero or a teaspoon of red pepper flakes. The heat doesn't overwhelm the garlic; it actually makes it taste punchier.
| Goal | What to change |
|---|---|
| Spicier | Add red pepper flakes |
| Sweeter | Increase sugar by 1 tbsp |
| Tarter | Use 100% vinegar brine |
Storage and Waste Tips
Store these jars in a cool, dark area to keep them shelf stable for up to a year. Once opened, they must be kept in the refrigerator. If you prefer not to can, this Quick Homemade Pickle Recipe is an excellent choice for shorter term storage.
Make the most of the remaining brine! This flavored vinegar is perfect for marinating chicken or adding a zesty, acidic punch to a cold potato salad.
For any extra dill stems, freeze them in an ice cube tray along with a splash of olive oil. You can pop these cubes directly into a sauté pan when cooking your next meal.
Best Pairings
These pickles are a nutritional powerhouse when paired with proteins. The acidity helps cut through the richness of fatty meats, making the whole meal feel more balanced.
They are a natural fit for a classic deli sandwich or a burger. I also love chopping them up and mixing them into a tuna salad for added crunch and a punch of garlic.
If you're serving them as a snack, pair them with some sharp cheddar cheese and apple slices. The contrast between the salty brine and the sweet apple is spot on.
What Keeps the Crunch
You might wonder why we go through the trouble of trimming the cucumbers.
Blossom End: Removing the end stops pectinase enzymes from breaking down the cucumber's structure, which prevents mushiness.
Vinegar Ratio: The 1:1 ratio of vinegar and water keeps the pH low enough to stop bacteria growth while preserving the snap.
Scaling the Batch
If you're making a double batch, don't just double the spices. I find that scaling salt and spices to about 1.5x is usually enough to keep the flavor balanced without becoming overwhelming.
For the liquids, you can double them exactly, but work in batches if your pot isn't large enough. Trying to cram too many jars into a water bath can lead to uneven heating, which might compromise your seals.
Debunking Myths
Some people think you need to soak cucumbers in ice water for hours to make them crisp. While it helps, using the right variety and removing the blossom end is far more effective for canning.
Another myth is that you can use any vinegar. You really need 5% acidity distilled white vinegar for safety. Lower acidity vinegars can lead to spoilage in shelf stable jars.
Critical Sodium Level
6400 mg 6,400 mg of sodium per serving (278% 278% of daily value)
The American Heart Association recommends a limit of 2,300mg of sodium per day for most adults to maintain heart health.
Tips to Reduce Sodium
-
Reduce Pickling Salt-30%
The primary sodium source is the pickling salt; reduce this by at least 50% to drastically lower the sodium content.
-
Increase Acid Profile-15%
Add lemon juice or a splash of apple cider vinegar to enhance the tanginess and compensate for the reduced salt.
-
Boost Garlic Intensity-10%
Increase the amount of smashed garlic cloves to provide a stronger savory punch that offsets the need for salt.
-
Maximize Fresh Herbs
Use additional fresh dill sprigs or a pinch of crushed red pepper to add aromatic depth without adding sodium.
Recipe FAQs
How to make home canned pickles?
Pack cucumbers, smashed garlic, and dill into sterilized jars. Pour boiling brine over them and process in a water bath for 10 minutes.
Is it true any cucumber works for canning?
Surprisingly, no. Kirby cucumbers are ideal because they stay crunchy and fit perfectly in pint jars.
Which ingredients produce NY style dills?
Combine smashed garlic, large dill sprigs, and a pickling spice blend. These provide the characteristic pungent and savory profile of NY dills.
Can I substitute pickling salt for table salt?
No, and here's why. Table salt contains additives that cloud the brine, whereas pickling salt keeps the liquid clear.
Why remove the blossom end of the cucumber?
Cut 1/4 inch off the end to remove softening enzymes. This ensures the pickles stay crisp during the canning process.
What are some ways to use fresh dill?
Add it to salads or use it to flavor a savory dough like homemade naan bread. It also works great in creamy dips.
Could you explain how to make pickle juice?
Boil distilled vinegar, filtered water, pickling salt, and sugar in a stainless steel saucepan. Stir until the solids dissolve and the liquid reaches a rolling boil.
Must I sterilize the jars first?
Run them through a hot dishwasher cycle or simmer them in water. This prevents contamination and helps achieve a proper vacuum seal.
Home Canned Garlic Pickles