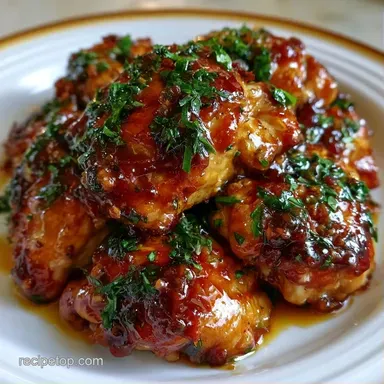
Pan-Seared Chicken Thighs with Honey and Garlic
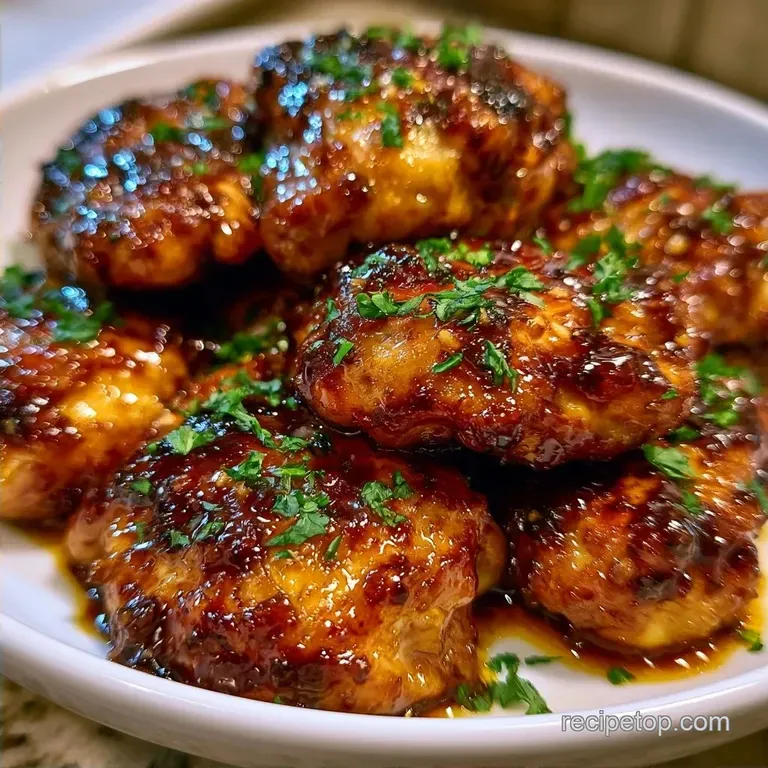
- Time: 10 min active + 20 min cook
- Flavor/Texture Hook: Sticky, mahogany glaze with a deep golden brown crust
- Perfect for: Fast weeknight dinners and budget-friendly meal prep
- Chicken Thighs with Honey and Garlic
- Why the Glaze Sticks
- Essential Pan and Tools
- Ingredient Deep Dive
- Recipe Specs
- Key Steps
- Common Mistakes & Troubleshooting
- Freezing and Reheating Guide
- Variations & Substitutions
- How to Serve and Enjoy
- Busting Kitchen Myths
- Adjusting the Portion Size
- Recipe FAQs
- 📝 Recipe Card
Chicken Thighs with Honey and Garlic
That smell of garlic hitting hot oil always takes me back to the street markets in East Asia. There's something about the combination of salty soy and sweet honey that feels like a universal comfort.
In many cultures, this sweet and savory balance isn't just about taste, it's about creating a "sticky" texture that makes a simple piece of protein feel like a feast.
I used to overcomplicate this by marinating the meat for hours, only to find the sugar burnt the outside before the inside was done. I've learned that the real trick is searing the meat first and adding the honey late in the game. It keeps the chicken juicy and the sauce glossy.
You can expect a dish that hits all the notes. It's salty, sweet, and has a tiny kick from the red pepper flakes. It's a family favorite because it's fast, uses one pan, and doesn't require expensive ingredients.
Why the Glaze Sticks
- Late Honey Addition: Adding honey at the end prevents the sugars from burning and allows the sauce to thicken into a syrup.
- Surface Moisture: Drying the chicken with paper towels ensures a hard sear, which gives the sauce something to grip onto.
The acidity from the apple cider vinegar cuts through the heavy sugar of the honey. This prevents the dish from tasting like candy and keeps the flavors balanced.
Essential Pan and Tools
No specialized gear is required. I prefer a large cast iron skillet because its steady heat helps achieve that deep brown crust. A heavy bottomed non-stick pan also works well.
You will also need a whisk or a fork for the sauce and a pair of tongs. Tongs are essential for flipping the thighs without damaging the seared surface. A simple mixing bowl for the glaze keeps everything tidy.
Ingredient Deep Dive
| Ingredient | What It Does | Best Swap |
|---|---|---|
| Boneless Thighs | Provides fat and flavor | Boneless breast (Note: Cook 3 mins less to avoid drying) |
| Honey | Creates thickness and sweetness | Maple syrup (Note: Slightly thinner, more woody taste) |
| Soy Sauce | Adds salt and umami | Tamari (Note: gluten-free alternative, slightly richer) |
| Apple Cider Vinegar | Balances the sugar | Rice vinegar (Note: Milder, more traditional Asian profile) |
Recipe Specs
For those who like to plan, this is a straightforward 30 minute operation. The prep is minimal, mostly just whisking and seasoning.
- Prep time: 10 minutes
- Cook time: 20 minutes
- Total time: 30 minutes
- Yield: 4 servings
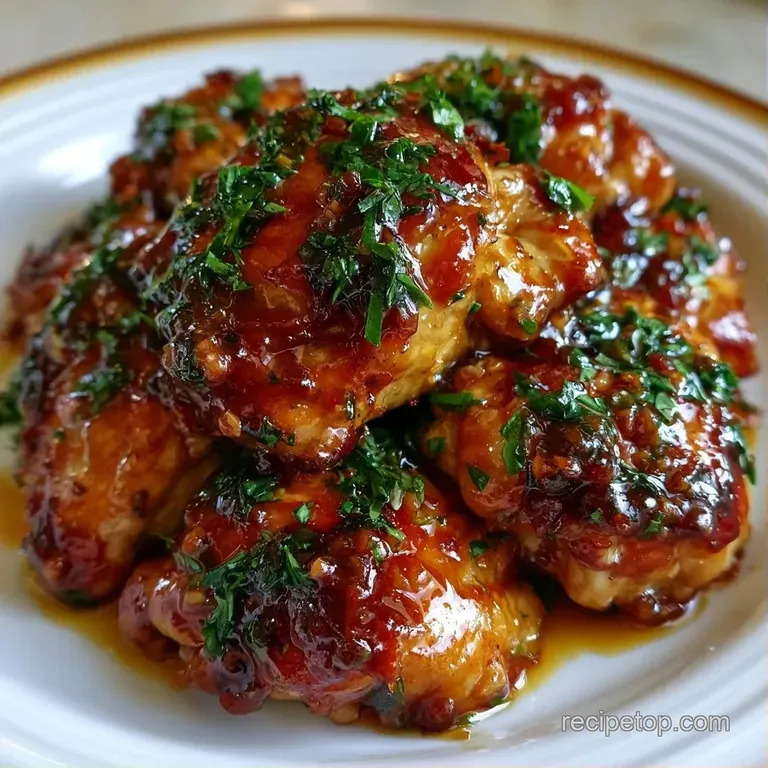
The goal is a mahogany colored exterior. If the sauce looks too thin, just keep spooning it over the meat for another minute.
Key Steps
- Use paper towels to pat the chicken thighs completely dry. Note: Moisture on the skin causes steaming rather than searing.
- Evenly season both sides with 1/2 tsp sea salt and 1/4 tsp black pepper.
- In a large cast iron skillet, warm 1 tbsp avocado oil over medium high heat until it shimmers.
- Sear the chicken for 5-7 minutes per side until a deep golden brown crust forms.
- In a small bowl, whisk together 1/3 cup honey, 3 tbsp low sodium soy sauce, 4 minced garlic cloves, 1 tbsp apple cider vinegar, and 1/2 tsp red pepper flakes.
- Pour the glaze mixture directly into the pan over the seared chicken.
- Reduce the heat to medium.
- Baste the chicken with the bubbling sauce for 3-5 minutes until the glaze is velvety and clinging to the meat.
- Remove from the heat immediately once the sauce is thick enough to coat the back of a spoon.
Common Mistakes & Troubleshooting
Fixing Burnt Honey
If your sauce turns black and smells bitter, the heat was too high. Honey burns quickly once the water evaporates. To fix this, immediately pull the pan off the heat and stir in a tablespoon of water or chicken broth to loosen the burnt bits. Next time, drop the heat to medium the second the glaze hits the pan.
Stopping Sauce Separation
Sometimes the oil from the chicken separates from the honey mixture. This usually happens if the pan is too hot or the sauce didn't reduce enough. Keep stirring and spooning the sauce; the emulsion will stabilize as the honey reduces and thickens.
Preventing Undercooked Centers
If the outside is dark but the inside is raw, you've seared on too high a heat. According to Serious Eats, controlling the surface temperature is key for thick cuts. If this happens, put a lid on the pan for 2-3 minutes to trap steam and finish the centers.
Freezing and Reheating Guide
Store any remaining portions in a sealed container in the refrigerator for 3 to 4 days. You may notice the sauce thicken significantly, reaching a jam-like consistency.
When reheating, try to skip the microwave to prevent the chicken from turning rubbery. Instead, place the thighs in a small skillet with a bit of water over medium heat. Keep it covered for a few minutes, then lift the lid to let the sauce reduce and tighten back up.
To freeze this dish, stop before the final glazing process. Store the seared chicken and the sauce in separate freezer bags. This ensures the honey doesn't become grainy and stops the meat from overcooking during reheating.
Variations & Substitutions
This recipe is easy to customize based on the ingredients you have on hand. For a spicier kick, use twice the red pepper flakes or stir in a teaspoon of Sriracha. A splash of fresh lime juice added just before serving provides a bright, zesty finish.
For more chicken inspiration, this dish complements the profiles found in a Bang Bang Chicken Bowl, although that option is significantly creamier. To reduce the carbs, swap the honey for a sugar-free maple syrup alternative, keeping in mind that the glaze will be less tacky.
Here is a comparison of how different cooking techniques affect the final dish.
| Feature | Stovetop Method | Oven Method |
|---|---|---|
| Texture | Deep crust, sticky glaze | Evenly cooked, softer skin |
| Effort | Active stirring/spooning | Hands off baking |
| Speed | 30 minutes total | 45-50 minutes total |
How to Serve and Enjoy
I love serving these thighs over a bed of steamed jasmine rice or quinoa to soak up every drop of that garlic sauce. Steamed broccoli or snap peas add a nice crunch and a bit of freshness to balance the richness.
For a side that adds a sharp contrast, try some Homemade Garlic Pickle Spears. The acidity of the pickles cuts through the honey perfectly.
Quick Adjustments: Extra tang? → Add 1 tsp lemon zest. More garlic punch? → Use 6 cloves instead of 4. Thicker sauce? → Simmer 2 minutes longer.
Busting Kitchen Myths
Myth: Searing locks in the moisture. This is a widespread misunderstanding. Searing doesn't create an impermeable barrier; it actually allows some liquid to escape. Its true purpose is to develop deep flavor through browning, which enhances the taste of the meat.
Myth: Chicken needs to be marinated to be tasty. Not in this case. Because we employ a reduced glaze, the flavor is highly concentrated and sticks to the meat. For boneless thighs, a brief sear and glaze are perfectly sufficient.
Adjusting the Portion Size
Whether you are preparing a meal for a large group or just for yourself, avoid simply multiplying the ingredients.
Scaling Down (1-2 people): Switch to an 8 inch skillet. Lower the cooking time by approximately 20%, as a smaller amount of meat will not lower the pan's temperature as significantly.
Scaling Up (6-8 people): Sear the meat in separate turns. Overfilling the pan leads to the chicken steaming rather than browning. Increase salt and pepper to 1.5x, but leave the liquid ratios as they are so the meat doesn't end up swimming in sauce.
Recipe FAQs
What can I do with two pounds of boneless chicken thighs?
Scale the seasoning and glaze ingredients by about 33%. Sear the meat in batches to avoid overcrowding the pan. This dish pairs well with homemade mac and cheese.
How to thicken the honey garlic glaze?
Lower the heat to medium and continuously spoon the bubbling sauce over the chicken for 3-5 minutes. This process reduces the honey and soy sauce until the glaze is velvety and clings to the meat.
Is it true that skinless thighs are too dry for this recipe?
False. Thighs are naturally fatty and stay moist even when seared over medium high heat. The honey glaze further locks in moisture during the final reduction.
Which technique ensures a deep golden brown crust?
Pat the chicken completely dry with paper towels before seasoning. Heat avocado oil in the skillet until shimmering, then sear for 5-7 minutes per side without moving the meat too often.
Honey Garlic Chicken Thighs 2