Garlic Dill Pickles: Old Fashioned Style
- Time: 30 min active + 24 hours 20 mins chilling/processing
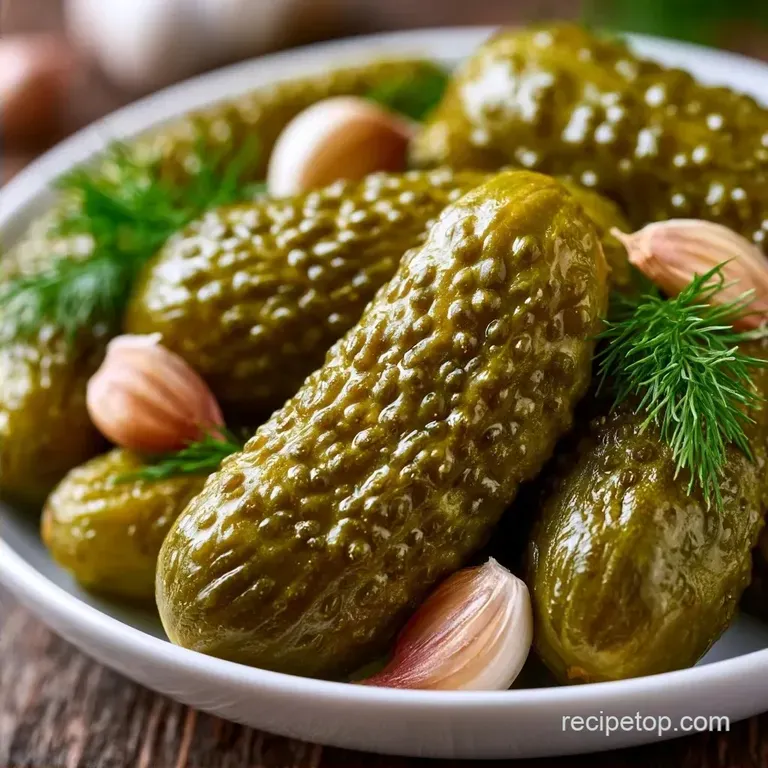
- Flavor/Texture Hook: Sharp, pungent garlic with a shattering crunch
- Perfect for: long-term pantry storage and healthy snacking
- Easy Homemade Garlic Dill Pickles
- What Makes the Brine Work
- Essential Gear for Pickling
- Step-by-Step Pickling Process
- The Truth About Pickle Crunch
- Avoid These Common Errors
- Adjusting the Batch Size
- Garlic Pickle Myths
- Storing Your Garlic Pickles
- Twists and Ingredient Swaps
- Best Pairings for Pickles
- Critical Sodium Level
- Recipe FAQs
- 📝 Recipe Card
The sound of a real pickle is a sharp, wet crack. If it doesn't sound like a twig snapping, it's not doing its job. I remember my first batch of pickles being completely limp, more like marinated cucumbers than actual pickles, because I skipped the cold salt soak.
Since then, I've focused on the physics of the crunch. These Garlic Dill Pickles aren't just about the salt and vinegar, but about how we treat the cucumber before it even hits the jar. You get a pungent, sharp bite that cuts through rich foods.
We're going for a shelf stable version here, using a water bath to make them last. You'll end up with four quart jars of Garlic Dill Pickles that stay crisp for months.
Easy Homemade Garlic Dill Pickles
Cold Salt Soak: Drawing out excess water from the cucumber cells makes the walls tougher, which prevents them from collapsing in the hot brine.
Vinegar Ratio: The balance of acidity prevents bacteria growth and gives that sharp, vinegary tang.
Garlic Volume: Using a high volume of smashed cloves ensures the flavor penetrates the skin of the cucumber during the 24 hour rest.
| Method | Storage Life | Prep Speed | Texture | Best For |
|---|---|---|---|---|
| Water Bath | 6-12 Months | Slower | Traditional Snap | Pantry Stocking |
| Fridge | 3-4 Weeks | Very Fast | Fresher, Brighter | Immediate Use |
What Makes the Brine Work
I've found that using filtered water prevents minerals from reacting with the vinegar, which keeps the liquid clear. If you're looking for something faster, my Pickle Recipe Meal Prep is great, but for long term storage, the processed brine is the way to go. According to Serious Eats, keeping the cucumbers cold before pickling is the best way to maintain that "shattering" texture.
| Ingredient | What It Does | Best Swap |
|---|---|---|
| Kirby Cucumber | Provides the thick skin needed for crunch | Persian cucumbers (smaller, thinner skin) |
| White Vinegar | Supplies the acidity for preservation | Apple cider vinegar (milder, slightly fruitier) |
| Pickling Salt | Brines without clouding the liquid | Kosher salt (use 25% more by volume) |
| Garlic Cloves | Adds pungent, savory depth | Garlic powder (not recommended for canning) |
Essential Gear for Pickling
You'll need a few specific items to make sure these Garlic Dill Pickles don't spoil. A large pot for the water bath is non negotiable. I use a wide mouth stockpot so the jars don't clink too much.
Sterilized quart jars with new lids are a must. If the lid is dented, throw it away, as it won't seal. A plastic utensil for removing bubbles is better than metal, which can sometimes scratch the glass.
Step-by-step Pickling Process
Phase 1: Prepping for Maximum Crunch
- Toss sliced cucumbers in 2 tbsp pickling salt and 3 cups ice water. Note: This draws out excess moisture.
- Let them sit for 2 hours until the cucumbers feel firm and slightly rubbery.
- Rinse the cucumbers under cold water until all surface salt is gone.
- Pat them dry with a clean towel. Note: Excess water dilutes the brine.
Phase 2: Jar Assembly & Garlic Layering
- Divide 5-6 smashed garlic cloves, 2 dill heads, 2 sprigs of dill fronds, and a proportional share of peppercorns, mustard seeds, and celery seeds into each of the 4 sterilized quart jars.
- Pack the cucumbers tightly into the jars. Note: Pack them vertically to fit more.
- Leave 1/2 inch of headspace at the top.
Phase 3: Brine Infusion & Heat Processing
- Combine 4 cups white distilled vinegar, 4 cups water, 1/4 cup cane sugar, and 1/4 cup pickling salt in a pot.
- Bring to a rolling boil until the salt and sugar have completely dissolved.
- Pour the boiling brine over the cucumbers, leaving 1/4 inch of headspace.
- Remove air bubbles with a plastic utensil. Note: Bubbles can cause seal failure.
- Wipe the rims clean and secure the lids.
- Process the jars in a boiling water bath for 15 minutes.
- Remove jars with a lifter and let cool undisturbed for 24 hours.
The Truth About Pickle Crunch
Many people think adding more vinegar makes a pickle crunchier, but it's actually the opposite. Too much acid can break down the pectin in the cell walls. The real trick is the pre soak and the temperature of the cucumbers.
If you notice your Garlic Dill Pickles are soft, it's usually because the cucumbers were too warm when they hit the brine or you used a variety with too much water. Kirby cucumbers are the gold standard because they have a denser structure than English cucumbers.
| Problem | Root Cause | Solution |
|---|---|---|
| Soft Texture | Warm cucumbers or wrong variety | Use ice water soak and Kirby cucumbers |
| Cloudy Brine | Impure water or low quality salt | Use filtered water and pure pickling salt |
| Bland Taste | Under seasoned or too many cucumbers | Use a scale for spices; don't overfill jars |
Avoid These Common Errors

If Pickles Turn Soft
This usually happens if the jars are processed for too long or if you use cucumbers that aren't fresh. The heat of the water bath is necessary, but exceeding 15 minutes can overcook the vegetable.
If the Brine Looks Cloudy
Cloudiness often comes from using table salt, which contains anti caking agents. These agents react with the vinegar. Stick to pickling salt or a clean Kosher salt to keep the liquid transparent.
For a Fiery Kick
If you want spicy garlic pickle recipes, add a sliced habanero or a teaspoon of red pepper flakes to each jar. The heat infuses well during the 24 hour resting period.
Adjusting the Batch Size
When making a smaller batch of Garlic Dill Pickles, say half, don't just halve the spices. I've found that the garlic and dill can lose their punch in smaller volumes. Use about 75% of the spices for a half batch.
For scaling up to 8 or 12 jars, work in batches for the brine. If you boil too much liquid at once, it takes forever to reach a rolling boil, and you might lose some volume to evaporation. If you're doubling the recipe, keep the salt ratio exact to ensure safety.
Garlic Pickle Myths
A common myth is that you need to peel every single garlic clove. You don't. Smashed, unpeeled cloves still release their flavor into the brine, and they actually stay firmer during the heating process.
Another misconception is that sugar is only for sweet pickles. In these Garlic Dill Pickles, the 1/4 cup of cane sugar doesn't make them sweet; it just balances the harshness of the distilled vinegar.
Storing Your Garlic Pickles
Store these in a cool, dark place like a pantry or cellar. Once you pop the seal, they move to the fridge and stay good for about 2 months. I usually store mine in the lower cabinet where it stays naturally cooler.
To avoid waste, don't toss the leftover brine. It's basically a seasoned vinegar. I use it to marinate chicken breasts or add a splash to my Homemade Italian Dressing Salad recipe for an extra punch of garlic.
Twists and Ingredient Swaps
You can easily adjust the flavor profile of this recipe depending on what you have in the pantry. If you don't have fresh dill heads, you can use dried dill, but use only 1 tablespoon per jar.
| Original Ingredient | Substitute | Why It Works |
|---|---|---|
| Cane Sugar (1/4 cup) | Honey (1/4 cup) | Similar sweetness. Note: Makes the brine slightly thicker |
| White Vinegar (4 cups) | Rice Vinegar (4 cups) | Milder acidity. Note: Results in a softer, less sharp taste |
| Garlic Cloves (24) | Sliced Shallots | Adds a sweeter, more onion like pungency |
For those wanting a low sodium twist, you can reduce the pickling salt in the brine by a third. Just be aware that this may slightly shorten the shelf life of your Garlic Dill Pickles, so keep them in the fridge instead of the pantry.
Best Pairings for Pickles
These Garlic Dill Pickles are a balanced side that works with almost any heavy protein. I love serving them alongside a grilled steak or a roast chicken to cleanse the palate between bites.
They're also a huge help in sandwiches. A sliced Garlic Clove Dill Pickles spear is the only way to eat a classic deli Reuben. If you're making a platter, pair them with sharp cheddar cheese and some spicy brown mustard.
If you prefer Clove Dill Pickles with a bit more heat, try pairing them with a creamy dip. The acidity of the Clove Dill Pickles cuts through the fat of a sour cream or Greek yogurt base. Honestly, don't even bother with store-bought versions once you've tasted the snap of these homemade ones.
Critical Sodium Level
1250 mg 1,250 mg of sodium per serving (54% 54% of daily value)
The American Heart Association recommends a daily limit of 2,300 mg of sodium to help maintain healthy blood pressure and reduce the risk of heart disease.
Tips to Reduce Sodium in Your Pickles
-
Reduce Pickling Salt-30%
Cut the amount of pickling salt in half during both the curing and brining process to drastically lower the overall sodium content.
-
Use Salt Substitutes-25%
Replace a portion of the salt with a potassium based salt substitute to maintain the pickling effect with less sodium.
-
Enhance Acidity-20%
Increase the ratio of white distilled vinegar slightly to provide a sharper tang, which helps compensate for the reduction in salt.
-
Boost Aromatics-10%
Add extra garlic cloves or mustard seeds to create a more complex flavor profile that reduces the need for high salt levels.
-
Maximize Fresh Herbs
Use an abundance of fresh dill heads and fronds to add natural brightness and flavor without adding any additional sodium.
Recipe FAQs
Can you add garlic cloves to pickles?
Yes, they add a pungent, savory depth. Smashed cloves infuse the brine more effectively than whole ones for a stronger flavor.
How do I make Garlic Dill Pickles?
Toss sliced cucumbers in pickling salt and ice water for 2 hours. Rinse and pack them into jars with garlic and dill, cover with boiling brine, and process in a water bath for 15 minutes.
How long do garlic cloves need to pickle?
Let the jars cool undisturbed for 24 hours. This initial resting period allows the garlic and dill flavors to begin penetrating the cucumbers.
Why do I need to soak cucumbers in salt water first?
It firms the cell walls. This prevents the pickles from becoming mushy after the boiling brine is added to the jars.
How long should I process the jars in the water bath?
Process for exactly 15 minutes. This ensures the seal is secure and the product is safe for shelf storage in a cool, dark place.
Is it true that you can't use sugar in savory dill pickles?
No, this is a common misconception. A small amount of cane sugar balances the sharp acidity of the white distilled vinegar without making the pickles taste sweet.
How do I store these pickles to keep them fresh?
Store in a cool, dark pantry until opened. Once the seal is broken, move them to the fridge; these tart pickles pair perfectly with the richness of our BBQ chicken pizza.
Garlic Dill Pickles

