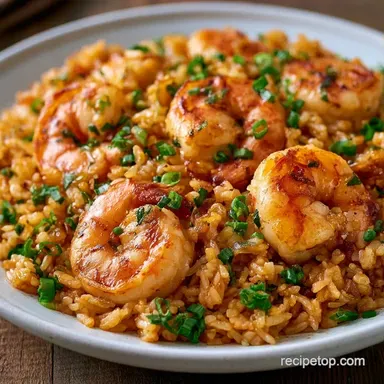
Hibachi Shrimp Fried Rice in 35 Minutes
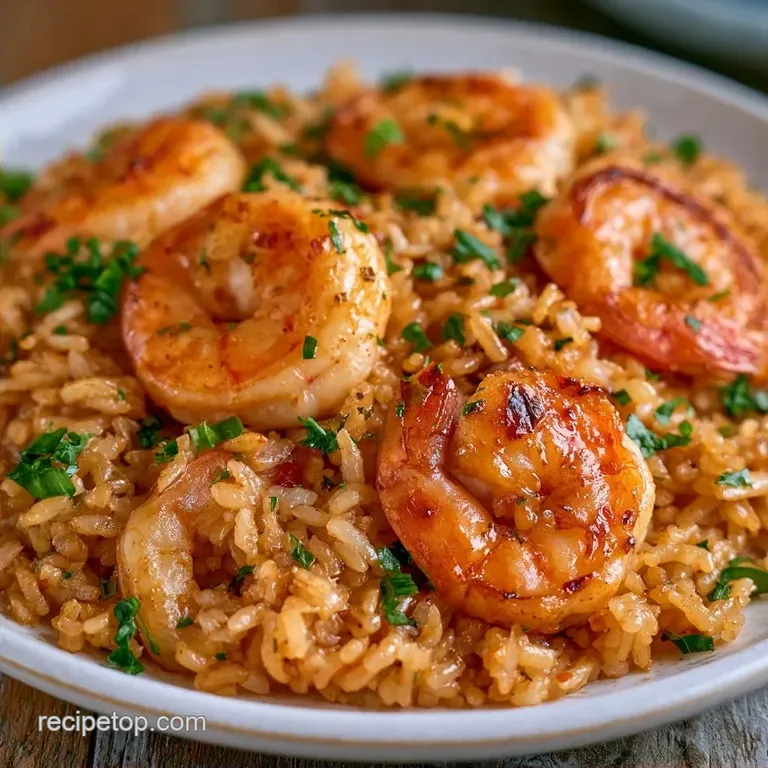
- Time: 15 min active + 12 hours chilling
- Flavor/Texture Hook: Buttery, charred grains with snap crisp vegetables
- Perfect for: High protein weeknight dinner or meal prep
Ever wonder why restaurant rice has that specific "bounce" while home versions often turn into a gummy mass? It usually comes down to the moisture level of the grain. When you use fresh rice, the starch is too hydrated, which leads to a sticky mess in the pan.
I used to struggle with this until I realized the rice needs to actually dry out. Once I started prepping the rice a full day early, everything changed. The result is a Shrimp Fried Rice that actually separates in the pan, allowing the butter to toast each grain individually.
This version focuses on balanced nutrition and precision timing. We're aiming for tender shrimp and a rich, savory glaze that coats everything without making it soggy.
Why the Cold Rice Matters
Starch Firming: Chilling rice overnight lets the starch crystallize. This means the grains don't break or mush when you toss them over high heat.
Butter Oil Blend: Using both butter and vegetable oil prevents the butter from burning too quickly while adding a rich, steakhouse flavor to the Shrimp Fried Rice. If you're serving this, it pairs naturally with a side of 5 Minute Yum Yum Sauce recipe to balance the salt.
High Heat Searing: Cooking on high heat creates a quick char on the outside of the rice. This locks in the flavor and prevents the grains from absorbing too much liquid and getting soft.
| Method | Time | Texture | Best For |
|---|---|---|---|
| Fast (Fresh Rice) | 20 mins | Softer, clumpier | Immediate cravings |
| Classic (Day Old) | 12 hrs + 20 mins | Firm, distinct grains | Restaurant style results |
Precision Checkpoints
- 1. Shrimp Sear
- Exactly 2 minutes per side. Any longer and they shrink and toughen.
- 2. Rice Temp
- Must be cold to the touch. If it's room temperature, the texture suffers.
- 3. Sauce Color
- Toss until the rice reaches a deep mahogany brown.
Ingredient Deep Dive
Each part of this dish serves a specific purpose to keep the Shrimp Fried Rice balanced and nutritious.
| Ingredient | Role | If You Don't Have It |
|---|---|---|
| Chilled White Rice | Structure | Brown rice (needs more oil) |
| Large Shrimp | Lean Protein | Scallops or firm tofu |
| Unsalted Butter | Flavor/Browning | Ghee or coconut oil |
| Oyster Sauce | Umami Depth | Extra soy sauce + pinch of sugar |
The ratio of fat to starch here is key. Too much butter makes the dish greasy, but too little prevents the rice from searing. We use a mix to get the best of both worlds.
Ingredients and Substitutes
Below are the ingredients needed for this Shrimp Fried Rice.
- 1 lb (450g) large shrimp, peeled and deveined Why this? Keeps them from shrinking too much during the high-heat sear
- 5 tbsp (70g) unsalted butter Why this? Creates that authentic hibachi-style richness
- 4 tbsp (60ml) soy sauce Why this? Adds the necessary salt and deep golden color
- 1 tsp (5g) garlic powder Why this? Ensures the seasoning is spread uniformly across the shrimp
- 1/4 tsp (1.5g) black pepper
- 4 cups (600g) cooked long grain white rice, chilled overnight Why this? Stops the grains from sticking together or becoming soggy
- 2 tbsp (30ml) vegetable oil Why this? Can handle the high temperatures needed for the first sear
- 1 cup (150g) frozen peas and carrots, thawed Why this? Brings in color and nutrients with zero chopping
- 1/2 cup (75g) white onion, finely diced
- 3 cloves (15g) garlic, minced
- 3 large eggs, lightly beaten Why this? Contributes protein and gives the dish a smooth consistency
- 3 stalks (60g) green onions, sliced
- 1 tbsp (15ml) oyster sauce
- 1 tsp (5ml) toasted sesame oil
- 1/2 tsp (2.5g) granulated sugar
Quick Substitutes:
- Soy Sauce: Tamari (for gluten-free) or coconut aminos (for less salt).
- Oyster Sauce: Hoisin sauce, though it is slightly sweeter.
- White Rice: Jasmine rice is ideal for the best aroma.
Necessary Kitchen Tools
A professional stove isn't required, but a pan that retains heat well is key.
- Large Wok or Cast Iron Skillet: These ensure even heat distribution and can withstand the high temperatures necessary to sear the rice.
- Wide Spatula: A metal or high-heat silicone spatula works best for tossing the grains without crushing them.
- Small Mixing Bowl: Useful for preparing the sauce in advance so you aren't rushing while the pan is hot.
Now, let's move on to the cooking process.
Key Steps
Get your station ready first. Since the cooking process moves quickly, you shouldn't be chopping onions while the shrimp are searing.
Phase 1: The Mise en Place
In a small bowl, whisk together 3 tbsp soy sauce, 1 tbsp oyster sauce, 1 tsp sesame oil, and 1/2 tsp sugar. Use your hands to break up the chilled rice and remove any large clumps. Note: Prepping the rice now prevents you from overworking it in the pan later.
Phase 2: Searing the Shrimp
Melt 2 tbsp of butter in a wok or large skillet over medium-high heat until it begins to foam. Arrange shrimp in a single layer and sear for 2 minutes per side until golden and opaque. Stir in 1 tsp garlic powder and 1 tbsp soy sauce, then immediately transfer the shrimp to a plate.
Note: Removing them now ensures the shrimp don't become rubbery.
Phase 3: High Heat Sautéing
Add the remaining 3 tbsp butter and 2 tbsp vegetable oil to the same pan. Sauté the frozen peas, carrots, and diced onions until the onions are translucent. Move the vegetables to the side and scramble the beaten eggs until just set.
Phase 4: Finishing the Shrimp Fried Rice
Add the cold rice to the pan and stir-fry on high heat, tossing constantly to toast the grains. Pour in the prepared signature sauce and toss until the rice is mahogany colored and evenly coated.
Phase 5: The Final Fold
Fold the seared shrimp and sliced green onions back into the rice. Toss for 1 minute until everything is heated through and serve immediately.
Common Mistakes and Fixes
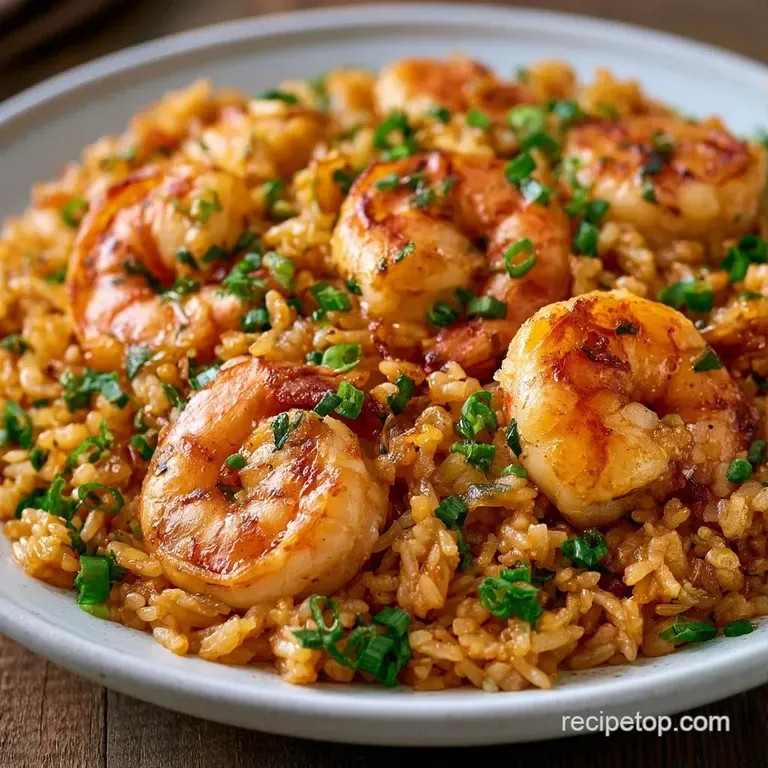
Most problems with Shrimp Fried Rice are usually caused by incorrect heat levels or excess moisture.
Fixing Clumpy Rice
When the rice sticks together, it's typically because there was too much water or the pan wasn't hot enough. Avoid stirring it into a mushy paste. Instead, increase the heat and add a small amount of oil to help the grains separate.
Preventing Rubbery Shrimp
Shrimp cook very quickly. They will overcook if left in the pan while you stir in the rice. Always sear them first and set them aside. Following USDA guidelines, shrimp are safe to eat once they reach an internal temperature of 145°F, which happens rapidly at high heat.
Managing a Greasy Texture
If the final dish feels oily, you may have used too much butter or the temperature was too low to "fry" the rice. The rice should absorb the fat rather than sitting in it.
| Problem | Fix |
|---|---|
| Rice is mushy | Use older, drier rice and higher heat |
| Shrimp are tough | Remove shrimp from pan immediately after searing |
| Color is too pale | Ensure you use the full amount of soy and oyster sauce |
Goal Adjustments
| Goal | What to change |
|---|---|
| More Protein | Add 1/2 cup of diced chicken or tofu |
| Less Salt | Replace soy sauce with low sodium version |
| Extra Spice | Stir in 1 tsp of Sriracha or chili flakes |
Preservation Guidelines
Keep leftovers chilled in a sealed container for up to 3 days.
For long-term storage, this Shrimp Fried Rice lasts about 2 months in the freezer. To prevent the grains from clumping into one large mass, freeze them on a baking sheet first before transferring them to a bag.
When warming it up, try to skip the microwave. Instead, toss the rice into a hot skillet with a teaspoon of butter or oil to regain the charred texture that microwaving often ruins.
Sustainable Kitchen Tip: If you used head-on shrimp, keep the shells. Simmer them with water and a slice of ginger for 20 minutes to create a simple shrimp stock for your next batch of soup.
Presentation Tips
To make the dish look as good as it tastes, focus on the colors. The mahogany rice provides a dark base, so the bright green of the onions and the orange of the carrots should pop.
Garnish with a few extra slices of fresh green onion and a sprinkle of toasted sesame seeds. Serving in a wide, shallow bowl helps the rice stay hot while allowing you to see all the ingredients.
For a full meal, I suggest serving this alongside some steamed bok choy or a crisp cucumber salad to add some freshness to the rich, buttery flavors.
Mix It Up
Feel free to customize this dish based on your preferences or dietary restrictions.
The Protein Boost: For a more filling meal, try a Hibachi Shrimp Chicken variation. Just sear the chicken breast pieces first, following the same butter-basting technique, before adding the shrimp.
The Low Carb Swap: Substitute white rice with cauliflower rice. Since cauliflower contains more moisture, sauté it for a few additional minutes to ensure it's dry before stirring in the sauce.
The Spicy Kick: Stir in a tablespoon of kimchi or a splash of chili oil at the very end. This introduces a fermented brightness that balances the buttery flavors.
Debunking Kitchen Myths
Searing shrimp does not "lock in juices." This is a common misconception. Searing creates flavor through browning, but moisture loss happens regardless of the heat. The goal of the sear is taste, not juice retention.
Using a wok is not mandatory for good Shrimp Fried Rice. While woks are great for heat distribution, a heavy cast iron skillet works just as well for home cooks. The key is the temperature of the pan, not the shape of it.
Right then, you're ready to tackle this. Just remember: cold rice, high heat, and don't overcook those shrimp. Enjoy your meal!
Very High in Sodium
1150 mg 1,150 mg of sodium per serving (50% 50% of daily value)
The American Heart Association recommends a daily limit of 2,300mg of sodium to help manage blood pressure and reduce the risk of heart disease.
Tips to Reduce Sodium
-
Swap Soy Sauce-20%
Replace the regular soy sauce with low-sodium soy sauce or coconut aminos to significantly lower the salt content.
-
Reduce Oyster Sauce-15%
Cut the oyster sauce in half or use a low-sodium alternative, as this is a concentrated source of salt.
-
Check Frozen Veggies-10%
Ensure the frozen peas and carrots are labeled 'no salt added' to avoid hidden sodium from preservatives.
-
Use Fresh Garlic-5%
Swap garlic powder for freshly minced garlic to provide a punchier flavor without the risk of added salt blends.
-
Enhance with Acid
Add fresh grated ginger or a squeeze of lime juice at the end to brighten the flavors without adding any sodium.
Recipe FAQs
What makes hibachi fried rice taste so different?
The heavy use of butter and high-heat searing creates that signature rich flavor. This technique allows the grains to toast without sticking to the pan.
Is shrimp fried rice exactly the same as hibachi?
That's a myth. Hibachi refers to the specific grilling method and style of cooking, whereas shrimp fried rice is a dish that can be prepared using those techniques.
How to stop the shrimp from getting rubbery?
Sear them in a single layer for exactly 2 minutes per side. Remove them from the pan immediately once they turn opaque to prevent overcooking.
Is it true that fresh rice works best for stir-frying?
This one's false: Chilled overnight rice is essential because it is drier and doesn't clump. Freshly cooked rice contains too much moisture and will turn mushy.
Why does my rice turn a dark mahogany color?
The combination of soy sauce, oyster sauce, and high heat caramelizes the sugars. Tossing the rice constantly ensures every grain is evenly coated in the sauce.
Which pan produces the best results?
A wok or a large cast iron skillet is ideal for preserving the intense heat required for searing. For more practice with high-temperature cooking, try our crispy mini onion bites.
Does the order of ingredients matter?
Yes, cooking the shrimp first and removing them prevents them from becoming overdone. This also allows you to sauté vegetables and scramble eggs without crowding the pan.
What is the best way to break up rice clumps?
Break the chilled rice by hand before adding it to the pan. This ensures the grains separate easily and sear evenly during the stir-fry process.
Shrimp Fried Rice in 35 Minutes