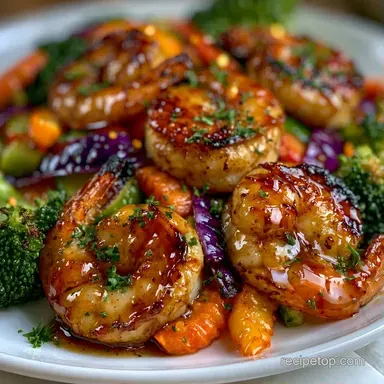
Healthy Hibachi Shrimp: Pan-Seared
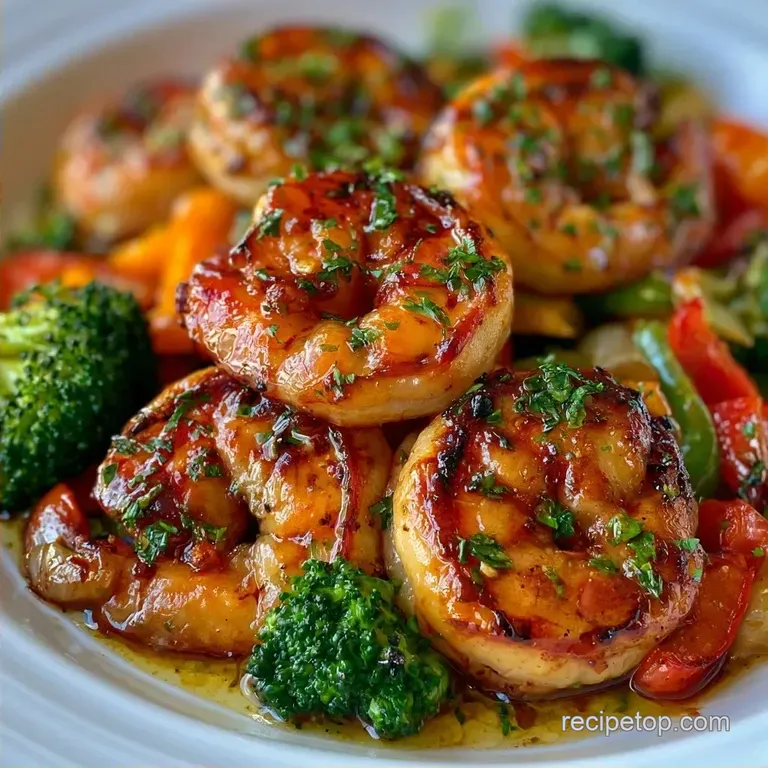
- Time: 10 min active + 15 min marinating
- Flavor/Texture Hook: Mahogany charred exterior with a snappy, tender center
- Perfect for: High protein weeknight dinner or meal prep
Ever tried making this at home only to end up with rubbery, gray protein that tastes like steamed seafood instead of a steakhouse treat? It's a frustrating spot to be in. You've got the soy sauce and the ginger, but the shrimp just sit in a pool of liquid and turn a dull color.
The issue isn't your stove, it's the moisture. When shrimp are damp, they create a steam barrier. Instead of searing, they poach. To get that restaurant style crust, you have to change how you handle the protein before it even hits the pan.
This approach to Hibachi Shrimp focuses on precision and temperature. We're swapping the massive amounts of butter for avocado oil and using a specific timing window. You'll get that savory, charred flavor and a balanced nutritional profile without the heavy grease.
Why This Method Works
- Surface Desiccation: Patting the shrimp completely dry removes the water layer that prevents searing. This allows the heat to immediately trigger a crust, as detailed in the Serious Eats guide on searing, which keeps the inside tender.
- High Smoke Point: Using avocado oil instead of butter prevents the fat from burning at the high temperatures needed for a mahogany crust. This keeps the flavor clean and avoids the acrid taste of burnt dairy.
- Acid Timing: The lemon juice is added in a short marinating window. If it sat for hours, the citric acid would denature the proteins too much, effectively "cooking" the shrimp and making them mushy.
Quick Specs and Timing
When you're working with high heat, a few seconds make the difference between a snap and a rubber band. I've found that consistency comes from hitting these three numeric checkpoints: the shrimp must be 1 lb total, the sear must be exactly 90 seconds per side, and the pan must be hot enough that a drop of water dances immediately.
| Feature | Fast Method | Classic Steakhouse |
|---|---|---|
| Fat Source | Avocado Oil | Heavy Butter |
| Sear Time | 3 mins total | 5-7 mins (basting) |
| Texture | Snappy/Firm | Soft/Rich |
| Calorie Density | Low | High |
Right then, if you're looking for a specific outcome, use this shortcut.
| Goal | What to change |
|---|---|
| Extra Char | Increase pan heat |
| More Tender | Reduce sear by 15s |
| Lower Salt | Use coconut aminos |
Detailed Ingredient Breakdown
I previously just mixed everything together and crossed my fingers. However, the secret to restaurant-quality Hibachi Shrimp lies in the harmony of salt and acidity. Using low sodium soy sauce ensures a rich umami foundation without excessive salt, while fresh ginger contributes a bright, peppery kick.
| Ingredient | Role | If You Don't Have It |
|---|---|---|
| Large Shrimp | Main Protein | Scallops or Firm Tofu |
| Avocado Oil | High-heat searing | Grapeseed or Canola oil |
| Low Sodium Soy | Saltiness and Umami | Tamari or Coconut Aminos |
| Fresh Ginger | Zesty Pungency | 1/2 tsp Ground Ginger |
These measurements are tailored for two portions. For larger groups, please refer to the scaling guide further down.
For the Hibachi Shrimp Marinade: 2 tbsp low sodium soy sauce Why this? Manages salinity while providing a rich hue 1 tbsp fresh lemon juice Why this? Brightens the flavor and balances the oil 1 tsp grated fresh ginger Why this? Vital for an authentic, zesty flavor 2 cloves garlic, minced Why this? Creates a fragrant, savory foundation 1 tsp toasted sesame oil Why this? Contributes a characteristic nutty scent 1 tbsp avocado oil Why this? Ensures the marinade adheres to the shrimp
For the Shrimp and Vegetables Recipe: 1 lb large shrimp, peeled and deveined Why this? Larger shrimp are less likely to overcook 1 tbsp avocado oil Why this? Stops sticking during high-temp searing 1 medium zucchini, sliced into half moons Why this? Soaks up all those delicious pan juices 1 small white onion, diced Why this? Caramelizes for a touch of sweetness 8 oz sliced mushrooms Why this? Offers a savory, earthy depth 1/2 tsp kosher salt Why this? Elevates the flavors of the soy sauce 1/4 tsp cracked black pepper Why this? Introduces a mild, warm spice
Essential Cooking Tools
You don't need a massive flat top grill to make great Hibachi Shrimp. A heavy bottomed cast iron skillet is actually better for home cooks because it holds heat more consistently than thin non stick pans.
If you have a Blackstone or similar griddle, this recipe works perfectly there too, just ensure you have a dedicated "hot zone."
A good set of paper towels is your most important tool here. I'm serious. If you skip the drying step, you're just boiling the protein. Also, use a wide spatula. You want to be able to flip the shrimp in one motion so they don't slide around and lose that heat contact.
Chef's Note: If you find your pan is losing heat too fast, try heating the skillet for a full 5 minutes on medium high before adding the oil. It should be almost smoking.
Steps to the Plate
Let's dive in. The goal here is to manage your pan space so the vegetables stay crisp while the protein gets a hard sear.
Phase 1: The Prep & Infusion
- Pat the shrimp dry with paper towels. Note: This prevents the oil from steaming the surface
- In a mixing bowl, whisk together the low sodium soy sauce, lemon juice, grated ginger, minced garlic, sesame oil, and 1 tablespoon of avocado oil.
- Toss the shrimp in the marinade and let them rest for 10–15 minutes. Note: Don't over-marinate or the lemon juice will make the texture mushy
- Cut the zucchini, onion, and mushrooms into uniform pieces. Note: Consistent sizes ensure they cook uniformly
Phase 2: The High-Heat Sear
- Heat a cast iron skillet or griddle over medium high heat and add 1 tablespoon of avocado oil.
- Sauté the onions and mushrooms for 3–4 minutes until golden brown, then stir in the zucchini for another 2 minutes.
- Transfer the vegetables to a warm plate and set aside.
- Crank the heat up to high.
- Arrange the Hibachi Shrimp in a single layer.
- Sear undisturbed for 90 seconds per side until a mahogany crust forms and they are opaque.
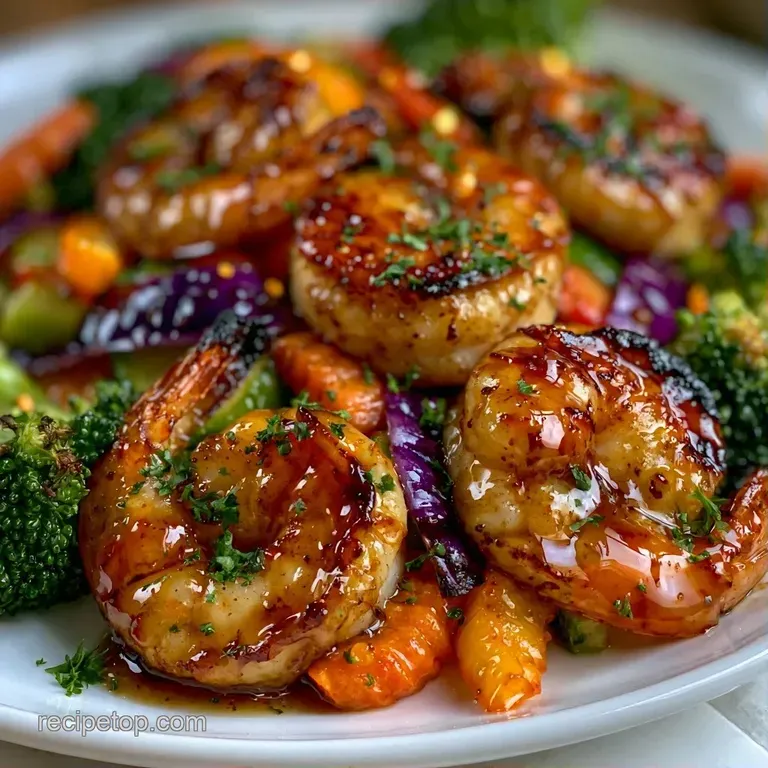
Once the Hibachi Shrimp are finished, toss them back in with the vegetables for 30 seconds to marry the flavors. This creates a rich, savory glaze and a satisfying snap in every bite.
Fixing Common Pitfalls
The most common complaint I hear is that the protein turns into rubber. This usually happens because people are too scared to use high heat. They keep the pan at a medium temperature, which means the shrimp stay in the pan longer to get a color. By the time they look "done," the inside is overcooked.
Another issue is the "veggie steam." If you throw the shrimp in with the zucchini, the zucchini releases water. This water drops the pan temperature and kills your sear. Always cook the vegetables first and remove them.
Fixing Rubbery Texture
Rubbery shrimp happen when they curl into a tight "O" shape. You want a "C" shape. If they've tightened up, you've gone too far. Use a meat thermometer to hit 120°F (49°C) and pull them off; carryover heat will do the rest.
Fixing Pale Vegetables
If your mushrooms and onions look gray and wet, your pan wasn't hot enough or you overcrowded it. Give the ingredients room to breathe. If the pan is too full, the temperature drops and they stew in their own juices.
Fixing Bitter Aftertaste
This usually comes from burnt garlic. Since we put the garlic in the marinade, it's protected by the oil and soy sauce. However, if you add fresh garlic to the pan at the very end, keep it moving so it doesn't blacken.
| Problem | Root Cause | Solution |
|---|---|---|
| Rubbery Shrimp | Overcooked/Too long in pan | Pull at "C" shape/120°F |
| Gray/Soggy Veggies | Pan too cold or overcrowded | Cook in smaller batches |
| No Crust/Sear | Shrimp were damp | Pat dry with paper towels |
| Bitter Flavor | Burnt garlic or oil | Use avocado oil/add garlic late |
Ways to Adapt
If you're feeling adventurous, you can tweak the Hibachi Shrimp sauce to fit your mood. I love adding a teaspoon of Sriracha or gochujang to the marinade for a spicy kick. It doesn't change the cooking time, but it adds a depth that pairs well with the charred zucchini.
For those wanting a different protein, this same method works for scallops. Just be aware that scallops release more water than shrimp, so patting them dry is even more critical. If you want to make a plant based version, extra firm tofu pressed for 30 minutes is your best bet.
You can also try a sweeter glaze by adding a teaspoon of honey or maple syrup to the soy mixture. Just be careful: sugar burns fast. If you use honey, lower the heat slightly during the final 30 seconds of the sear to avoid a blackened, bitter crust.
For a more nutrient dense Hibachi shrimp bowl, swap the white onion for shallots and add some snap peas to the vegetable mix. This adds a bit more crunch and a hit of vitamin C to the meal.
Storage and Waste Tips
Store your Hibachi Shrimp in a sealed container within the refrigerator for roughly 48 to 72 hours. I suggest not exceeding this timeframe, as the lemon juice will continue to break down the proteins, making the shrimp too soft.
When warming them up, try to skip the microwave, as it often turns the shrimp rubbery. Instead, toss them into a hot skillet for 60 seconds to restore the sear without overcooking the middle. If you must use a microwave, set it to 50% power and heat in 30 second bursts.
To minimize waste, save your onion skins and mushroom stems in a freezer bag. Once full, simmer these scraps with water and a bay leaf to create a simple vegetable stock for soups. You can also zest the lemon rinds and freeze them for future use in baking or teas.
Serving Suggestions
To get the full experience, you need the right sides. This dish is heavy on protein and savory notes, so it needs something to soak up the sauce. I highly recommend pairing this with some hibachi fried rice for a complete meal. The toasted sesame oil in the rice echoes the flavors in the shrimp perfectly.
If you're keeping it light, a side of hibachi vegetables is the way to go. The mix of cabbage and carrots provides a fresh, crisp contrast to the charred shrimp.
For a bit of extra punch, serve it with a side of "yum yum sauce" (mayo, ketchup, paprika, and sugar). The creaminess cuts through the acidity of the lemon and soy. I also like adding a sprinkle of toasted sesame seeds and sliced green onions on top for a pop of color and a bit of crunch.
Scaling the Recipe
When you're making Hibachi Shrimp for a party, don't just multiply the time. If you put 4 lbs of shrimp in one pan, you'll create a giant steam bath and lose the sear.
Scaling Down (1 serving): Use a smaller 8 inch skillet. Reduce the marinade quantities by half, but keep the pan heat exactly the same. You might find the shrimp cook 10-15 seconds faster because there's less mass in the pan.
Scaling Up (4+ servings): Work in batches. This is the only way to maintain the quality. Sear 1 lb of shrimp at a time, move them to a tray, and then start the next batch. Also, only increase the salt and pepper to 1.5x the original amount. Spices can become overwhelming when scaled linearly.
For the liquids, reduce the total volume by about 10% to prevent the marinade from becoming too watery in the larger bowl.
Common Kitchen Myths
Many believe that searing "locks in the juices," but this is a common myth. Water evaporates regardless of your cooking method. Instead, searing triggers the Maillard reaction, creating a layer of complex, savory flavor. The goal is enhanced taste, not maintaining juiciness.
You also don't need a professional Teppanyaki grill to master this dish. While those are great for a performance, a cast iron skillet provides more reliable heat distribution for the home kitchen. You can achieve the same mahogany-colored crust on a standard stovetop as you would on a commercial flat top.
Finally, frozen shrimp aren't necessarily inferior. If you thaw them completely in the fridge and pat them dry, the difference in texture and flavor is negligible. In many instances, "flash frozen" shrimp are actually fresher than "fresh" shrimp that have been sitting on ice for days.
Recipe FAQs
How to get that restaurant-style sear on the shrimp?
Pat the shrimp completely dry using paper towels before cooking. Searing them undisturbed on high heat for 90 seconds per side ensures a mahogany crust rather than steaming the meat.
What kind of shrimp are best for this style of cooking?
Opt for large, peeled, and deveined shrimp. Larger shrimp are less likely to overcook when subjected to the intense heat of a cast iron skillet. If you enjoyed this searing method, try applying it to our garlic lemon shrimp.
Is it true that shrimp should be marinated for hours to get the flavor?
Actually, no. Marinating for 10–15 minutes is ideal. Leaving them too long in lemon juice breaks down the protein and ruins the texture.
Which ingredients create the classic hibachi flavor profile?
Combine soy sauce, lemon juice, ginger, garlic, and sesame oil. This specific combination provides the salty, aromatic, and acidic balance found in teppanyaki cooking.
Why do the vegetables need to be removed from the pan?
To prevent them from overcooking while the shrimp sear. Removing the zucchini, onions, and mushrooms allows you to crank the heat to high for the protein without turning the vegetables into mush.
Hibachi Shrimp for 2 Servings