Easy Waffles: Crispy and Fluffy
- Time: 10 min active + 5 min cook = Total 15 minutes
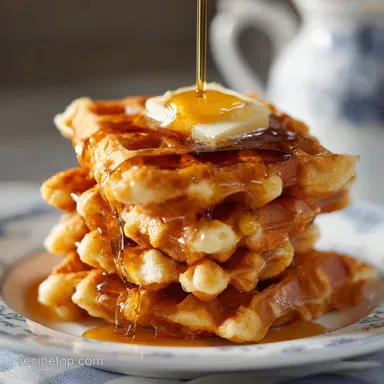
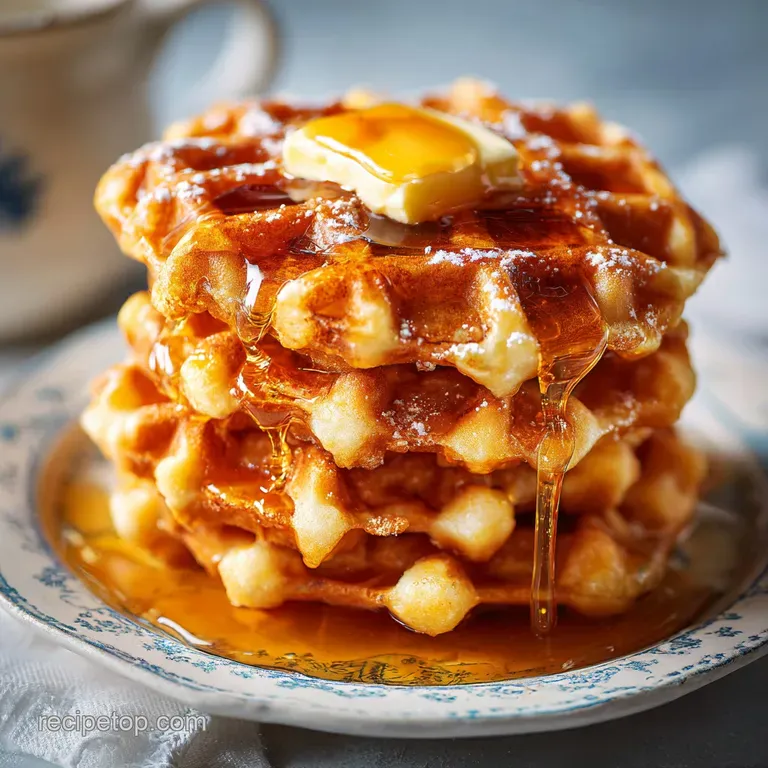
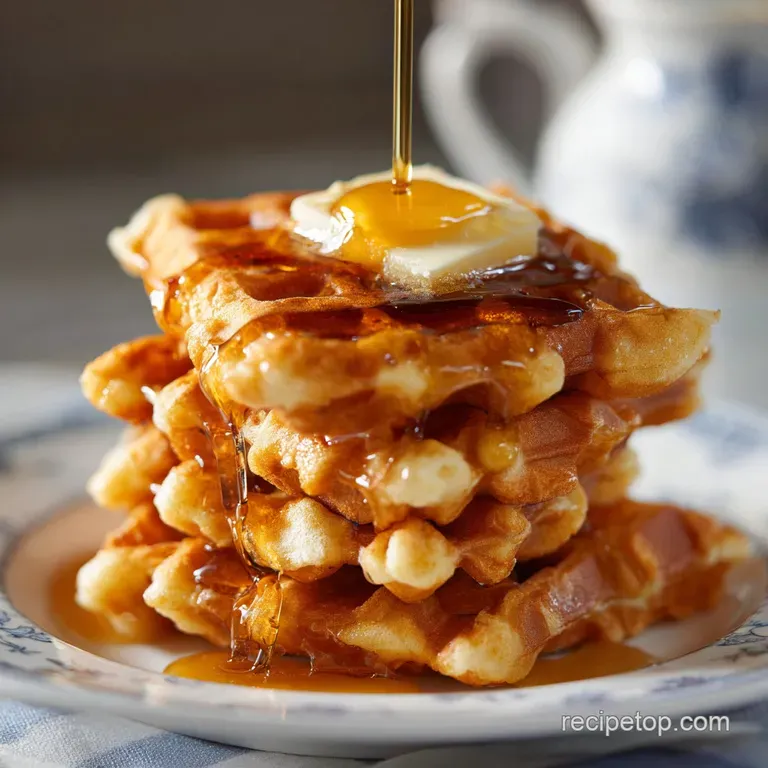
- Flavor/Texture Hook: Deep mahogany gold crust with a soft, cloud like interior
- Perfect for: Busy weekday mornings or a cozy weekend brunch for the family
- Easy Waffles
- Batter Secrets for Crispy Edges
- Pantry Staples and Swaps
- Tools for Better Waffles
- Making the Batter and Cooking
- Fixing Waffle Fails
- Troubleshooting Common Issues
- Flavor Tweaks and Variations
- Truth About Waffle Myths
- Storage and Freshness Tips
- What to Serve Together
- Recipe FAQs
- 📝 Recipe Card
Easy Waffles
The sound of the waffle iron clicking shut is basically my favorite alarm clock. I remember one specific Saturday morning a few years back when I tried to surprise my partner with a huge breakfast.
I was so focused on the toppings that I completely forgot to grease the plates, and I spent a good ten minutes frantically scraping batter off the iron with a wooden spatula. It was a disaster, but it taught me a huge lesson about the difference between "batter fat" and "surface fat."
That failure led me to this exact method. I realized that while melted butter in the mix helps, that thin layer of grease on the iron is what actually creates that shatter crisp edge we all want. Since then, I've stripped away all the fancy, unnecessary steps.
No separating eggs, no whipping peaks, just a straightforward process that delivers a result that tastes like it took way more effort than it actually did.
You can expect a waffle that stays crisp even after the syrup hits it. We're going for a deep gold color and a texture that is light but satisfying. If you're looking for a way to make breakfast feel special without spending your whole morning in the kitchen, these Easy Waffles are exactly what you need.
Batter Secrets for Crispy Edges
I've always wondered why some waffles turn out like sponges while others have that satisfying crunch. It usually comes down to how the ingredients interact when they hit the hot metal.
- The Bubble Lift: Baking powder reacts instantly to the heat of the iron, creating tiny air pockets that make the interior fluffy.
- Fat Coating: Melted butter wraps around the flour proteins, which stops too much gluten from developing so the waffles don't get chewy.
- Steam Release: The moisture in the milk turns to steam rapidly, pushing the batter outward and creating that signature airy structure.
- Sugar Browning: A small amount of sugar allows the exterior to caramelize, giving you that deep mahogany color.
| Method | Time | Texture | Best For |
|---|---|---|---|
| Waffle Iron | 5 mins | Shatter crisp | Classic breakfast |
| Oven baked | 20 mins | Soft/Cakey | Large batches |
| Stovetop Pan | 10 mins | Flat/Crispy | No equipment days |
Pantry Staples and Swaps
Right then, let's look at what's going into the bowl. I've kept this list to basic items you probably already have in your cupboard. For the flour, I usually stick to King Arthur Baking all purpose because the protein content is consistent, which means the waffles rise the same way every time.
Component Analysis
| Ingredient | Science Role | Pro Secret |
|---|---|---|
| All Purpose Flour | Provides the structure | Sift it if you see clumps for a smoother batter |
| Baking Powder | Creates the rise | Check the date; old powder equals flat waffles |
| Melted Butter | Adds richness and crunch | Let it cool for 5 mins so it doesn't cook the eggs |
| Whole Milk | Hydrates the flour | Room temp milk mixes faster and more evenly |
Ingredients & Substitutes
- 2 cups all purpose flour Why this? Standard protein level for the right balance of lift and structure (Substitute: White whole wheat flour - Note: Denser result, slightly nuttier flavor)
- 1 tbsp baking powder Why this? Essential for that airy, fluffy interior (Substitute: 1/2 tsp baking soda + 1 tbsp lemon juice)
- 2 tbsp granulated sugar Why this? Helps with browning and a hint of sweetness (Substitute: Maple sugar for a deeper flavor)
- ½ tsp salt Why this? Balances the sweetness and enhances the butter (Substitute: Sea salt)
- 2 large eggs Why this? Binds everything together and adds richness (Substitute: 2 flax eggs - Note: Less lift, earthier taste)
- 1 ½ cups whole milk Why this? Higher fat content equals a more velvety crumb (Substitute: Buttermilk - Note: Tangier flavor, slightly more fluffy)
- ½ cup unsalted butter, melted and cooled slightly Why this? Crucial for the crisp edges (Substitute: Coconut oil - Note: Adds a subtle tropical note)
- 1 tsp vanilla extract Why this? Adds a warm, aromatic finish (Substitute: Almond extract for a different nutty vibe)
Tools for Better Waffles
You don't need a professional kitchen to make Easy Waffles, but a few specific tools make the process way smoother. First, a medium mixing bowl for your dry ingredients and another for the wet. If you have a whisk and a rubber spatula, you're golden.
The iron is the most important part. I recommend one with non stick plates, but regardless of the brand, make sure it's fully preheated. According to Serious Eats, the temperature of the iron is the biggest factor in preventing sticking and achieving that gold crust. If your iron doesn't have a light, just wait until a drop of water sizzles and dances on the surface.
Finally,, grab a wire cooling rack. This is a step most people skip, but if you pile hot waffles on a plate, the bottom one steams and gets soggy. The rack lets air circulate, keeping that exterior shatter crisp.
Making the Batter and Cooking
Let's crack on with the actual process. The key here is not to overwork the batter. A few lumps are totally fine - in fact, they're actually a good sign.
The Dry Base
- In a medium mixing bowl, whisk together the flour, baking powder, sugar, and salt until well combined. Note: This ensures the baking powder is evenly distributed so you don't get giant holes in one spot.
The Wet Mix
- In a second mixing bowl, beat the eggs.
- Stir in the milk, melted butter, and vanilla extract. Note: Ensure the butter isn't boiling hot, or you'll end up with scrambled eggs in your batter.
Phase 1: Prepping the Batter
- Pour the wet mixture into the dry mixture.
- Stir with a spatula just until the flour streaks disappear. Note: Stop the moment it's combined; overmixing makes the waffles tough and chewy.
Phase 2: The Cooking Process
- Preheat your waffle iron until the indicator light signals it is ready.
- Lightly grease the plates with cooking spray or melted butter. Note: Even non stick irons benefit from a quick spray for a better crunch.
- Pour about ½ cup of batter onto the center of the iron.
- Close the lid and cook 5 mins until the steam stops escaping the sides and the waffle is a deep mahogany gold.
Phase 3: The Finishing Touch
- Carefully remove the waffle with a fork or tongs.
- Place it on a wire cooling rack for 30 seconds until the structure sets and the crust firms up.
Fixing Waffle Fails
Even with a simple recipe, things can go sideways. Usually, it's a matter of temperature or mixing. For these Easy Waffles, the most common issues are usually related to the iron's heat or the batter's consistency.
Troubleshooting Common Issues
| Issue | Solution |
|---|---|
| Why Waffles Get Soggy | This usually happens because of "steam trapping." If you stack them immediately, the heat creates moisture that softens the crust. Use a wire rack to let them breathe for a few seconds before plating. |
| Why Batter Sticks | Sticking is almost always due to a lack of surface fat or an iron that wasn't hot enough when the batter hit it. Make sure you grease every time you pour, even if the iron seems slick. |
| Why Not Fluffy | If your waffles are flat, your baking powder might be old, or you overmixed the batter. When you stir too much, you pop the air bubbles that provide the lift. |
Common Mistakes Checklist
- ✓ Did you whisk the dry ingredients first to avoid baking powder clumps?
- ✓ Is the butter cooled slightly before adding to the eggs?
- ✓ Did you stop stirring as soon as the flour streaks vanished?
- ✓ Is the waffle iron fully preheated before the first pour?
- ✓ Are you using a cooling rack instead of a flat plate?
Flavor Tweaks and Variations
One of the best things about Easy Waffles is how easy they are to customize. You can keep them classic or turn them into a full blown dessert.
If you want a bit more depth, try adding a pinch of cinnamon or a dash of nutmeg to the dry mix. For a "sweet twist," you can stir in a handful of blueberries or chocolate chips right after you finish mixing the batter. Just fold them in gently so they don't streak the batter with color.
Need a diet swap? You can use almond flour for a lower carb version, but be aware that the texture will be denser and less "shatter crisp" than the original. If you're in the mood for something softer, my Buttermilk Pancake Recipe is a great alternative for a cozy morning.
Adjusting the Batch Size
When you're making these for a crowd or just for yourself, the math changes slightly.
Scaling Down (Half Batch) If you only need 3 waffles, use 1 cup flour and 1 egg. Since you can't easily halve an egg, beat one in a small bowl and use about 2 tablespoons of it. Reduce the cooking time by about 20% if your iron is smaller, as it may heat up faster.
Scaling Up (Double Batch) When doubling Easy Waffles, don't just double everything blindly. Increase the salt and spices to only 1.5x the original amount to avoid over seasoning. Reduce the total liquid by about 10% to keep the batter from becoming too runny during the longer cooking process.
Work in batches to ensure the iron stays hot.
Truth About Waffle Myths
There are a lot of "rules" floating around about breakfast foods that just aren't true. Let's clear a few up.
First, you'll often hear that you must let waffle batter rest for 30 minutes. While this is true for some high gluten recipes, these Easy Waffles are designed to be quick. Resting actually lets some of the baking powder lose its potency, which can lead to a flatter waffle.
Second, some people think separating the eggs and whipping the whites is the only way to get fluffiness. While that works for Belgian style waffles, it's overkill for a daily breakfast. The baking powder and the steam from the milk do most of the heavy lifting here.
Storage and Freshness Tips
If you have leftovers, don't let them sit on the counter. These Easy Waffles store surprisingly well if you do it right.
Fridge and Freezer Store cooked waffles in an airtight container in the fridge for up to 3 days. For longer storage, freeze them in a single layer on a baking sheet first, then transfer them to a freezer bag. This prevents them from freezing into one giant block.
They'll stay fresh in the freezer for about 2 months.
Reheating for Maximum Crunch Never use a microwave to reheat a waffle - it will turn it into a rubbery sponge. Instead, pop them in a toaster or a 350°F (180°C) oven for 5 minutes.
This brings back that shatter crisp exterior and makes them taste fresh off-the iron.
Zero Waste Tips If you have a small amount of batter left that isn't enough for a full waffle, pour it into the iron in small dots to make "waffle bites." They're great for kids or as a quick snack.
If you have leftover waffles, you can slice them into strips and toast them to make waffle fries, which are great with a side of maple syrup.
What to Serve Together
The beauty of Easy Waffles is that they work with almost anything. You can go the traditional route or try something a bit more daring.
The Classic Sweet
Stick with the gold standard: a generous pat of salted butter and real maple syrup. Fresh strawberries, blueberries, or sliced bananas add a nice freshness that cuts through the richness of the butter. For a dessert style treat, you could even serve these with a scoop of vanilla ice cream. If you love sweet treats, you should also try these Easy Churros for your next snack night.
The Savory Contrast
Don't sleep on the savory side. A piece of crispy fried chicken on top of a waffle is a classic for a reason - the salty, savory chicken pairs perfectly with the slight sweetness of the batter. You can also top them with a fried egg and a drizzle of hot honey for a bit of a kick.
Even something as simple as avocado and a sprinkle of red pepper flakes can turn these Easy Waffles into a gourmet brunch.
Whether you're feeding a crowd or just treating yourself, these Easy Waffles are a reliable win. They take the stress out of the morning while still giving you that restaurant quality crunch. Just remember to grease your iron, don't overmix, and always, always use a cooling rack.
Trust me, your breakfast game will never be the same.
Recipe FAQs
How to make an easy waffle recipe?
Whisk together flour, baking powder, sugar, and salt, then stir in the eggs, milk, melted butter, and vanilla. Pour about ½ cup of batter onto a preheated, greased iron and cook until the steam stops escaping and they are mahogany gold.
What is the easiest way to make waffles?
Combine dry and wet ingredients in separate bowls before mixing them together. Stirring just until the flour streaks disappear prevents toughness and keeps the process simple.
Can I make waffles with all-purpose flour?
Yes, all-purpose flour is the primary ingredient for this recipe. It provides the necessary structure for a sturdy yet tender waffle.
What is the secret to good waffles?
Avoid overmixing the batter and use a wire cooling rack. These pair perfectly with a dollop of homemade peach butter for a sweet, gourmet breakfast.
Why are my waffles coming out soggy?
You are likely stacking them immediately after cooking. This traps steam and softens the crust, so always use a wire rack for 30 seconds to maintain crispness.
How to store and reheat leftover waffles?
Freeze them in a single layer on a baking sheet before transferring them to a freezer bag. This prevents them from clumping and keeps them fresh for up to 2 months.
Is it true that I should overmix the batter to get a smooth texture?
No, this is a common misconception. Overmixing develops too much gluten, which makes the waffles tough and dense instead of light and fluffy.
Easy Waffles From Scratch