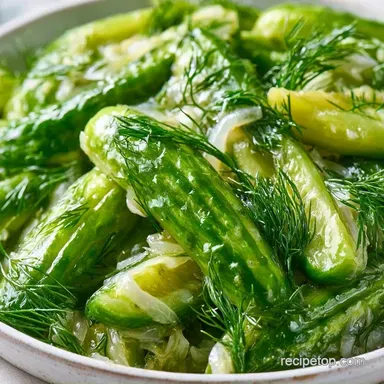
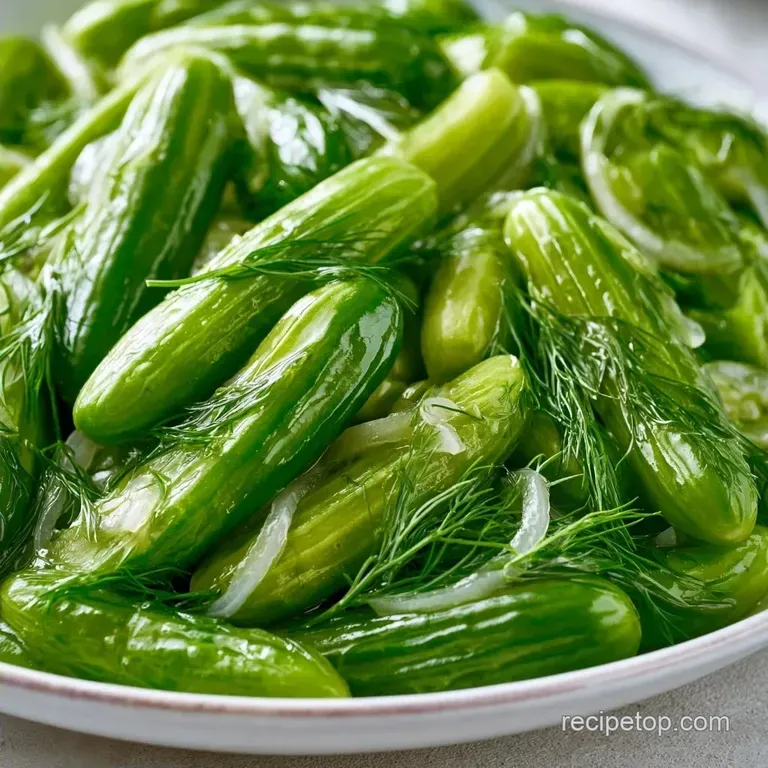
Homemade Refrigerator Pickles with Fresh Dill
- Time: 10 min active + 24 hrs chilling
- Flavor/Texture Hook: Sharp, vinegary snap
- Perfect for: Meal prep or burger night
- Easy Homemade Refrigerator Pickles
- Why the Brine Works
- What Each Ingredient Does
- The Grocery List
- Gear You Will Need
- Making Your Batch
- Fixes for Common Issues
- Troubleshooting Common Issues
- Diet and Health Swaps
- Scaling Your Batch
- Truth About Pickling
- Storage and Scrap Tips
- What to Serve Them With
- Critical Sodium Level
- Recipe FAQs
- 📝 Recipe Card
That sharp, satisfying snap when you bite into a cold pickle is a total mood. I remember the first time I brought a jar of these to a family reunion in July. Everyone was tired of the same store-bought slices, and as soon as I put these out, the jar was half empty in ten minutes.
It’s the kind of side dish that feels like a treat but takes almost no effort.
You don't need to worry about pressure cookers or worrying if your lids sealed right. These Refrigerator Pickles rely on a simple cold soak method. They're bright, acidic, and have a clean flavor that cuts right through heavy foods.
If you've never tried making your own, this is the place to start. We're focusing on a balanced brine that hits the salt and sugar notes without being overly sweet. It's a straightforward process that rewards you with a pantry staple.
Easy Homemade Refrigerator Pickles
The goal here is a balance of nutrition and flavor. Since we aren't heat processing these for long term shelf storage, the vitamins in the fresh dill and garlic stay more intact. It's a great way to get those probiotic adjacent flavors while keeping things fast.
I've found that using Kirby cucumbers is a must. They have a thicker skin and denser flesh, which means they won't turn into mush after a day in the fridge. If you use standard salad cucumbers, you'll likely end up with something too soft.
Making Homemade Refrigerator Pickles is essentially an exercise in patience. The brine does the heavy lifting, but the 24 hour wait is where the magic happens. Trust me, resisting the urge to eat them after two hours is the hardest part.
Why the Brine Works
- Salt Draw: The kosher salt pulls excess water out of the cucumber cells, which makes room for the vinegar to move in.
- Acid Barrier: The white vinegar creates an environment where spoilage bacteria can't grow, keeping the veggies fresh for weeks.
When choosing between a fresh approach or a shortcut, it really comes down to the texture you want. Here is how they stack up:
| Feature | Fresh Cut Method | store-bought Shortcut |
|---|---|---|
| Texture | High snap, firm | Often soft or rubbery |
| Sodium | You control the salt | Usually very high |
| Flavor | Bright, fresh dill | Dull, metallic vinegar |
What Each Ingredient Does
| Ingredient | What It Does | Best Swap |
|---|---|---|
| White Vinegar | Provides the acid for preservation | Apple Cider Vinegar (milder) |
| Kosher Salt | Draws out water and adds seasoning | Sea salt (avoid table salt) |
| Fresh Dill | Adds the classic herbaceous note | Dried dill (use less) |
| Garlic | Adds a pungent, savory depth | Garlic powder (not recommended) |
The Grocery List
- 2 lbs Kirby or Persian cucumbers, sliced into spears or rounds Why this? Thicker skin prevents sogginess
- 1 medium white onion, thinly sliced
- 4 cloves garlic, smashed
- 4 sprigs fresh dill
- 1 cup white distilled vinegar Why this? Clean, sharp acid profile
- 1 cup water
- 2 tbsp kosher salt Why this? Larger grains dissolve evenly
- 1 tbsp granulated sugar
- 1 tsp black peppercorns
- 1 tsp mustard seeds
Gear You Will Need
You don't need much for this. Two clean quart sized glass jars are the main requirement. I prefer Mason jars because the lids seal tight and keep the brine from leaking. A small stainless steel pot for the brine is also necessary.
If you have a mandoline, it'll make the onion slicing go faster, but a sharp chef's knife works just fine.
Making Your Batch
- Wash the cucumbers thoroughly and slice them into spears or 1/4 inch rounds.
- Pack the sliced cucumbers, onions, smashed garlic, and fresh dill evenly into two clean quart sized glass jars, leaving half an inch of headspace.
- In a small pot, combine white vinegar, water, salt, sugar, peppercorns, and mustard seeds.
- Bring the brine to a simmer over medium heat, stirring until the salt and sugar crystals disappear.
- Carefully pour the hot brine over the cucumbers until they are completely submerged.
- Tap jars gently on the counter to remove air bubbles, seal tightly, and let cool on the counter for 30 minutes.
- Transfer to the refrigerator and chill for 24 hours before serving.
Chef Note: If you see some bubbles forming around the cucumbers after pouring the brine, don't panic. That's just air escaping. A quick tap on the counter usually clears them right out.
Fixes for Common Issues

It's easy to get these right, but a few things can go sideways. The most common issue is texture. If your Refrigerator Pickles come out soft, it's usually because of the cucumber variety or the temperature of the brine.
Troubleshooting Common Issues
| Issue | Solution |
|---|---|
| Why Your Pickles Are Soft | Using "English" or "hothouse" cucumbers often leads to a mushy result because they have less pectin. |
| Why the Brine Is Cloudy | This is usually just the garlic or mustard seeds reacting with the vinegar. It doesn't affect the taste or safety, so you can just ignore it. |
| Why Veggies Float | If your cucumbers are floating, they aren't absorbing the brine evenly. You can use a small glass weight or a folded piece of parchment paper to keep them submerged. |
Diet and Health Swaps
If you're watching your sugar or want a different flavor profile, these Homemade Refrigerator Pickles are very flexible. You can easily make them keto friendly by swapping the sugar for a pinch of stevia or just leaving it out entirely.
The sugar is mainly there to balance the harshness of the vinegar, so the taste will be more aggressive without it.
For a lower sodium version, you can cut the salt back to 1 tbsp, but keep in mind that the texture might be slightly softer. I wouldn't go lower than that, as the salt is what keeps the cucumbers crisp.
| Original Ingredient | Substitute | Why It Works |
|---|---|---|
| Granulated Sugar | Monk Fruit Sweetener | Maintains sweetness without calories |
| White Vinegar | Rice Vinegar | Milder taste. Note: Less acidic, may shorten shelf life |
| White Onion | Red Onion | Adds a pop of color and a sweeter bite |
Scaling Your Batch
When you're making a larger amount of Homemade Refrigerator Pickles, don't just multiply everything blindly. I've found that the salt and spices don't need to scale linearly.
If you're doubling the recipe, increase the salt and peppercorns to about 1.5x instead of 2x. The liquid usually scales fine, but too much salt in a large batch can become overwhelming. If you're making a tiny batch (half), use a smaller pot for the brine so it doesn't evaporate too quickly during the simmer.
Truth About Pickling
Some people think you have to boil the vegetables to make them "real" pickles. That's not true for this method. Boiling actually destroys the cell walls of the cucumber, which is why canned pickles are often softer than these.
Another myth is that you need specialized pickling salt. While pickling salt is pure, kosher salt works perfectly well as long as you don't mind a tiny bit of mineral variation. Just avoid table salt, which contains anti caking agents that can make your brine look cloudy.
Storage and Scrap Tips
Keep your Refrigerator Pickles in the fridge at all times. They'll stay crisp and tasty for about 3 to 4 weeks. Once you've eaten all the cucumbers, don't toss that brine. It's essentially a seasoned vinegar. I use the leftover liquid as a base for a Homemade Italian Dressing Salad recipe or to marinate chicken breasts before grilling.
If you have leftover onion ends or garlic skins, toss them into a freezer bag. When the bag is full, simmer them with water to make a quick vegetable stock. It's a simple way to reduce waste in the kitchen.
What to Serve Them With
These are the ultimate sidekick. They pair perfectly with a classic macaroni salad for a traditional summer spread. The acidity of the Refrigerator Pickles cuts through the creaminess of the mayo, making the whole plate feel lighter.
You can also chop them up and stir them into tuna salad or use them as a topping for a smash burger. If you're feeling fancy, serve them on a charcuterie board with sharp cheddar and salty salami. The contrast of the cold, vinegary crunch against the rich meats is exactly what you want.
Whether you're making Easy Refrigerator Dill Pickles for a party or just keeping a jar in the fridge for late night snacking, the process is a breeze. Once you taste the difference between these and the store-bought version, you'll never go back. Just remember to give them that full day to chill, and you're all set.
Critical Sodium Level
1657 mg 1,657 mg of sodium per serving (72% 72% of daily value)
The American Heart Association recommends a daily sodium limit of no more than 2,300 mg, with an ideal limit of 1,500 mg for most adults, especially those with hypertension.
Tips to Reduce Sodium in Your Pickles
-
Reduce Kosher Salt-25%
Cut the kosher salt in half (from 2 tbsp to 1 tbsp) to drastically lower the sodium while maintaining the pickling process.
-
Use Salt Substitutes-15%
Replace a portion of the salt with a potassium based salt substitute to keep the savory flavor with less sodium.
-
Boost Acidity-10%
Add a splash of lemon juice or apple cider vinegar to enhance the 'tang' and trick the palate into needing less salt.
-
Increase Aromatics-5%
Double the garlic and onion to provide a stronger, more complex flavor profile that compensates for the salt reduction.
-
Enhance with Herbs
Add extra fresh dill or include celery seeds to add aromatic depth without adding any sodium.
Recipe FAQs
Do homemade dill pickles in vinegar need to be refrigerated?
Yes, keep them in the fridge at all times. Because these are not processed in a water bath, they require cold storage to stay safe and crisp for 3 to 4 weeks.
What vinegar is best for refrigerator pickles?
White distilled vinegar is the best choice. It provides a clean, sharp acidity that allows the flavors of the fresh dill and garlic to stand out.
How to make homemade pickles with white vinegar?
Simmer white vinegar, water, salt, sugar, peppercorns, and mustard seeds in a pot. Pour this hot brine over cucumbers, onion, garlic, and dill packed in glass jars, then chill for 24 hours.
Do you have to boil brine for refrigerator pickles?
Yes, bring it to a simmer. Heating the brine ensures the salt and sugar are completely dissolved and helps the cucumbers absorb the flavors more efficiently.
How long does it take for the flavors to develop in the pickle?
Wait at least 24 hours. While you can eat them sooner, chilling them in the refrigerator for a full day allows the brine to fully penetrate the cucumbers.
Can brine for refrigerator pickles be reused?
Yes, save the leftover liquid. It acts as a seasoned vinegar that pairs excellently with homemade naan bread.
Is it true that English cucumbers are the best choice for crunch?
No, this is a common misconception. English cucumbers often lead to mushy results; Kirby or Persian cucumbers are preferred because they contain more pectin.
Crunchy Refrigerator Pickles