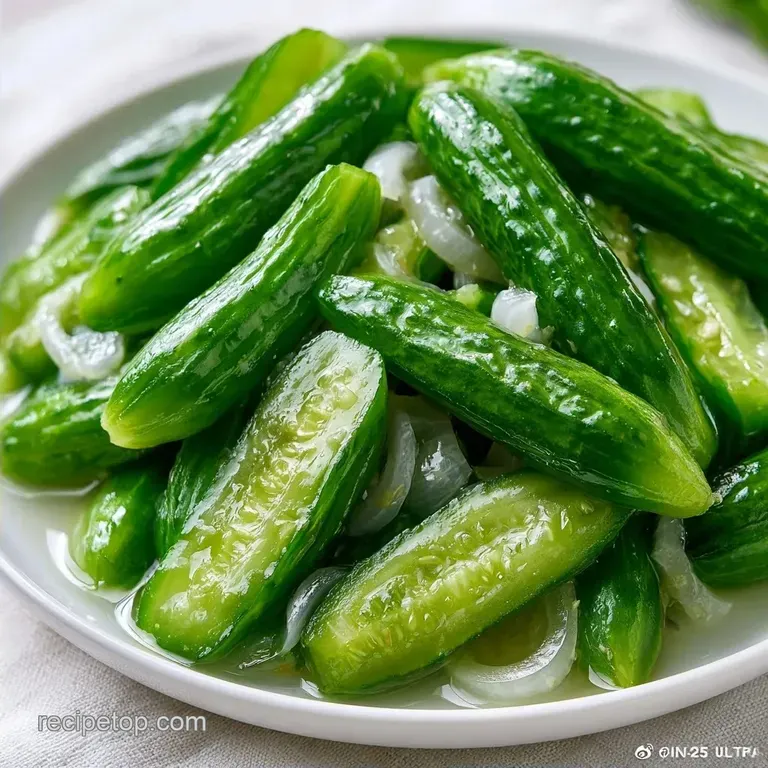
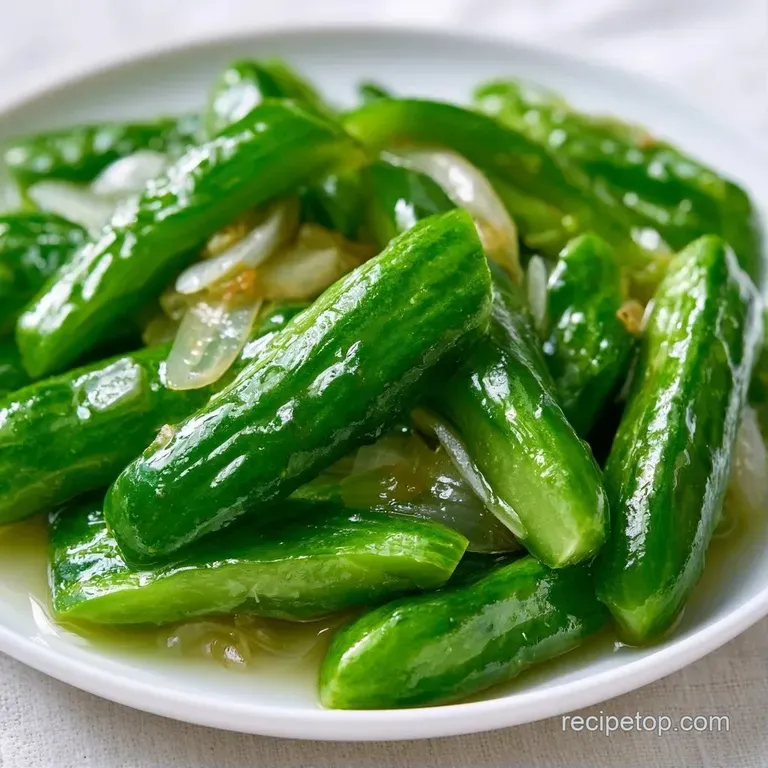
Crunchy Low-Sugar Refrigerator Dill Pickles
- Time: 20 min active + 25 hours 20 mins total
- Flavor/Texture Hook: Sharp, vinegary snap with a garlic punch
- Perfect for: Backyard BBQs, deli style sandwiches, or healthy snacking
That loud, satisfying snap of a cold cucumber spear is the only way to start a summer BBQ. I remember the first time I brought a jar to a family reunion. Everyone expected those soggy, store-bought slices, but these stayed firm and bright.
They cut right through the heaviness of grilled burgers and potato salad.
You don't need a chemistry degree or expensive pressure canners to get this right. It's all about the balance of salt and vinegar. These Refrigerator Pickles stay in the fridge, which means we skip the scary boiling water bath process entirely.
Expect a bright, tangy result that tastes better after the second day. We're focusing on a balanced profile that supports the natural flavor of the Kirby cucumbers. It's a straightforward process, but a few small errors can lead to mushy results.
Refrigerator Pickles
The Cold Steep: Chilling the jars slows down the softening of the cell walls in the cucumber. This keeps them crunchy for weeks.
Brine Temperature: Heating the vinegar and salt just enough to dissolve them ensures the flavor is even. It doesn't cook the vegetable, so the texture remains raw.
| Method | Time | Texture | Best For |
|---|---|---|---|
| Quick Soak | 2 hours | Very crisp, light flavor | Immediate snacking |
| Cold Steep | 24 hours | Firm, deep penetration | Meal prep/Guests |
| Traditional | Weeks | Softened, fermented | Long term storage |
What Each Ingredient Does
| Ingredient | What It Does | Best Swap |
|---|---|---|
| Kirby Cucumbers | Provides the crunch | Persian cucumbers (slice thinner) |
| White Vinegar | Adds acidity and preserves | Apple cider vinegar (milder) |
| Kosher Salt | Draws out moisture | Sea salt (avoid table salt) |
| Fresh Dill | Adds herbal brightness | Dried dill (use 1/3 amount) |
The Basic Specs
For this version, we use a balanced brine that leans toward a classic deli profile. Since we are focusing on nutrition and meal prep, we keep the sugar low. This makes them a great low calorie addition to any plate.
Right then, let's look at what you'll need. Make sure your jars are clean to avoid any off flavors. I prefer using glass Mason jars because they don't react with the vinegar.
- 2 lbs Kirby cucumbers, sliced into spears Why this? Thick skin prevents them from getting mushy.
- 1 medium white onion, thinly sliced Why this? Adds a sharp, savory contrast.
- 4 cloves garlic, smashed Why this? Smashed cloves release more oils than minced.
- 1 cup distilled white vinegar Why this? High acidity for a clean, sharp taste.
- 1 cup filtered water Why this? Prevents chlorine tastes from tap water.
- 2 tbsp kosher salt Why this? Coarser grains dissolve more predictably.
- 1 tbsp granulated sugar Why this? Balances the harshness of the vinegar.
- 1 tbsp dill seed Why this? Provides a deep, earthy base note.
- 4 sprigs fresh dill, roughly chopped Why this? Gives that signature fresh "green" smell.
- 1 tsp black peppercorns Why this? Adds a subtle, woody heat.
- 1/2 tsp celery seed Why this? Adds a salty, aromatic depth.
The Necessary Tools
You don't need much here. A medium stainless steel saucepan is best because vinegar can react with some aluminum pans. I also suggest using a slotted spoon to pack the jars.
Avoid using plastic containers for the long soak. The vinegar can leach chemicals from low grade plastics over time. Stick to glass. If you have a mandoline, it makes the onion slicing much faster, but a sharp chef's knife works just as well.
Step by step Guide
- Tightly pack the cucumber spears, sliced onions, smashed garlic cloves, and fresh dill sprigs into two clean 1 quart glass Mason jars. Note: Leave about 1/2 inch of headspace at the top.
- Combine distilled white vinegar, water, kosher salt, sugar, dill seed, peppercorns, and celery seed in a medium stainless steel saucepan.
- Heat the brine over medium low heat. Stir until the sugar and salt are completely dissolved, but do not let it reach a rolling boil.
- Carefully pour the warm brine over the cucumbers in the jars. Ensure all vegetables are completely submerged to prevent spoilage.
- Seal the jars with lids. Let them sit at room temperature for 1 hour to cool slightly.
- Transfer the jars to the refrigerator.
- Chill for at least 24 hours before serving. Wait for the brine to turn a slightly cloudy yellow for the best flavor.
Common Pitfalls and Fixes
One mistake I made early on was boiling the brine too hard. If the liquid is too hot when it hits the cucumbers, you're essentially blanching them. This ruins the snap and leaves you with a limp vegetable.
Another issue is the "floaters." If your cucumbers float above the liquid line, they will soften or spoil. I usually use a small glass weight or a folded piece of parchment paper to keep everything pushed down.
Why Your Pickles Soften
If your Refrigerator Pickles lose their crunch, it's usually due to the enzyme pectinase. This enzyme breaks down the pectin in the cell walls. Using Kirby cucumbers instead of English ones helps because they have a firmer structure.
| Problem | Root Cause | Solution |
|---|---|---|
| Mushy Texture | Brine too hot | Heat only until salt dissolves |
| Dull Flavor | Not enough salt | Use exact measurements of kosher salt |
| Cloudy Liquid | Impure water | Use filtered or distilled water |
Swaps and New Flavors
You can easily pivot this recipe depending on what you have in the pantry. If you want something a bit more mellow, try my Easy Refrigerator Pickle Recipe which uses different ratios.
If you prefer a spicy kick, add two sliced jalapeños or a teaspoon of red pepper flakes to the jar before pouring the brine. For a sweeter version, increase the sugar to 3 tablespoons. This creates a profile closer to bread and butter style.
For a low sodium option, you can reduce the salt to 1 tablespoon, but be aware that they won't stay crisp as long. I've also tried adding a slice of lemon for a citrusy twist, which works great with the dill.
| Original Ingredient | Substitute | Why It Works |
|---|---|---|
| White Vinegar | Apple Cider Vinegar | Milder tang. Note: Changes color to amber |
| Granulated Sugar | Honey | Natural sweetener. Note: Adds a floral note |
| Fresh Dill | Fresh Parsley | Earthy flavor. Note: Less "pickly" taste |
Adjusting the Batch Size
If you're only making a small batch, just halve everything. Use two pint sized jars instead of quarts. I find that scaling down works perfectly without any changes to the timing.
When doubling the recipe, don't double the salt and spices exactly. I usually go to 1.5x for the dill seed and peppercorns. Overdoing the spices in a larger volume can make the brine taste medicinal.
If you're scaling up for a party, work in batches. It's easier to ensure the brine is evenly distributed across four jars than trying to pour one massive pot into several containers at once.
Debunking Pickle Myths
Some people think you need to soak cucumbers in ice water for hours before pickling. While this can add a bit of crispness, it's not necessary if you use the right cucumber variety and a cold steep.
Another myth is that you must use a specific "pickling salt." While pickling salt is pure, kosher salt works just as well as long as it doesn't have added iodine. Iodine can sometimes turn the brine a strange color.
Storage and Waste Tips
Keep your Refrigerator Pickles in the fridge at all times. They stay fresh and crunchy for about 4 to 6 weeks. Always use a clean fork to pull them out of the jar to avoid introducing bacteria.
Don't throw away the leftover brine. It's basically a seasoned vinegar. I use it as a base for a quick marinade for grilled chicken or even as a splash in a bloody mary.
If you have cucumber ends or peels left over, toss them into a freezer bag. Once you have a few, you can simmer them with water and vinegar to make a quick, rough cut relish for burgers.
Best Side Dish Pairings
These are high acid, so they pair well with rich, fatty foods. I love serving them alongside a Classic Macaroni Salad because the vinegar cuts through the creamy mayo.
They also work as a topping for smoked brisket or pulled pork sandwiches. The acidity resets your palate between bites of heavy meat. If you're doing a healthy lunch, slice them up and add them to a grain bowl with quinoa and roasted chickpeas.
Since these are low in sugar and calories, they're a great way to add volume to a meal without adding a lot of weight. Just keep them chilled until the very last second for the best experience.
Recipe FAQs
Do homemade dill pickles in vinegar need to be refrigerated?
Yes, they must stay chilled. Since these are not processed in a water bath, the refrigerator prevents spoilage and keeps them crunchy for 4-6 weeks.
How long should you let refrigerator pickles sit before eating?
Chill for at least 24 hours. While they are safe to eat sooner, the flavors need a full day in the fridge to fully penetrate the cucumber spears.
What vinegar is best for refrigerator pickles?
Distilled white vinegar is the standard. It provides a clean, sharp acidity that doesn't alter the vegetable color. If you enjoy balancing sharp and sweet flavors, try our Classic Pumpkin Pie.
How to make sweet pickles without canning?
Dissolve granulated sugar into the brine. Heat the vinegar, water, salt, and sugar over medium low heat until dissolved, then pour over the cucumbers and refrigerate.
Can brine for refrigerator pickles be reused?
Yes, keep it for other uses. Use the leftover seasoned vinegar as a marinade for grilled chicken or as a savory splash in a Bloody Mary.
How do you make grandma's icebox pickles?
Pack cucumbers, onions, and dill into jars. Pour over a warm mixture of distilled white vinegar and salt brine, then refrigerate for 24 hours.
Is it true that you must boil the brine for a long time to make them safe?
No, this is a common misconception. Heat the brine only until the sugar and salt are completely dissolved; a rolling boil is not required for refrigerator pickles.
Homemade Refrigerator Pickles

