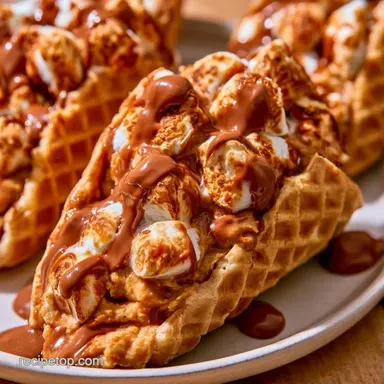
Campfire Ice Cream Cones in 15 Minutes
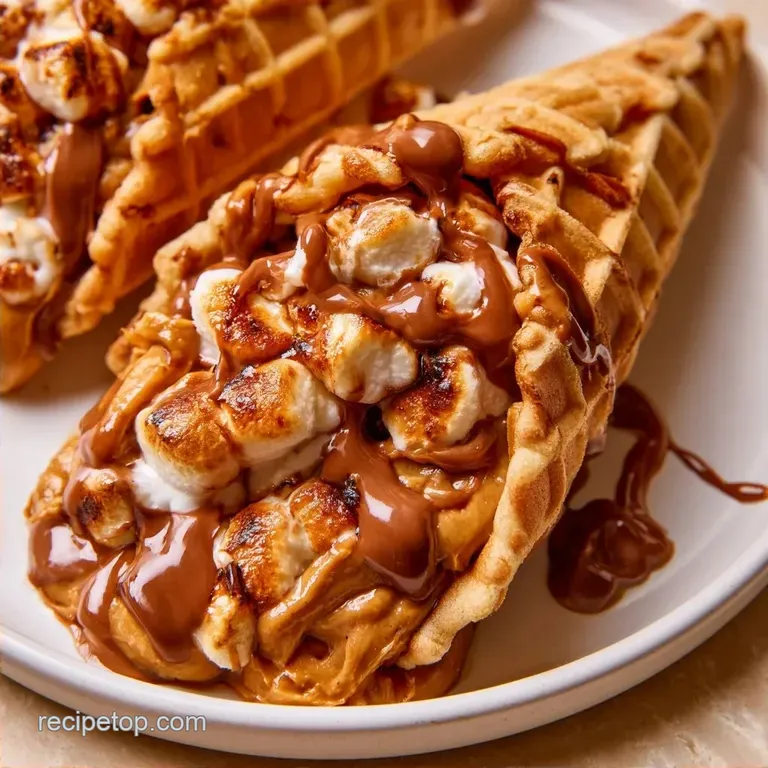
- Time: 5 minutes preparation + 10 minutes cooking
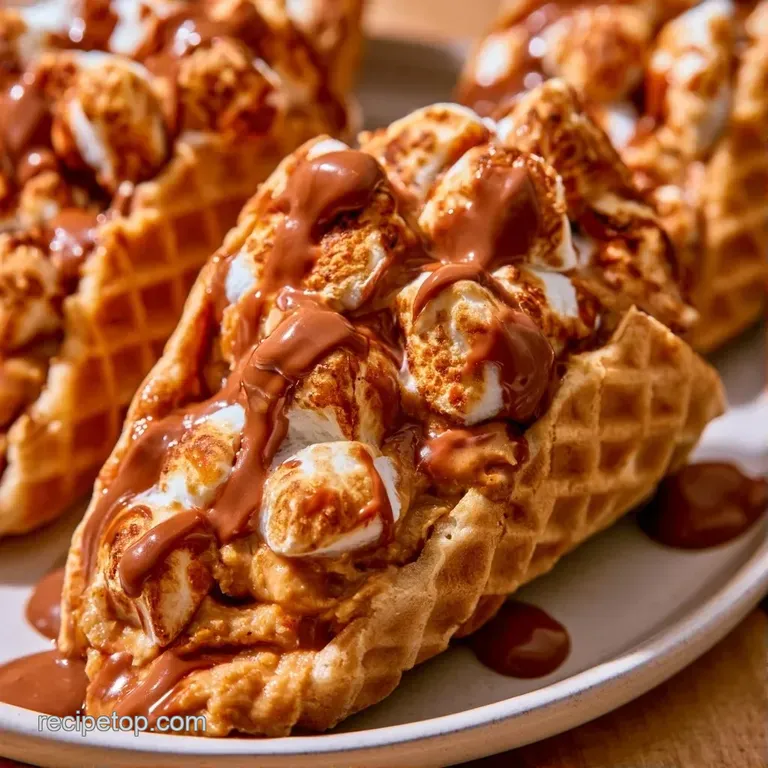
- The Experience: Molten chocolate and toasted marshmallows paired with a crunchy waffle cone
- Perfect for: Outdoor camping, backyard fire pits, or a fast sweet snack
Have you ever noticed how we struggle with a flaming marshmallow for minutes, only for it to plunge straight into the dirt? I've wasted too many evenings trying to balance a graham cracker while the chocolate remained stubbornly solid. It is a stressful race against the clock that usually concludes with sticky fingers.
That is why I began stuffing all the ingredients into a cone. The heat spreads more consistently, and every single bite contains all the flavors. These Campfire Ice Cream Cones transform a fumbling process into a treat you can easily enjoy while socializing by the fire.
You can look forward to a dessert that is warm, rich in chocolate, and wonderfully crisp. It is essentially a portable, upgraded version of the classic s'more.
Campfire Ice Cream Cones
First, let's cover the essentials. This recipe makes 12 cones, which is typically plenty for a small crowd or one very hungry camper. Since active prep takes only 5 minutes, you can get started while your fire settles into a perfect ember glow.
The cooking time is 10 minutes, though this is passive time; they simply need to sit in the heat. From start to finish, the total time is 15 minutes, making this one of the quickest outdoor desserts you can whip up.
Key Techniques Explained
- Waffle Cone Structure: These cones have a denser weave than wafer cones, so they don't shatter when the filling gets heavy.
- Foil Heat Trap: Wrapping the cone creates a small oven. The foil traps steam, which melts the chocolate and marshmallows without burning the exterior.
- The PB Seal: A thin layer of peanut butter acts as a moisture barrier. It stops the melting marshmallow from soaking into the cone too quickly.
The foil creates a pressurized heat pocket. This ensures the center gets hot enough to melt the chocolate chips without the edges of the cone turning to ash.
| Method | Time | Texture | Best For |
|---|---|---|---|
| Traditional S'mores | 15 mins | Toasted/Crispy | Classic campfire vibe |
| Cone Version | 15 mins | Gooey/Melty | Mess free eating |
| Oven Baked | 10 mins | Uniform/Soft | Large indoor parties |
What Each Ingredient Does
| Ingredient | Role | If You Don't Have It |
|---|---|---|
| Waffle Cones | Structural shell | Sugar cones (but they're more brittle) |
| Mini Marshmallows | Gooey binder | Large marshmallows (cut into quarters) |
| Chocolate Chips | Melted core | Chopped candy bars |
| Graham Crackers | Textural contrast | Biscoff crumbs or digestive biscuits |
| Peanut Butter | Moisture barrier | Almond butter or a thin layer of chocolate |
Ingredients & Substitutes
- 12 large waffle cones
- 3 cups (120g) mini marshmallows Why this? Melts faster and more evenly than large ones
- 1 cup (170g) semi sweet chocolate chips Why this? Holds its shape better than milk chocolate
- 1 cup (60g) graham crackers, crushed Why this? Adds a honey like crunch
- 1/2 cup (60g) peanut butter Why this? Adds richness and protects the cone
Quick swaps:
- Semi sweet chips → Dark chocolate (more bitter, less sweet)
- Graham crackers → Pretzels (adds a salty kick)
- Peanut butter → Nutella (sweeter, hazelnut flavor)
Must Have Kitchen Tools
This recipe requires minimal gear, making it a fantastic choice for camping. Aside from a large mixing bowl for preparation, you won't need any major equipment. Just use a sturdy spoon to press the filling down firmly to eliminate any air pockets.
The most critical component is heavy duty aluminum foil. Lightweight foil can tear while you're twisting the top, and a leak means your chocolate ends up on the coals instead of in your mouth. I suggest using 12 inch squares to ensure a secure seal.
Steps From Prep to Plate
1. Combine the Filling
In a mixing bowl, toss together the crushed graham crackers, chocolate chips, and mini marshmallows. Stir gently to ensure the chips and crumbs are evenly distributed.
2. Create a Barrier
Spread a thin coating of peanut butter inside each waffle cone. Note: This prevents the cone from getting soggy.
3. Fill the Cones
Spoon the s'mores mix into the cones. Using the back of a spoon, press the filling down firmly to eliminate air pockets, filling slightly above the rim.
4. Prepare the Foil
Place each filled cone in the center of a 12 inch square of heavy duty foil.
5. Wrap the Pouches
Wrap the foil tightly around the cone, twisting the top to create a seal and pinching the bottom shut.
6. Apply Heat
Set the wrapped cones on the outer edge of the grill or nestled among warm embers.
7. Time the Cook
Heat for 7-10 minutes. Wait until the foil feels hot to the touch and you notice a toasted, sugary aroma.
8. Serve
Carefully unwrap the cones and serve immediately while the filling is molten.
Pro Tip: For very hot grills, keep the cones on the far edges. The objective is a gentle melt rather than a quick sear.
Techniques for Better Results
To get the best results, focus on the "pack." If you leave gaps in the filling, the heat won't penetrate the center, and you'll end up with a cold marshmallow in the middle. Pressing the mixture down creates a solid mass that melts uniformly.
Another trick is the foil twist. By twisting the top tightly, you create a chimney effect that pushes heat down into the cone. This is what gives you that consistent, melted core.
Quick Decision Guide: Extra salt? → Add 1 tsp flaky sea salt to the mix. More crunch? → Increase graham crackers by 1/4 cup. Fruitier taste? → Add 2 tbsp dried cranberries.
Fixing Common Cone Issues
Preventing a Soggy Bottom
The bottom of the cone is the most vulnerable spot. If the foil isn't pinched tight, moisture from the melting marshmallows can seep into the waffle. Double wrapping the bottom of the foil pouch usually solves this.
Avoiding Burnt Tops
Since the top is the most exposed part of the pouch, it can scorch if placed directly on a flame. Keep the cones in the embers rather than on the active fire to ensure a gentle heat.
Fixing Cold Centers
If the center isn't melted, the filling was likely packed too loosely or the embers were too cool. Give them another 2 minutes, but check them frequently to avoid burning the shell.
| Problem | Root Cause | Solution |
|---|---|---|
| Soggy Cone | Foil leak or no PB barrier | Use heavy duty foil and a peanut butter lining |
| Burnt Shell | Direct flame contact | Move cones to the cooler edge of the grill |
| Unmelted Core | Loose packing/Low heat | Press filling firmly; leave in embers longer |
Storing and Reheating Treats
These are best eaten fresh, but leftovers can be kept in a sealed container in the fridge. They'll stay good for about 24 hours, though the cone will naturally soften as the sugar absorbs moisture.
For zero waste, mix leftover graham cracker crumbs into your morning oatmeal or use them to crust a banana. Extra peanut butter is also great as a quick snack with apple slices.
To reheat a Campfire Ice Cream Cone, leave it in the foil and use a warm grill or warm it for 5 minutes in an oven at 300°F (150°C). Avoid the microwave, as it can make the waffle cone rubbery.
Twists and Dietary Swaps
Feel free to customize these treats. To achieve a "Nutty Crunch," stir crushed pecans or walnuts into the marshmallow mixture. For a "Fruity Fusion" flavor, mix in some dried raspberries or a few pieces of dried apricot.
Accommodating dietary restrictions is simple. Just use a gluten-free waffle cone and a marshmallow brand that is vegan friendly. If you're looking for a sweet, fried alternative, try these Homemade Churros for your next get-together.
| Original Ingredient | Budget Option | Impact | Savings |
|---|---|---|---|
| Name Brand Waffle Cones | Store Brand Sugar Cones | More brittle shell | $1-2 per pack |
| Semi Sweet Chips | Chopped Baking Chocolate | Slightly different melt point | $0.50 per oz |
| Peanut Butter | Sunflower Butter | Nut free, slightly earthier | Neutral |
What to Serve Alongside
Since these are quite rich, you'll want something to offset the sweetness. A few sliced Granny Smith apples or a bowl of fresh strawberries provide a bright contrast to the melted chocolate.
To cut through the sugar, I suggest a fresh Italian salad as an appetizer. The acidic dressing refreshes your palate before you dive into this decadent dessert.
As for drinks, a chilled glass of milk is the timeless choice. However, a bold black coffee or a tart iced tea also works wonderfully to balance out the peanut butter and marshmallows.
Common S'mores Misconceptions
Myth: You must use a direct flame to melt marshmallows. Truth: Embers offer a more steady heat, allowing the center to melt without instantly scorching the outside.
Myth: Waffle cones are too fragile for this. Truth: Because they are baked more densely, waffle cones are actually more structural than wafer cones.
Recipe FAQs
What is a campfire cone?
A toasted s'mores inspired dessert served in a waffle cone. It combines melted marshmallows, chocolate, and graham crackers wrapped in foil and heated over a fire.
How do you make campfire cones?
Mix marshmallows, chocolate chips, and graham crackers, then fill peanut butter lined cones. Wrap each in heavy duty foil and place on the grill or embers for 7 10 minutes.
Can you make campfire cones in the oven?
Yes, they work well in a conventional oven. Wrap them in foil as directed and heat until you smell a toasted aroma; for reheating, use 300°F (150°C).
Is it true that thin aluminum foil is sufficient for wrapping?
False. Use heavy duty foil to prevent punctures and ensure the heat distributes evenly without leaking melted chocolate.
Why is peanut butter smeared on the inside?
It creates a moisture barrier for the cone. This prevents the filling from soaking into the waffle, keeping it crunchy longer.
When are the cones considered finished?
Check for heat and aroma. Remove them once the foil is hot to the touch and a sugary, toasted scent is present.
Which other camping treats pair well with this?
Fresh fruit or fluffy breakfast items balance the richness. If you enjoyed the simple prep involved here, you'll love our fluffy homemade pancakes for your next trip.
Campfire Ice Cream Cones