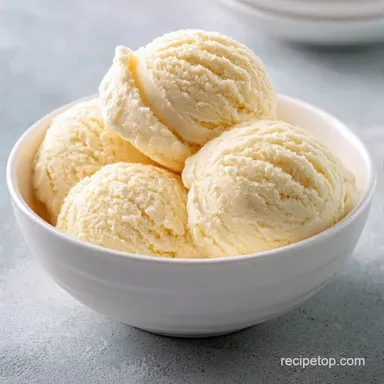
Bagged Ice Cream: 5-Minute Prep
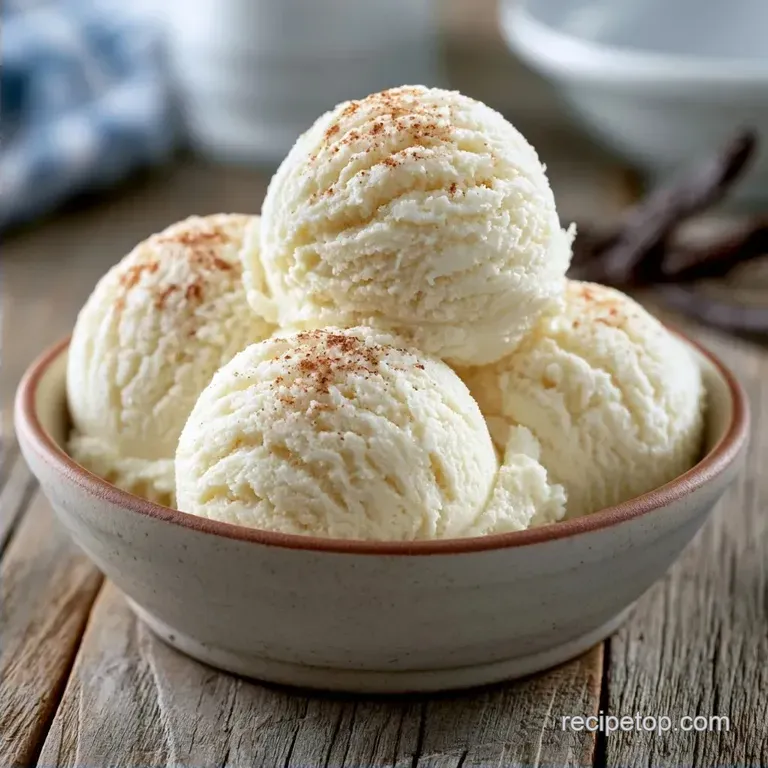
- Time: 5 min active + 10 min shaking
- Flavor/Texture Hook: Thick and creamy soft serve
- Perfect for: Kids' activities or a quick dessert craving
The sound of ice clinking against a plastic bag always takes me back to middle school. We'd all huddle around a table, shaking bags like our lives depended on it, just to get a few scoops of something cold and sweet. It felt more like a magic trick than cooking.
That's the beauty of making Ice Cream this way. It turns a few basic dairy products into a treat in about 15 minutes. You don't need a fancy churner or a whole afternoon of waiting for something to set in the freezer.
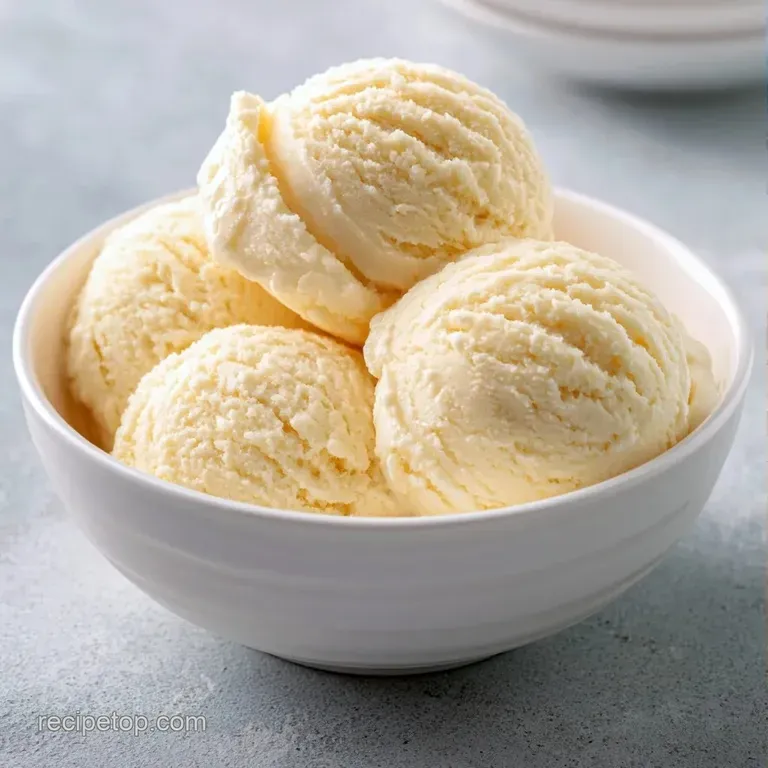
You'll get a consistency that's closer to soft serve than a hard packed pint. It's rich, sweet, and has that distinct nostalgic feel. Since we're doing this Ice Cream In A Bag style, it's all about the energy you put into the shaking.
Quick Homemade Ice Cream In A Bag
Salt and Ice: Salt lowers the freezing point of ice, making the brine much colder than 32°F. This allows the cream to freeze almost instantly.
Physical Agitation: Shaking the bag breaks up large ice crystals. This introduces air, which keeps the texture smooth rather than a solid block of ice.
Right then, let's look at how different methods compare before we get into the ingredients.
| Method | Time | Texture | Best For |
|---|---|---|---|
| Bag Method | 15 mins | Soft serve | Quick cravings / Kids |
| Churn Machine | 4 hours | Dense/Smooth | Large batches / Guests |
| No Churn (Whip) | 6 hours | Airy/Light | make-ahead desserts |
Basic Recipe Specs
This version focuses on a simple base. If you want a thicker result, you can use heavy cream instead of half and half. Just remember that the more fat you have, the richer it feels on the tongue.
For the best results, make sure your bags are high-quality freezer bags. Thin sandwich bags tend to leak salt, and trust me, salty vanilla is not the vibe we're going for here.
The Ingredients List
Before we start, check your salt. Kosher salt works better than table salt because the larger grains don't dissolve quite as instantly, providing a more consistent cooling effect.
| Ingredient | What It Does | Best Swap |
|---|---|---|
| Half and half | Provides the fat base | Heavy cream (for richer texture) |
| Granulated sugar | Sweetens and lowers freeze point | Maple syrup (adds woody flavor) |
| Vanilla extract | Adds aromatic depth | Almond extract (for a nutty twist) |
Ingredient Details
- 1 cup half and half Why this? Balanced fat for a smooth consistency
- 2 tbsp granulated sugar Why this? Essential for sweetness and texture
- ½ tsp pure vanilla extract Why this? Classic flavor profile
- 4 cups ice cubes Why this? The primary cooling agent
- ½ cup kosher salt Why this? Drops the temperature of the ice
Gear You Will Need
You only need a few items, though specific bag sizes are essential. Grab a quart sized bag for the ingredients and a gallon sized one for the ice.
To avoid frostbite while shaking the mixture vigorously for 10 minutes, I strongly suggest using a thick kitchen towel or winter gloves to protect your hands from the extreme cold.
How to Make It
Ready to start? This happens quickly, so ensure all your ingredients are prepped first.
- Combine the granulated sugar, vanilla extract, and half and half in a quart sized freezer bag.
- Remove as much air as possible and seal the bag securely. Note: Air pockets can make the bag burst during shaking
- Fill a gallon sized freezer bag halfway with ice cubes.
- Add the kosher salt to the ice.
- Tuck the sealed quart bag into the gallon bag, nestling it among the ice.
- Close the larger bag tightly.
- Use gloves or wrap the bag in a towel.
- Vigorously shake, roll, and massage the bag for 7–10 minutes until the mixture reaches a thick, soft serve consistency.
Chef's Tip: If your arms get tired, try rolling the bag across a counter. This helps maintain the movement without putting too much strain on your wrists.
Avoiding Kitchen Disasters
The most common issue with this 3 ingredient ice cream in a bag is salt seepage. If the small bag isn't sealed perfectly, brine leaks in and ruins the batch. I've had this happen twice, and it's a heartbreak.
Another thing is the temperature. If your ice is already melting before you start, the brine won't get cold enough. Start with fresh, hard ice from the freezer.
Preventing Salt Leak
Double bagging is the answer here. Put your mixture in one quart bag, seal it, and then put that bag inside another quart bag. It adds a second layer of defense against the salt.
Fixing Icy Texture
If your dessert feels grainy, you probably didn't shake it enough. The agitation is what creates that velvety feel. Give it another 2 minutes of vigorous shaking.
| Problem | Root Cause | Solution |
|---|---|---|
| Salty taste | Leaky bag seal | Use double bagging method |
| Liquid consistency | Not enough salt or shaking | Add more salt and shake 5 more mins |
| Icy grains | Not enough agitation | Shake more vigorously |
What to Serve it With
Since this is a soft serve style treat, it's great in a chilled bowl or a waffle cone. For a real treat, try serving it alongside some Easy Homemade Churros. The hot, cinnamon sugar pastry against the cold cream is a win every time.
If you're doing a big comfort food night, maybe starting with some Homemade Mac and Cheese and finishing with this Ice Cream makes for a legendary meal.
Adding Fresh Contrast
Try topping the cream with fresh raspberries or a drizzle of honey. The tartness of the berries cuts through the richness of the half and half.
Keeping It Fresh
This cream in a bag is meant to be eaten immediately. Because it doesn't have stabilizers, it melts faster than store-bought versions.
If you have leftovers, put them in a small container and freeze. Note that it will harden significantly in the freezer and lose some of its airy texture. Let it sit on the counter for 5 minutes before scooping.
For zero waste, if you have leftover brine (the salt water), don't pour it down the drain if you have a sensitive septic system. Dilute it with plenty of water first.
Customizing the Flavor
After you've mastered the basics, feel free to get creative. This is where the "In A Bag" technique becomes a fun experiment.
Decision Shortcut:
- Extra sweetness? → add 1 tbsp more sugar
- Thicker texture? → substitute half and half with heavy cream
- Chocolatey vibe? → stir in 1 tbsp cocoa powder
Adding Mix-ins
Fold in mini chocolate chips or crushed Oreos only after the shaking is finished. Don't add them beforehand, as they might clump together in one area.
Adapting for Diets
For a dairy-free option, try full fat coconut milk. It has a comparable fat content and freezes well, though it will lend a tropical flavor to your homemade bag ice cream.
And there you have it a quick, creamy treat made without any fancy tools. This simple Ice Cream recipe is more about the work than the gear. Just grab your bags, some ice, and start shaking to get your cold, sweet reward.
Recipe FAQs
Why didn't my ice cream thicken?
You likely didn't shake the bag vigorously for the full 7 10 minutes.
Tip: Use a thick towel to protect your hands so you can shake more intensely.
Is it true that table salt is useless here?
No, and here's why. Any salt lowers the freezing point of ice to freeze the cream, though kosher salt is the recipe standard.
Tip: Ensure the salt is poured directly over the ice cubes for maximum effect.
How to keep the bag from bursting?
Squeeze out all air before sealing the quart bag tightly.
Tip: Double bag the mixture if you are using thin plastic bags.
What can I pair with this dessert?
Serve this alongside fresh fruit or a warm pastry.
Tip: This also tastes great on top of fluffy pancakes for a special treat.
Bagged Ice Cream Recipe