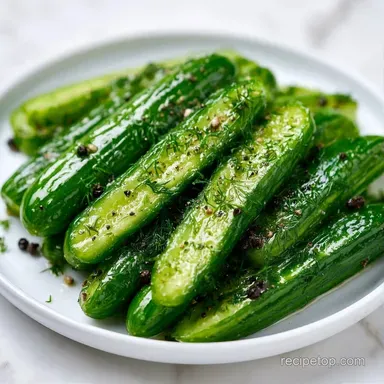
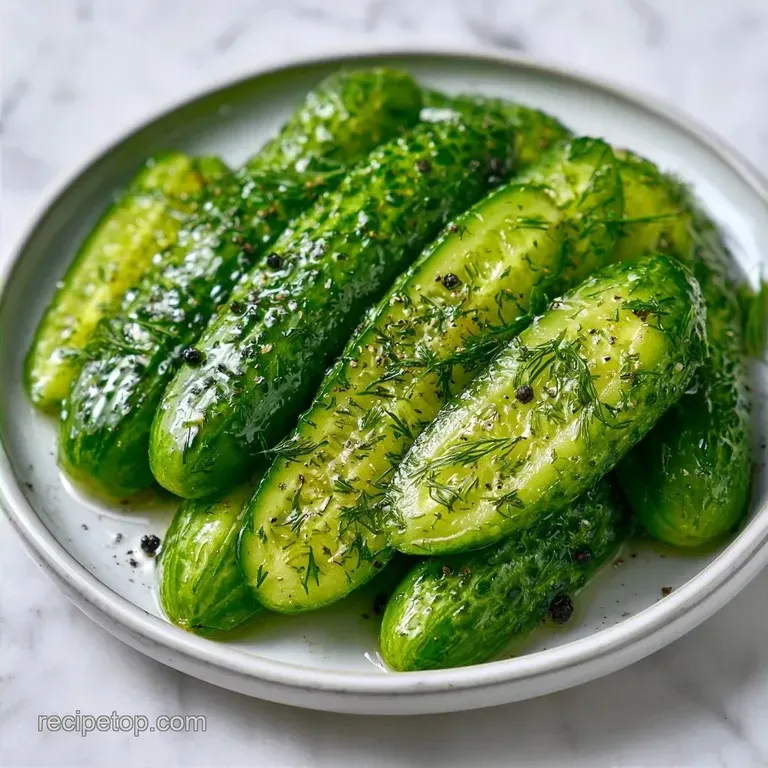
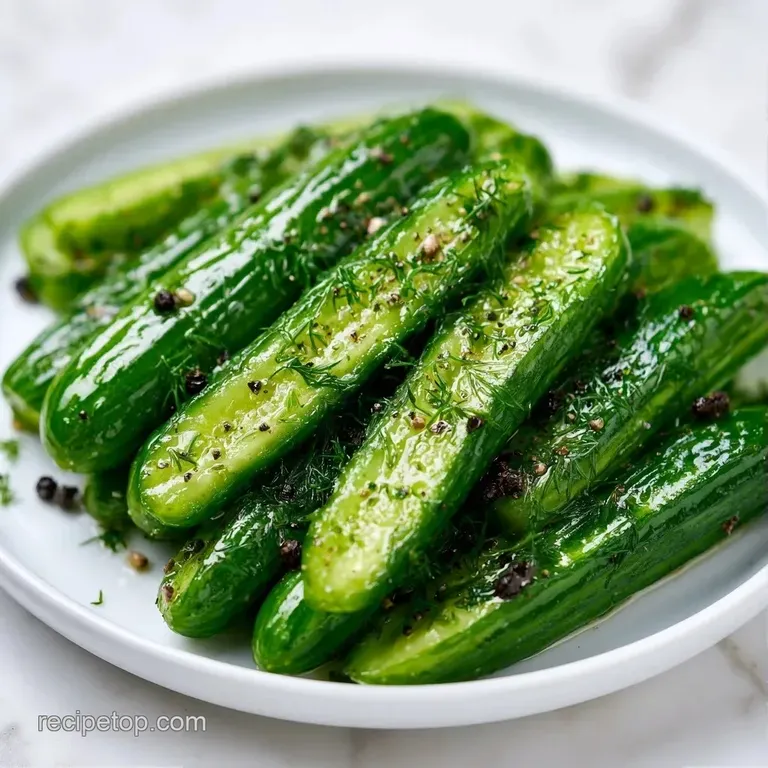
White Vinegar Pickles with Garlic and Dill
- Time: 15 min active + 2 hours 30 mins chilling/resting
- Flavor/Texture Hook: Sharp, tangy snap with a clean garlic finish
- Perfect for: Meal prep, burger toppings, or a low calorie snack
- Easy and Crispy White Vinegar Pickles
- Why You'll Love These Quick Pickles
- What Each Ingredient Does
- What You'll Need
- The Tool List
- Putting It All Together
- Avoiding Common Pickle Blunders
- Swapping Ingredients for Diets
- Storage and Waste Tips
- Serving Your Pickles
- Pickle Myths
- Recipe FAQs
- 📝 Recipe Card
Easy and Crispy White Vinegar Pickles
That sharp, satisfying snap of a cold pickle is one of the best things in a kitchen. I remember the first time I tried making these, and I was worried they'd turn out mushy because I didn't want to wait weeks for a traditional ferment. I wanted something I could eat by dinner, and these delivered.
The smell of simmering vinegar and garlic fills the room in about five minutes. It's a fast process that gives you a huge payoff. You get that classic deli taste without the guesswork of salt brining for days.
These White Vinegar Pickles are essentially a quick win for anyone who loves a tangy condiment. We're skipping the long wait and using a heat and chill method that keeps the vegetables crisp and the flavor bright.
Why You'll Love These Quick Pickles
This recipe is great because it's basically nutrition in a jar. You're getting the benefits of fresh cucumbers and garlic with very few calories. It's a smart way to add a lot of flavor to your plate without adding heavy fats or sugars.
Since these are refrigerator pickles, you don't have to worry about the stress of water bath canning. You just pack, pour, and chill. It's the most efficient way to get a high-quality side dish on the table.
The Snap: Using a distilled vinegar ensures a consistent acidity level, which helps the cucumbers maintain their cell structure. Rapid Infusion: The hot brine penetrates the cucumber skin faster than a cold brine would, cutting the wait time down to a few hours.
| Method | Prep Time | Texture | Best For |
|---|---|---|---|
| Quick Fridge | 15 mins | Sharp Snap | Immediate use, fresh flavor |
| Traditional Ferment | 2-4 weeks | Soft/Sour | long term storage, probiotics |
The main difference is how the acidity is introduced. With this version, we add the acid directly via vinegar, whereas fermentation creates acid naturally over time.
What Each Ingredient Does
Understanding the roles of these items helps when you want to tweak the flavor.
| Ingredient | What It Does | Best Swap |
|---|---|---|
| White Vinegar | Provides acidity and preservation | Apple Cider Vinegar (milder) |
| Kosher Salt | Draws out water for a firmer crunch | Sea Salt (avoid iodized) |
| Granulated Sugar | Balances the sharp vinegar bite | Honey or Maple Syrup |
| Fresh Dill | Adds the signature herbal aroma | Dried dill (use half amount) |
What You'll Need
Keep your ingredients fresh to ensure the best results.
- 2 lbs Persian or Kirby cucumbers, sliced into spears or rounds Why this? Smaller varieties have thinner skins and fewer seeds
- 4 cloves garlic, smashed Why this? Smashed cloves release more oils than sliced ones
- 2 sprigs fresh dill Why this? Fresh stems provide a deeper, grassier flavor
- 1 tsp black peppercorns Why this? Whole peppercorns add subtle heat without clouding the brine
- 1 cup distilled white vinegar Why this? Clean taste that doesn't compete with the garlic
- 1 cup filtered water Why this? Prevents minerals from making the brine cloudy
- 1 tbsp kosher salt Why this? Coarser grains dissolve predictably in hot liquids
- 1 tbsp granulated sugar Why this? Just enough to take the edge off the acid
The Tool List
You don't need much gear for this. A couple of quart sized Mason jars are essential for the pack. Use a non reactive saucepan, like stainless steel or enamel, to boil the brine. Using aluminum can sometimes react with the vinegar and leave a metallic taste.
A sharp knife or a mandoline is helpful for getting those spears uniform. Uniform slices mean every single piece of cucumber absorbs the brine at the same rate.
Putting It All Together
Let's get these White Vinegar Pickles moving.
- Pack the smashed garlic cloves, dill, and peppercorns at the bottom of two clean quart sized Mason jars.
- Tighten the sliced cucumbers into the jars, pressing down firmly to ensure they do not float. Note: Floating pieces often turn soft
- In a non reactive saucepan, combine distilled white vinegar, filtered water, kosher salt, and granulated sugar.
- Place the saucepan over medium high heat and stir occasionally until the mixture reaches a gentle boil and salt and sugar are completely dissolved.
- Immediately pour the boiling brine over the cucumbers until they are completely submerged.
- Tap the jars gently on the counter to release trapped air bubbles.
- Let the jars sit at room temperature for 30 minutes.
- Seal the lids and refrigerate for at least 2 hours.
Avoiding Common Pickle Blunders
Even with a simple recipe, things can go sideways. Most issues come down to temperature or ingredient quality.
Soft Pickle Problem
If your pickles lose their snap, it's usually because the cucumbers were too warm when the brine hit them, or you used a variety with too many seeds. Try soaking your sliced cucumbers in an ice bath for 30 minutes before packing them into the jars.
Harsh Brine Fix
Sometimes the vinegar feels too aggressive on the tongue. This happens if the sugar didn't dissolve fully or if you used a very high acidity vinegar. You can fix this by adding a tiny pinch more sugar to the finished jar and shaking it well.
Floating Cucumber Issue
Cucumbers that float don't get fully pickled and can become mushy. Use a small glass weight or even a folded piece of parchment paper to keep them submerged.
| Problem | Root Cause | Solution |
|---|---|---|
| Mushy Texture | Low salt or too much heat | Ice bath before packing |
| Cloudy Brine | Tap water minerals | Use filtered or distilled water |
| Bland Flavor | Undersized garlic/dill | Increase aromatics by 20% |
Swapping Ingredients for Diets
These are naturally low calorie, but you can make them fit other needs. If you're going keto or sugar-free, you can replace the granulated sugar with a pinch of stevia or just leave it out entirely. The result is a more pungent, savory pickle.
For a spicy kick, toss in a sliced jalapeño or a teaspoon of red pepper flakes. This pairs great with other zesty options, like a Homemade Italian Dressing for a full Mediterranean style spread.
If you want a different vinegar, apple cider vinegar works well but adds a fruitier note. This changes the profile of the White Vinegar Pickles, making them a bit more "country style."
Storage and Waste Tips
Keep these in the fridge. They stay crisp for about 3 to 4 weeks. Don't leave them on the counter, as they aren't canned for shelf stability.
Don't toss the leftover brine. It's a powerhouse of flavor. You can use it to marinate sliced red onions for 15 minutes to top tacos, or even use it as a base for a quick vinaigrette. Some people even use it to brine hard boiled eggs for a salty, tangy snack.
Serving Your Pickles
These are a great addition to a balanced plate. They add a hit of acidity that cuts through the richness of proteins. For example, they're a spot on side for Marry Me Salmon to balance that garlic butter sauce.
If you're hosting a BBQ, put these in a chilled bowl with a few fresh sprigs of dill on top for a professional look. They also work great as a crunch factor in a Classic Macaroni Salad.
Chef's Note: For an extra layer of crunch, add a clean grape leaf or a small piece of a tea bag to the jar. The tannins in the leaves help keep the cucumber cell walls firm.
Pickle Myths
Searing or boiling the cucumbers themselves is a common misconception. Some people think you need to blanch the veg to "set" the texture, but that actually breaks down the pectin and makes them soft. Only the brine needs heat.
Another myth is that you need a massive amount of salt to preserve refrigerator pickles. Since these stay cold and have high acidity from the vinegar, you only need enough salt for flavor and basic structural integrity, not for long term curing.
Once you've got a jar of White Vinegar Pickles in your fridge, you'll realize how much better they are than store-bought versions. They're cleaner, crunchier, and you know exactly what's inside. Right then, go grab some cucumbers and get started.
Recipe FAQs
Can white vinegar be used for pickles?
Yes, it is the standard for a crisp, tangy flavor. It provides the necessary acidity to preserve the cucumbers and creates a classic, clean brine.
What is the ratio of water to white vinegar for pickles?
Use a 1:1 ratio. This recipe calls for 1 cup of distilled white vinegar and 1 cup of filtered water to achieve a balanced acidity.
Do homemade dill pickles in vinegar need to be refrigerated?
Yes, keep them in the fridge. Because these are not water bath canned for shelf stability, refrigeration is required to keep them crisp for 3 to 4 weeks.
How to make homemade pickles with white vinegar?
Pack garlic, dill, and peppercorns into jars before adding sliced cucumbers. Pour boiling brine made from vinegar, water, salt, and sugar over the vegetables, let sit at room temperature for 30 minutes, and then refrigerate.
How long does it take for the flavors to develop in the pickle?
Wait at least 2 hours. While the pickles are safe to eat sooner, they need a few hours in the refrigerator to fully absorb the brine flavors.
Can brine for refrigerator pickles be reused?
Yes, it is a powerhouse of flavor. Use it to marinate red onions or as a base for vinaigrettes; if you loved the sweet tart balance here, see how we use similar principles in our homemade applesauce.
Is it true you must follow the 3-2-1 rule for all homemade pickles?
No, this is a common misconception. Different styles of pickles require different ratios; this specific recipe uses a 1:1 ratio for a sharper, more traditional taste.
Quick White Vinegar Pickles