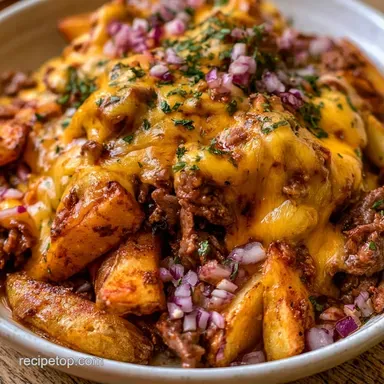
Campfire Nachos with Ground Beef in 20 Minutes
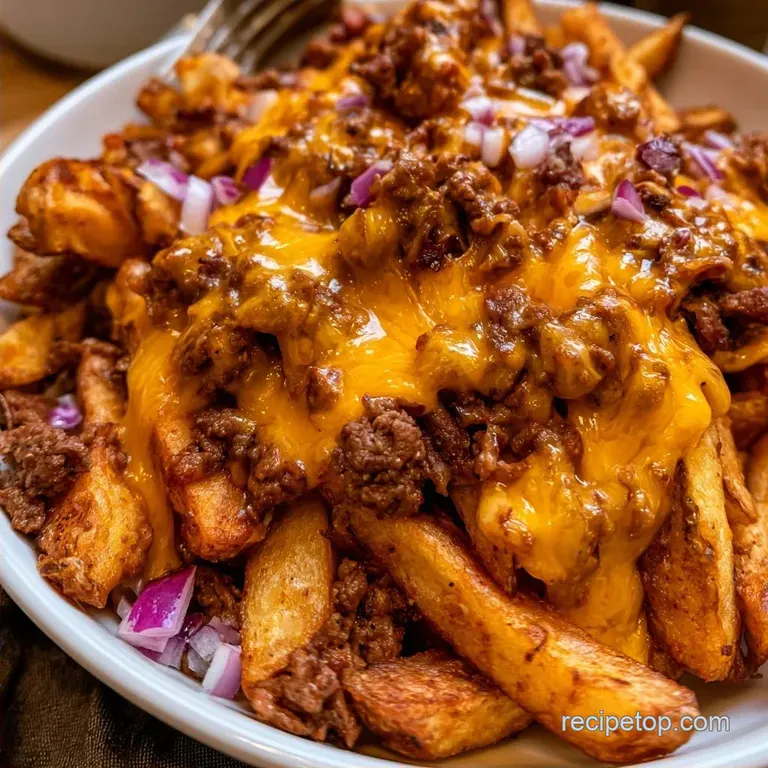
- Time: 5 minutes prep + 15 minutes on heat
- The Best Part: Crisp, crunchy corn chips topped with gooey, melted cheese
- Perfect for: Family outings in the woods or simple weekday meals
While the scent of woodsmoke and pine is lovely, nothing beats the aroma of sizzling beef over a campfire. I once attempted to brown the meat directly over the flames before adding it to the chips, and it was a total failure. The juices soaked everything, leaving me with a mound of salty, soggy beef paste.
The secret lies in selecting thick cut chips. While thinner options buckle under the load of beef and cheese, sturdier chips maintain their integrity. This simple switch transforms a sloppy appetizer into a satisfying, crunchy meal.
Get ready for a rich, cheesy feast that captures the spirit of a campfire gathering. By doing a little preparation at home, we'll create Campfire Nachos with Ground Beef that stay sturdy and delicious.
The Quick Specs
This dish serves 4 people and takes about 20 minutes total. It's designed for a cast iron skillet, though you can adapt it. Most of the heavy lifting happens in your kitchen before you even leave for the campsite.
The budget is low here, as ground beef and corn chips are staples. You get a high protein meal without spending a fortune on fancy camping gear. It's a family friendly win that fills everyone up.
Why This Actually Works
- Pre cooked Beef: Browning the meat at home removes the fat and water that normally soak into the chips.
- Foil Canopy: Covering the pan traps steam to melt the cheese quickly without burning the bottom layer.
- Layering Logic: Distributing cheese and meat in thirds ensures you don't end up with "naked" chips at the bottom.
Since we are using a budget friendly approach, I've compared using fresh toppings versus the shortcut versions you can buy at a convenience store.
| Topping Type | Fresh Version | Shortcut Version | Impact on Dish |
|---|---|---|---|
| Onions | Diced Red Onion | Dried Onion Flakes | Fresh adds a sharp, crisp bite |
| Cilantro | Fresh Leaves | Dried Parsley | Fresh provides a citrusy lift |
| Cheese | Block grated Cheddar | Pre shredded Bag | Block melts smoother and faster |
Using a block of cheese instead of the bagged stuff is a smart budget move because it often costs less per ounce and melts without those waxy preservatives.
The Essential Ingredients
The thick cut corn tortilla chips are the real hero here. If you use the thin, "restaurant style" chips, they will turn soft the moment the cheese hits them. You need something with some heft to support the weight of the lean ground beef.
For the meat, lean beef is better because it leaves less grease. If you use a higher fat blend, you'll need to drain it more aggressively at home. The taco seasoning adds the punch, but a squeeze of fresh lime at the end cuts through the richness.
Gear You Will Need
Grab a 10 or 12 inch cast iron skillet. These are ideal because they distribute heat exceptionally well and can be placed straight onto hot coals. While a thick stainless steel pan is a viable alternative, you will need to shift it more frequently to prevent hot spots.
Heavy duty aluminum foil is an absolute must, as it serves as a cover to mimic a small oven. Additionally, have a durable spatula ready for serving and a freezer bag to carry the pre-cooked beef.
The Cooking Process
Phase 1: The Home Prep Advantage
Brown the ground beef in a pan using medium high heat. Stir in the water and taco seasoning, simmering the mixture until the liquid transforms into a thick glaze. Let the beef cool entirely before storing it in a sealed bag. Note: This prevents the chips from getting soggy later.
Phase 2: The Layering Logic
Set your cast iron skillet over hot coals or a campfire grill. Spread half of the tortilla chips across the base. Layer one third of the pre-cooked beef and one third of the cheese over the chips. Repeat the process with the remaining chips, beef, and cheese.
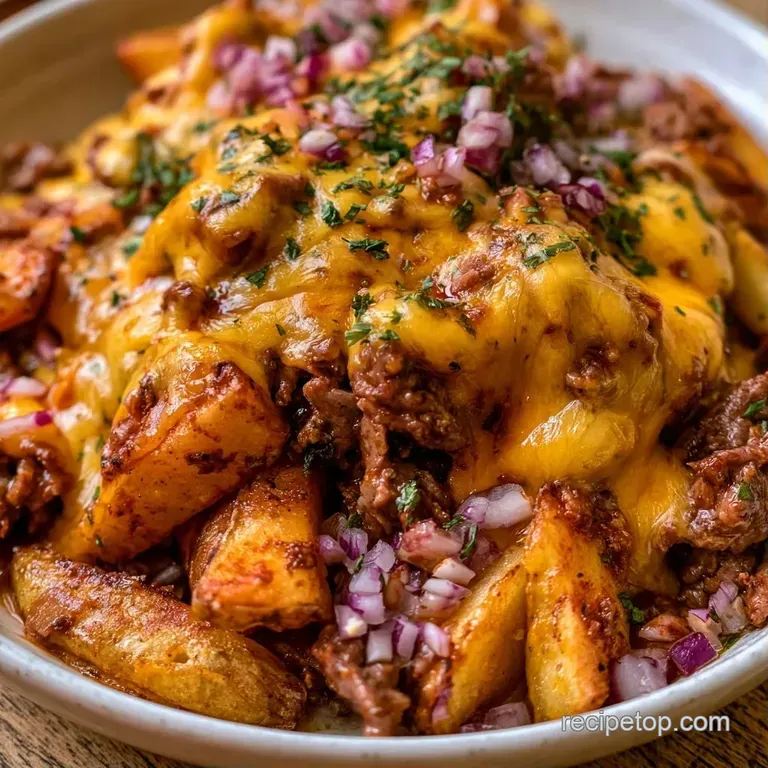
Finish the assembly with a final layer of cheese, diced red onion, and pickled jalapeños.
Phase 3: The Flame Finish
Seal the skillet with aluminum foil to lock in the heat. Warm for 5-10 minutes until the cheese is bubbling and molten. Remove from the fire and immediately garnish with fresh cilantro and diced tomatoes.
Fixing Common Issues
Chips Burning Too Fast
This occurs when the coals are too densely packed beneath the middle of the pan. Should you notice a burning scent before the cheese has melted, shift the skillet toward the edge of the grill. Alternatively, placing the pan on several flat stones can create a helpful air gap.
Cheese Not Melting
If the cheese remains in shreds, there may be a leak in your foil lid. Ensure the foil is sealed firmly around the skillet's rim. To speed things up, splash a teaspoon of water around the edges of the pan before closing the lid to generate some steam.
Soggy Middle Layers
A soggy center is typically caused by thin chips or beef that hasn't been cooked through. If the middle feels too soft, increase the amount of chips in the bottom layer to build a sturdier foundation. For additional beef focused camping recipes, check out these beef foil packets, which manage moisture differently.
Adjusting Your Portions
If you're just cooking for two, cut the ingredients in half and use a smaller 8 inch skillet. Reduce the cooking time over the fire by about 20% so you don't over toast the chips.
For a crowd of 8 or more, don't try to make one giant pile. The middle won't heat through before the edges burn. Instead, work in batches using two skillets. Increase the spices to 1.5x the original amount, but keep the water the same to ensure the meat stays a thick glaze.
Debunking Nacho Myths
Some people think you should use a nacho cheese sauce for the best result. In reality, real shredded cheese provides a better stretch and a richer taste. The sauces are often too liquid and contribute to the sogginess we're trying to avoid.
Another myth is that you need to toast the chips first. Your cast iron skillet handles that. As the cheese melts, the bottom chips toast in the beef fat and cheese oils, giving them a deeper flavor than if you toasted them plain.
Saving Your Leftovers
Store any remaining pre-cooked beef in the refrigerator for no more than 3 days. As for the finished nachos, they don't keep well because the chips get soggy. Instead, scoop the beef and cheese mixture into a container and enjoy it with new chips the next morning.
To reduce waste, toss leftover diced onions and tomatoes into a morning campfire scramble. Any extra cilantro can be chopped and stirred into this Campfire Beans recipe for a bright hit of flavor.
Swaps and Changes
If you don't have sharp Cheddar, Monterey Jack is a great substitute because it has a lower melting point. For a budget friendly twist, use a "Mexican Blend" bag, but be aware it might not be as creamy as a single variety block.
You can swap the ground beef for ground turkey or chorizo. Chorizo adds a lot of oil, so you'll need to drain it very well during the home prep phase. For those avoiding corn, sturdy flour tortilla chips work, but they brown faster, so watch the heat.
To add more bulk without spending more, stir in a can of black beans or corn to the beef while simmering. This stretches the protein further and adds a bit of texture to the layers.
Serving the Feast
Serve these Campfire Nachos with Ground Beef directly from the skillet. The cast iron keeps the cheese warm long after you move it off the fire. Set the pan on a wooden stump or a heat resistant mat to avoid burning your table.
Bring out plenty of lime wedges. A fresh squeeze of lime juice over the top cuts through the heavy cheese and beef. I also like to have a side of sour cream or Greek yogurt for dipping. Since we're eating outdoors, use sturdy paper plates or just dive in with a fork and a lot of napkins.
When you're done, let the skillet cool completely before scrubbing. A bit of coarse salt and a brush usually clear out the stuck on cheese without needing harsh soap. It's the easiest way to keep your gear in good shape for the next trip.
USDA guidance puts the safe internal temperature for ground beef at 160°F, which we easily hit during the home prep phase. This means you're only reheating the meat over the fire, making the process safer and faster. For more nutrition data on the ingredients, you can check USDA FoodData Central.
Recipe FAQs
Do you cook ground beef before putting it on nachos?
Yes, brown it at home first. This removes the excess fat and water that typically soak into the chips.
What are the steps to make camping nachos?
Layer chips, pre-cooked beef, and cheese in a cast iron skillet. Cover with aluminum foil and heat over coals for 5-10 minutes until the cheese bubbles. If you liked the efficiency of browning meat for this meal, see how the same prep works in our campfire sloppy joes.
How to prevent ground beef nachos from getting soggy?
Use thick cut corn tortilla chips. Heavy duty chips support the weight of the beef and molten cheese without collapsing.
Is it true that you can brown the meat directly on the campfire for better flavor?
No, and here's why. Browning meat on-site releases juices directly onto the chips, turning your meal into a salty, meat flavored mush.
Campfire Nachos With Ground Beef