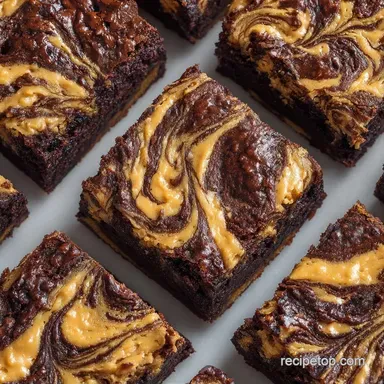
Guilt-Free Peanut Butter Brookies: Fudgy and Salty
- Time: 15 min active + 40 min baking
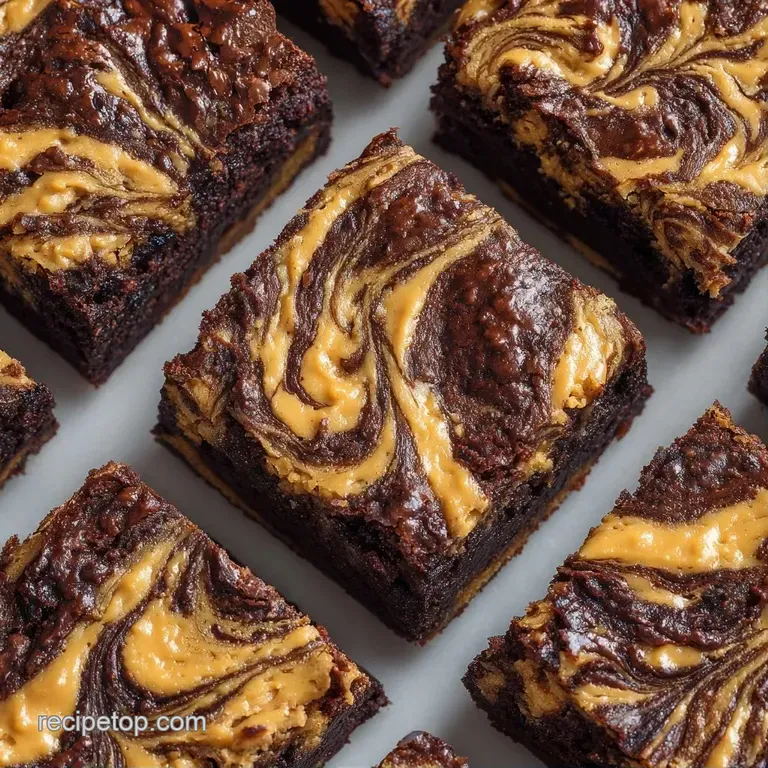
- Flavor/Texture Hook: Fudgy, dense chocolate base with a soft, salty sweet nut swirl
- Perfect for: Dessert parties or a serious sweet tooth craving
- Making Peanut Butter Brookies
- What Makes These Brookies Work
- Why These Ingredients Work
- Gathering Your Essentials
- Essential Tools for This Bake
- Putting Your Brookies Together
- Fixing Common Baking Issues
- Troubleshooting Common Issues
- Fun Ways to Customize
- Scaling Your Batch
- Baking Myths
- Storing and Saving Leftovers
- What to Serve With Them
- Recipe FAQs
- 📝 Recipe Card
Have you ever wondered why some dessert bars feel like a cake while others feel like a piece of fudge? It usually comes down to the fat to flour ratio. I remember the first time I tried to combine a cookie and a brownie; the cookie layer just sank to the bottom and became a soggy mess.
The smell of toasted cocoa and roasting peanut butter filling the kitchen is honestly the best part of this process. Once that aroma hits the air, you know you're on the right track. These Peanut Butter Brookies deliver that heavy, satisfying chew that makes you want to stop everything else.
You can expect a dense, dark chocolate bottom and a soft, salty peanut butter top. I've stripped away the fluff to give you a version that stays fudgy in the center without taking three hours to prep.
Making Peanut Butter Brookies
These bars are all about contrast. You get the bitterness of the cocoa powder clashing with the salty, creamy nature of the peanut butter. It's a heavy hit of flavor that doesn't rely on heaps of white sugar to taste good.
When you first pull these out, the smell is intense think of a warm peanut butter cup but a deeper, roasted cocoa scent. I've found that using coconut sugar gives the base a slight caramel undertone that makes the Peanut Butter Brookies feel more complex.
The texture is where most people struggle. You want the bottom to be barely set so it doesn't turn into a dry sponge. If you overbake them, you lose that fudge factor. Trust the edges; when they look firm but the middle still jiggles slightly, pull them out.
What Makes These Brookies Work
- Almond Flour Base: Using almond flour instead of all purpose keeps the brownie layer dense and moist, preventing that "cakey" texture.
- Coconut Flour Stabilizer: The coconut flour in the topping absorbs extra moisture from the peanut butter, so the cookie layer stays put instead of melting into the chocolate.
- Fat Balance: The combination of melted butter and natural peanut butter creates a rich mouthfeel that carries the vanilla and salt flavors.
| Method | Bake Time | Texture | Best For |
|---|---|---|---|
| Standard Pan | 40 mins | Fudgy & Uniform | Easy slicing |
| Cast Iron Skillet | 35 mins | Crispy Edges | Rustic serving |
| Mini Muffin Tins | 22 mins | Individual Bites | Party platters |
Why These Ingredients Work
The balance here is key. Too much flour and you have a cookie; too much butter and it's a puddle.
| Ingredient | What It Does | Best Swap |
|---|---|---|
| Coconut Sugar | Adds caramel depth | Brown sugar (more moist) |
| Almond Flour | Creates fudgy crumb | Oat flour (heartier texture) |
| Natural Peanut Butter | Provides salty creaminess | Almond butter (milder taste) |
| Coconut Flour | Thickens the topping | Extra almond flour (softer) |
Gathering Your Essentials
For the chocolate base, you'll need 115g of melted unsalted butter and 150g of coconut sugar. You'll also need 2 large eggs and 5ml of vanilla extract to keep things aromatic. The dry mix consists of 35g unsweetened cocoa powder, 65g almond flour, and 1.5g of sea salt.
The topping requires 125g of creamy natural peanut butter and 50g of maple syrup. You'll need one more large egg to bind it, along with 16g of coconut flour and 2.5g of baking soda. Finally, grab 40g of dark chocolate chips for those extra pockets of melted cocoa.
If you're looking for more ways to use nut butters, you might enjoy a Peach Butter Recipe as a different kind of fruit based spread for breakfast.
Essential Tools for This Bake
You don't need a professional kitchen for this, but a few basics help. An 8x8 inch baking pan is the standard. Use parchment paper with an overhang so you can lift the whole block out once cooled.
A medium whisk and a sturdy spatula are your best friends here. You want to fold the dry ingredients into the wet ones gently. If you overmix, you'll incorporate too much air, and your Peanut Butter Brookies will rise and fall like a cake instead of staying dense.
Putting Your Brookies Together
Phase 1: Crafting the Chocolate Foundation
- Preheat your oven to 175°C (350°F). Line your 8x8 inch pan with parchment paper.
- Whisk the 115g melted butter and 150g coconut sugar in a bowl. Note: Whisk until the sugar starts to dissolve into the fat.
- Beat in 2 eggs and 5ml vanilla extract. Mix until the batter looks glossy and smooth.
- Sift in 35g cocoa powder, 65g almond flour, and 1.5g sea salt.
- Fold gently with a spatula until just combined. Note: Stop as soon as the flour streaks vanish.
- Spread the brownie batter evenly into the pan.
Phase 2: Preparing the Peanut Butter Topping
- Cream 125g peanut butter and 50g maple syrup. Stir until the mixture is velvety and smooth.
- Add 1 egg and mix until fully incorporated.
- Stir in 16g coconut flour and 2.5g baking soda. Continue until a thick, cohesive dough forms.
- Fold in 40g dark chocolate chips.
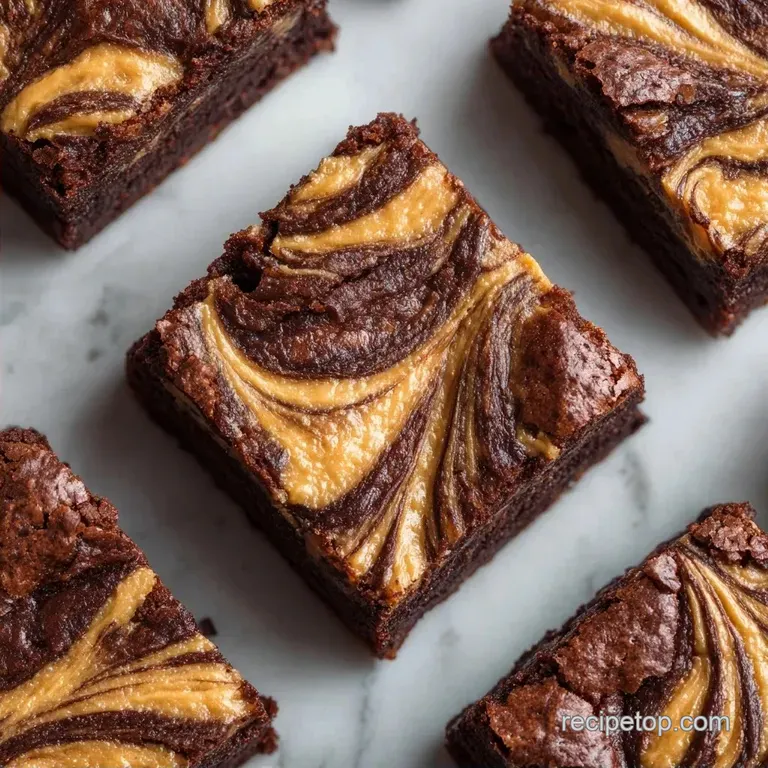
Phase 3: Layering and the "Perfect Swirl"
- Dollop spoonfuls of the peanut butter dough across the chocolate base.
- Use a butter knife to swirl the batters in a figure eight motion. Note: Don't over swirl or the layers will just blend into one color.
- Bake for 40 minutes until the edges are set but the center remains slightly fudgy.
Chef's Note: Let these cool completely in the pan for at least 1 hour. If you cut them while hot, the fudge center will stick to the knife and the bars will collapse.
Fixing Common Baking Issues
Getting the swirl right can be tricky. Sometimes the peanut butter layer stays too thick, or the chocolate base becomes too runny.
Troubleshooting Common Issues
| Issue | Solution |
|---|---|
| Why Your Topping Sinks | If the peanut butter dough is too wet, it will sink to the bottom of the chocolate. This usually happens if your eggs are extra large or your peanut butter is too oily. |
| Why the Center Stays Raw | Overfilling the pan can lead to an undercooked center. Stick to the 8x8 inch pan size. |
| Why the Edges Burn | Some ovens have "hot spots" that cook the corners faster than the center. If you notice the edges darkening too quickly, rotate the pan 180 degrees halfway through the 40 minute bake. |
Fun Ways to Customize
You can easily tweak this peanut butter brookies recipe to fit your mood. If you want a "Reese's" style twist, press a few peanut butter cups into the top of the dough before baking.
For an extra salty crunch, sprinkle flaky sea salt over the top immediately after taking them out of the oven. If you're craving something different, you could try swapping the peanut butter for almond butter or cashew butter, though you might need an extra teaspoon of coconut flour to keep the consistency thick.
If you prefer a traditional cookie, these are a great alternative to standard Chocolate Chip Cookies because they are much denser. For those who want a "brownie mix" shortcut, you can use a boxed mix for the base, but reduce the butter by 20g to keep it from getting too oily.
Scaling Your Batch
When making a half batch, use a loaf pan instead of a square pan. Reduce the bake time by about 20%, checking at 30 minutes. Since you can't easily halve an egg, beat one egg in a small bowl and use roughly 2 tablespoons of it.
If you're doubling the recipe for a party, use a 9x13 inch pan. Lower the oven temperature to 160°C (325°F) and extend the bake time to 50-55 minutes. This ensures the center cooks through without burning the edges.
Only increase the salt and baking soda by 1.5x, not 2x, to avoid a metallic taste.
Baking Myths
Some people believe you need to cream butter and sugar for 5 minutes to get a good rise. For these Peanut Butter Brookies, that's actually a mistake. We want a dense, fudgy bar, not a cake, so a quick whisk is all you need.
Another myth is that you must use room temperature eggs for the batter to emulsify. While it helps slightly, melted butter is the dominant fat here. As long as you whisk the eggs in well, the temperature difference won't ruin the texture.
Storing and Saving Leftovers
Keep your Peanut Butter Brookies in an airtight container in the fridge for up to 5 days. Cold bars are actually better because the chocolate base firms up, making them easier to slice into clean squares.
You can freeze these for up to 3 months. Wrap individual bars in parchment paper and place them in a freezer bag. To eat, let them thaw at room temperature for 30 minutes or zap them in the microwave for 10 seconds for a "fresh from the oven" feel.
To avoid waste, if you have a bit of leftover peanut butter dough, roll it into a small ball and bake it separately as a single cookie. You can also use any leftover brownie batter to make a couple of mini brownies in a ramekin.
What to Serve With Them
These are incredibly rich, so you need something to cut through the fat. A glass of cold almond milk or a tart raspberry coulis works perfectly. The acidity of the berries balances the saltiness of the nut butter.
If you're serving these as part of a larger spread, offer a savory contrast. Something cheesy and comforting, like a side of Homemade Mac and Cheese, creates a great salt and sweet balance for a dinner party.
Alternatively, serve a slice of Peanut Butter Brookies warm with a scoop of vanilla bean ice cream. The cold ice cream melting into the warm, fudgy chocolate creates a texture contrast that's hard to beat.
Recipe FAQs
How to make peanut butter brookies?
Preheat oven to 350°F and line an 8x8 inch pan with parchment. Mix melted butter with coconut sugar, add eggs and vanilla, then fold in cocoa powder, almond flour, and salt. Top with the peanut butter dough, swirl in a figure eight motion, and bake for 40 minutes.
Can I use a brownie mix instead of the listed ingredients?
No, stick to the official ingredients. Using a boxed mix alters the moisture and fat levels, which can cause the peanut butter layer to sink or the texture to become too spongy.
Why does the peanut butter topping sink into the brownie batter?
Ensure your peanut butter dough is thick and cohesive. Sinking usually happens if the eggs are extra large or the peanut butter is too oily, making the topping too heavy for the base.
Is it true that brookies must be served warm to be delicious?
No, this is a common misconception. Chilling the bars in the fridge actually improves the experience because the chocolate base firms up, making them much easier to slice into clean squares.
How to prevent the edges from burning before the center is done?
Rotate the pan 180 degrees halfway through the 40-minute bake. This helps balance the heat if your oven has hot spots that cook the corners faster than the center.
How to store peanut butter brookies for maximum freshness?
Keep them in an airtight container in the fridge for up to 5 days. For longer storage, wrap individual bars in parchment paper and freeze them for up to 3 months.
Can I add dark chocolate chips to the peanut butter layer?
Yes, fold them into the peanut butter dough before dolloping. This adds a great textural contrast to the velvety peanut butter. If you enjoy these rich desserts, you might also like our homemade churros.
Peanut Butter Brookies