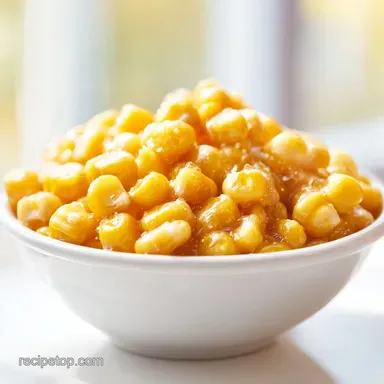
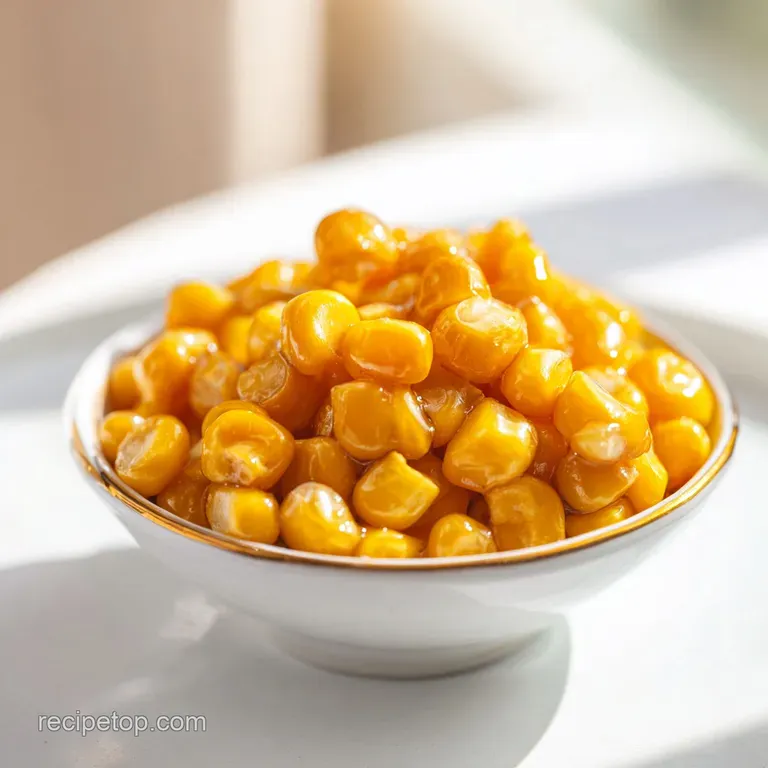
Honey Butter Corn: Sweet and Savory
- Time: 5 min active + 10 min cook = Total 15 minutes
- Flavor/Texture Hook: Glossy, popping kernels with a velvety sweet salt glaze
- Perfect for: Fast weeknight dinners or a crowd-pleasing potluck side
Making Easy Honey Butter Corn
That first sizzle is what gets me every time. You know the one, where the frozen kernels hit the bubbling honey butter and start to dance in the pan. I remember a random Tuesday a few years back when I had absolutely nothing in the fridge but a bag of frozen corn and some pantry staples.
I was tired, the kids were hungry, and I didn't have the energy for a complex side. I just threw everything in a skillet, hoping for the best.
The smell that filled the kitchen was wild, like a state fair but way faster. When I finally tasted it, the corn wasn't just heated through, it was coated in this golden, sticky glaze that actually made the kids eat their vegetables without complaining.
It's one of those rare wins where the simplest version is actually the best version.
You can expect a side that's sweet but balanced. We're not making candy here, just a bright, buttery dish that feels a bit more special than steamed corn. This Honey Butter Corn is all about that contrast between the salt and the honey, finished with a hit of lemon to keep it fresh.
The Secret To The Sizzle
I've spent a lot of time messing around with corn, and I've realized it's not just about heat, it's about how the ingredients interact. Here's what's actually happening in your pan:
- Sugar Grip: When honey heats up, it thickens and becomes sticky, which lets it grab onto the corn kernels instead of just sliding to the bottom of the pan.
- Fat Barrier: Butter coats the corn, which prevents the sugars in the honey from burning too quickly.
- Steam Release: Cooking on medium high lets the frozen moisture evaporate quickly, so the corn sears instead of boiling in its own juice.
- Acid Cut: Adding lemon juice at the very end breaks down the heaviness of the butter, making the flavor pop.
Right then, let's look at how this differs from the usual way people do corn. Most of us grew up boiling corn, but that often washes away the flavor.
| Feature | Boiled Corn | Skillet Method | Impact |
|---|---|---|---|
| Texture | Soft, watery | Popping, glossy | Better mouthfeel |
| Flavor | Mild, clean | Concentrated, sweet | Bolder taste |
| Prep Time | 15-20 minutes | 15 minutes | Faster result |
| Glaze | Separate butter | Integrated glaze | Even coating |
The skillet method is a quick win for anyone who hates waiting for a giant pot of water to boil.
Essential Flavor Components
Before we get into the gear, let's talk about what's going into the pan. According to USDA FoodData, sweet corn is packed with lutein and zeaxanthin, which are great for eye health, so we want to keep those nutrients intact by not overcooking it.
| Ingredient | Science Role | Pro Secret |
|---|---|---|
| Frozen Corn | Base Structure | Don't thaw it first, just toss it in frozen |
| Unsalted Butter | Flavor Carrier | Use high fat butter for a silkier glaze |
| Honey | Glaze Agent | Use a mild clover honey to avoid overpowering the corn |
| Lemon Juice | Balance Agent | Always add at the end to keep the zing fresh |
Kitchen Gear Needed
You don't need a fancy setup for this. Honestly, don't even bother with a non stick pan if you have a heavy bottomed stainless steel or cast iron skillet. The heavier the pan, the more even the heat, which means your honey won't burn in one spot while the corn is still cold in another.
I usually use a 12 inch skillet. If the pan is too small, the corn crowds together and steams instead of searing. You want plenty of room for those kernels to move around. A simple silicone spatula is also a must so you can scrape up all those little brown bits of honey butter from the bottom.
Step by step Cooking

Let's crack on with the actual process. Follow these steps closely to get that glossy finish.
- Place a 12 inch heavy bottomed skillet over medium heat. Note: Preheating the pan ensures the butter doesn't just soak in.
- Melt 3 tbsp (42g) of butter and 2 tbsp (42g) of honey together, stirring constantly for 1-2 minutes until the mixture bubbles and smells nutty.
- Add the 4 cups (600g) of frozen sweet corn to the skillet.
- Increase heat to medium high and stir frequently for 7-10 minutes until the moisture evaporates and the kernels turn a vibrant, glossy gold.
- Reduce heat to low. Note: This prevents the garlic powder from scorching.
- Stir in the 1/4 tsp (1.5g) garlic powder, 1/2 tsp (3g) kosher salt, and 1/4 tsp (1g) cracked black pepper.
- Stir in the final 1 tbsp (15g) of unsalted butter until it melts into a velvety sheen.
- Remove from heat.
- Fold in the 1 tbsp (3g) of fresh parsley and 1 tsp (5g) of lemon juice.
Chef's Note: If you're using a very hot skillet, the honey can go from "caramelized" to "burnt" in about 30 seconds. Keep the corn moving!
This is a brilliant side dish that goes with almost anything. If you're looking for a main, this pairs perfectly with my Marry Me Salmon because the richness of the salmon is balanced by the sweet tart corn.
Fixing Common Corn Errors
Even with a simple recipe, things can go sideways. Usually, it's a heat issue.
Corn Is Too Watery
This happens when the pan is too crowded or the heat is too low. The corn releases its moisture, but it doesn't evaporate, leaving you with a soup. Give the corn more room and crank the heat up.
Honey Burnt Too Fast
Honey has a lower burn point than granulated sugar. If your pan is screaming hot before the butter is fully melted, the honey will turn bitter and black. Start on medium and only go higher once the corn is in.
Corn Not Glossy
If the corn looks matte or dry, you probably didn't let the honey butter bubble enough at the start. That initial "nutty" stage is what creates the glaze.
| Problem | Root Cause | Solution |
|---|---|---|
| Grains are mushy | Overcooked | Reduce cook time by 2 mins |
| Taste is too sweet | Too much honey | Add an extra squeeze of lemon |
| Garlic tastes bitter | Heat too high | Add garlic powder at the very end |
- ✓ Use frozen corn for the most consistent texture.
- ✓ Keep the skillet moving to avoid hot spots.
- ✓ Measure your honey accurately; a little goes a long way.
- ✓ Add the parsley only after the heat is off to keep it green.
Different Taste Variations
Once you've got the basic honey butter skillet corn recipe down, you can start playing with the flavors. I've tried a few versions that my family loves.
The Creamy Version: If you want a honey butter skillet corn with cream cheese, stir in 2 tbsp of softened cream cheese right after the garlic powder. It turns the glaze into a thick, velvety sauce.
The Spicy Version: For a bit of a kick, add a pinch of cayenne pepper or a drizzle of sriracha along with the lemon juice. The heat cuts through the honey beautifully.
The Pantry Version: If you're making honey butter skillet corn with canned corn, make sure to drain and rinse the corn very well. Since canned corn is already cooked, you only need to sauté it for about 4-5 minutes instead of 10.
The Simple Version: If you prefer honey butter skillet corn without cream cheese or extras, just stick to the base recipe. It's a honey butter corn side dish that lets the natural sweetness of the corn shine.
If you're serving this as part of a larger spread, maybe with some Homemade Naan Bread, you can double the batch. Just remember to use a larger pan so you don't end up with that "watery corn" problem I mentioned earlier.
Freshness And Waste Tips
Since this is a quick cook dish, it's best eaten immediately. But if you have leftovers, don't toss them!
Storage: Put your leftover Honey Butter Corn in an airtight container. It stays good in the fridge for about 3-4 days.
Reheating: Don't microwave it on high for too long, or the corn will pop and get rubbery. Heat it in a small pan over medium heat with a tiny splash of water or a knob of butter to loosen the glaze.
Freezing: I don't recommend freezing this after it's been cooked with honey and butter. The texture becomes a bit off, and the glaze separates.
Zero Waste: If you have a little bit of the honey butter glaze left in the pan, don't wash it away. Use a piece of crusty bread to swipe it up, or stir it into some hot oatmeal for a sweet breakfast treat.
If you used fresh corn on the cob, save the cobs in a bag in the freezer to make a corn stock later.
Serving And Plating Ideas
You don't need to be a pro to make this look great. Because the corn is so vibrant, a simple white bowl makes the colors pop.
For a more "dinner party" feel, spoon the corn into a wide, shallow bowl and garnish with a few extra leaves of fresh parsley and a thin slice of lemon on the side. This gives guests the option to add more acid if they prefer.
If you're serving it as part of a BBQ, a cast iron skillet is the way to go. Just bring the skillet straight to the table. It keeps the corn warm longer, and the rustic look fits the vibe. Just a heads up, the handle will be hot, so put a trivet underneath.
Trust me on this, the contrast of the gold corn and the green parsley is what makes people ask for the recipe. It's a simple win that looks like you spent way more time on it than 15 minutes.
Recipe FAQs
Can I use fresh corn instead of frozen?
Yes, but adjust your cooking time. Fresh kernels contain more moisture, so you may need to sauté them longer than 10 minutes to achieve the same concentrated glaze.
How to prevent the honey from burning?
Stir the butter and honey constantly over medium heat. Keep the mixture moving for 1-2 minutes until it bubbles and smells nutty before adding the corn to stabilize the temperature.
Is it true that I must thaw the corn before cooking?
No, this is a common misconception. Adding frozen sweet corn directly to the hot skillet helps maintain the kernel's structure and prevents them from becoming mushy.
How to store and reheat leftover corn?
Store in an airtight container in the fridge for up to 4 days. Reheat in a skillet over medium heat with a tiny splash of water to loosen the honey glaze.
Why is my corn not getting a glossy gold finish?
Increase the heat to medium high and continue stirring. The moisture from the frozen corn must fully evaporate for the butter and honey to emulsify into a thick, shiny coating.
Can I use salted butter instead of unsalted?
Yes, but reduce the added kosher salt. Taste the corn before adding the full 1/2 tsp of salt to ensure the dish remains balanced.
What side dishes pair well with this?
Serve it alongside grilled proteins or savory appetizers. This sweet and-salty side provides a refreshing contrast to creamy chicken enchiladas.
Honey Butter Corn