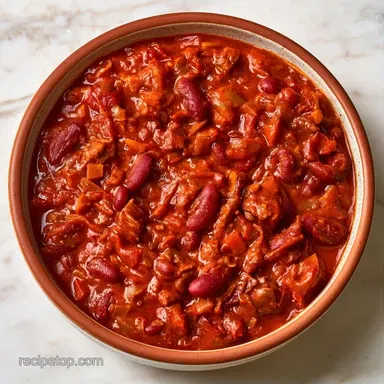
Cowboy Campfire Chili: Hearty One-Pot
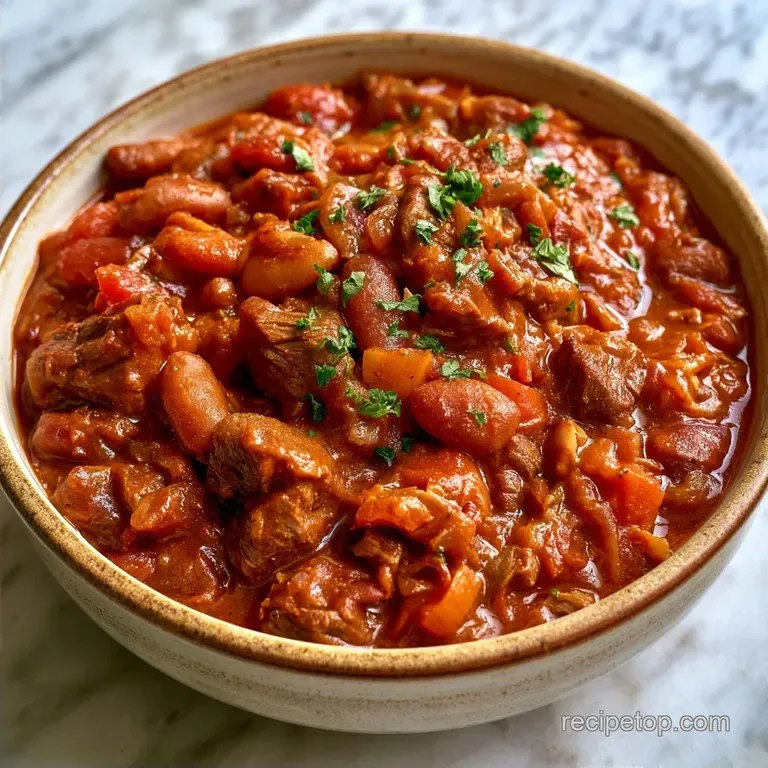
- Time: 10 min active + 60 min cook
- Flavor/Texture Hook: Bold, smoky, and thick
- Perfect for: Family camping trips, chilly autumn nights, or budget-friendly meal prep
Easy and Hearty Campfire Chili
Sizzle. That's the sound of ground beef hitting a hot cast iron pot over a bed of glowing coals. There is something about the smell of smoked paprika and cumin drifting through the pine trees that makes any meal taste better.
I remember one trip where we forgot the fancy sides, but this pot of chili kept everyone warm and full until sunrise.
You don't need a gourmet setup to get a great result. This recipe focuses on simple, budget friendly ingredients that pack a punch. It's a meal that feels like a hug in a bowl, designed for those of us who want a real dinner without spending the whole camping trip scrubbing pots.
Trust me on this, the effort you put into browning the meat makes the difference. We aren't just cooking the beef; we're building a foundation of flavor. This Campfire Chili is thick, satisfying, and holds up perfectly in the outdoors.
What Makes This Work
The way this dish comes together is all about heat management and timing. It isn't just about throwing things in a pot and hoping for the best.
Blooming Spices: Frying the chili powder and cumin in beef fat for a minute before adding liquids releases oils that make the flavor much stronger. It stops the dish from tasting like plain tomato soup.
Cast Iron Thermal Mass: A heavy pot holds heat steady. This prevents the bottom from scorching while the top simmers, which is a common headache when cooking over open flames.
Mahogany Browning: Serious Eats' testing highlights that browning meat deeply before adding liquid adds a depth of flavor that simmering alone can't reach. We aim for a dark brown color, not just grey meat.
| Method | Time | Texture | Best For |
|---|---|---|---|
| Open Fire | 70 mins | Smoky and thick | Authentic camping trips |
| Stovetop | 65 mins | Consistent and smooth | Weeknight dinners |
| Oven | 90 mins | Evenly reduced | Large party batches |
And that's the real trick. Whether you're using a Dutch oven on a grate or an Oven Campfire Chili version in your kitchen, the process stays the same. The fire just adds that hint of woodsmoke that you can't get from a burner.
The Logic Behind the Flavor
You might wonder why we use both crushed and diced tomatoes. The crushed ones create a smooth, thick body, while the diced ones add chunks of texture. It prevents the chili from feeling like a puree.
The brown sugar is another point of interest. It doesn't make the dish sweet. Instead, it balances the acidity of the tomatoes and the heat of the jalapeño. It rounds out the edges of the spices so the heat doesn't feel one dimensional.
Then there's the beef fat. We drain some, but not all. Leaving a couple of tablespoons of fat in the pot helps the spices bloom and gives the sauce a glossy finish. It's the bridge between the meat and the vegetables.
The Right Ingredients
I recommend an 80/20 lean-to-fat ratio for the beef. Choosing a leaner cut often results in a dry texture and a loss of that characteristic richness. If you're looking to save money, family packs of ground chuck are a great choice.
Kidney beans offer plenty of fiber and bulk, ensuring the chili is satisfying. I always rinse them thoroughly to eliminate any metallic taste from the canning liquid. If kidney beans aren't available, pinto beans are an excellent swap.
The seasonings give the dish its distinct character. Smoked paprika is essential here; it provides an authentic outdoor essence, even when preparing your Oven Campfire Chili in the kitchen.
Ingredients List:
- 2 lbs ground beef (80/20 lean to fat ratio) Why this? Maintains juice and flavor
- Substitute: Ground turkey or pork
- 2 tbsp vegetable oil Why this? Withstands high heat during searing
- Substitute: Canola or sunflower oil
- 1 medium yellow onion, diced Why this? A standard aromatic foundation
- Substitute: White onion
- 4 cloves garlic, minced Why this? Bold, pungent depth
- Substitute: 1 tsp garlic powder
- 1 jalapeño, finely diced Why this? Fresh, spicy kick
- Substitute: Diced canned green chilies
- 28 oz crushed tomatoes Why this? Provides a thick sauce consistency
- Substitute: Tomato puree
- 14.5 oz diced tomatoes Why this? Creates a chunky texture
- Substitute: Fresh chopped tomatoes
- 1 cup beef broth Why this? Increases depth and richness
- Substitute: Water or vegetable broth
- 2 cans (15 oz each) kidney beans, drained and rinsed Why this? Hearty and substantial
- Substitute: Pinto or black beans
- 2 tbsp tomato paste Why this? Deepens the tomato profile
- Substitute: Extra crushed tomatoes
- 3 tbsp chili powder Why this? The central flavor component
- Substitute: Mix of paprika, cumin, and cayenne
- 1 tbsp ground cumin Why this? Warm, earthy notes
- Substitute: Ground coriander
- 1 tbsp brown sugar Why this? Cuts through the acidity
- Substitute: Honey or maple syrup
- 1 tsp smoked paprika Why this? Creates a smoky aroma
- Substitute: Regular paprika + a drop of liquid smoke
- 1 tsp salt Why this? Draws out all the other seasonings
- Substitute: Kosher salt
- ½ tsp black pepper Why this? A clean, sharp bite
- Substitute: White pepper
The Essential Gear
A cast iron Dutch oven is ideal for Campfire Chili because it spreads heat evenly and can be placed directly on the coals. While a thick bottomed steel pot also works, you'll have to watch for hot spots more closely.
You will also want a sturdy wooden spoon. Metal utensils can mar the seasoning of your cast iron and often struggle to scrape up those flavorful browned beef bits from the bottom.
Lastly, keep some tongs or a heat resistant glove handy. Shifting a scorching pot of chili over an open fire is the most hazardous part of the cook. Safety comes first, flavor second.
Cooking Steps
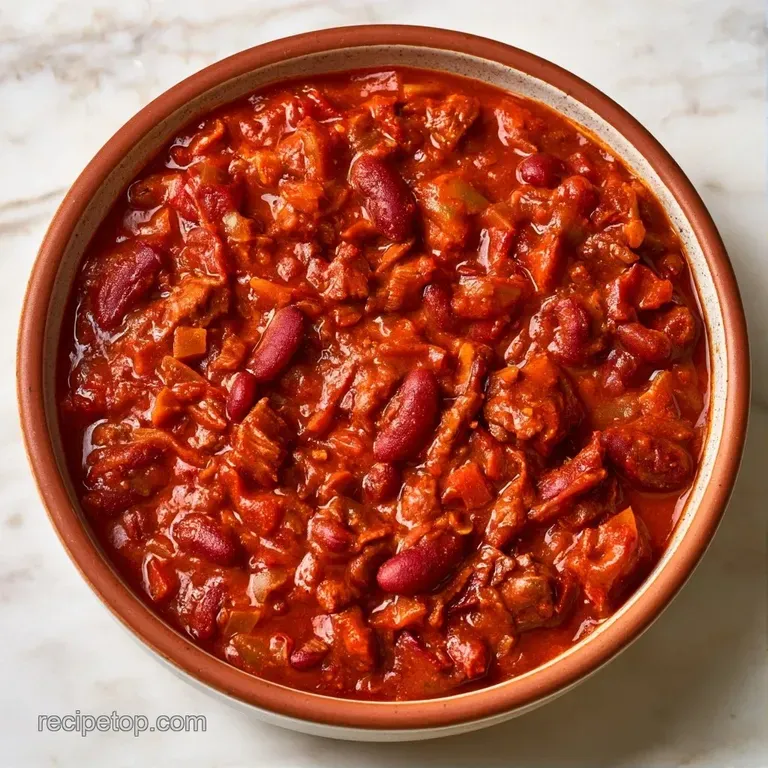
Let's get started. Make sure your fire is ready; you want a foundation of glowing red embers rather than tall, leaping flames.
- Set up your fire to create a bed of glowing red coals. Place your Dutch oven on the grate or directly on the embers.
- Heat the vegetable oil in the Dutch oven until it shimmers.
- Add the ground beef, breaking it up with a spoon, and cook until the meat is a deep mahogany brown. Note: Be patient here; a deeper color means more flavor.
- Drain the excess grease, leaving roughly 2 tablespoons of fat in the pot.
- Stir in the diced onion, garlic, and jalapeño; sauté until the onions are fragrant and translucent.
- Mix in the chili powder, cumin, smoked paprika, salt, and pepper, stirring for 60 seconds until the spices smell toasted.
- Stir in the tomato paste until well combined, then pour in the beef broth, crushed tomatoes, and diced tomatoes.
- Stir in the kidney beans and brown sugar.
- Bring the mixture to a boil, then move the pot to a cooler area of the fire or reduce the coals.
- Simmer without a lid for 45 minutes, stirring occasionally, until the liquid has thickened and reduced.
Tip: While you could place coals on the lid of your Dutch oven to create an oven effect, leaving this chili uncovered is better for reducing and thickening the sauce.
Once finished, check the internal temperature. According to USDA guidelines, ground beef is safe at 160°F. Since this has simmered for 45 minutes, you'll be well above that, but it's a useful rule of thumb.
Fixing Common Problems
Cooking over a fire is unpredictable. Sometimes the heat spikes, or the liquid doesn't reduce as fast as you'd like. The most important thing is to stay with the pot.
Fixing Burnt Bottoms
If you smell scorching, move the pot immediately. Do not stir the bottom, as this mixes the burnt bits into the rest of the Campfire Chili. Instead, scoop the good stuff from the top into a new pot.
Managing Thin Sauce
If your chili looks more like soup after 45 minutes, it just needs more time. Keep it uncovered and stir more frequently. This allows the water to evaporate and the flavors to concentrate.
Balancing Too Much Heat
If the jalapeño was hotter than expected, don't panic. Adding a bit more brown sugar or a dollop of sour cream when serving will neutralize the spice.
| Problem | Root Cause | Solution |
|---|---|---|
| Burnt taste | Fire too hot / Not stirring | Move pot to cooler coals; transfer top layer |
| Watery texture | Not enough reduction time | Simmer uncovered for another 10-15 mins |
| Bland flavor | Undercooked beef / Low salt | Add a pinch more salt or a splash of Worcestershire |
| Bitter spices | Spices burnt during blooming | Add a teaspoon of sugar or more tomato paste |
Honestly, most mistakes with Campfire Chili are just heat issues. Once the liquid is in, it's much harder to ruin. The real risk is in those first ten minutes of searing the beef.
Adding New Flavors
Feel free to adapt the ingredients based on what you have in your cooler. For a more "Cowboy" vibe, try stirring in some diced bell peppers or a handful of corn kernels for added sweetness.
If you're looking for something different, a Campfire Beef Stew is a great chunkier, milder alternative. To make a white chili instead, substitute shredded chicken for the ground beef and use white cannellini beans instead of red beans.
Adding a touch of acidity at the end also works well. A squeeze of lime or a teaspoon of apple cider vinegar helps balance the heavy notes of the beef and beans.
Decision Shortcut:
- For a thicker texture: simmer 10 mins longer.
- For more heat: add another diced jalapeño.
- For less salt: use low sodium beef broth.
| Premium Ingredient | Budget Alternative | Impact | Savings |
|---|---|---|---|
| Fresh Ground Chuck | 80/20 Ground Beef | Very similar taste | $2-4 per lb |
| Fresh Garlic Cloves | Garlic Powder | Less pungent aroma | $1-2 per batch |
| Organic Kidney Beans | Canned Kidney Beans | Texture is the same | $3-5 per meal |
Using standard ground beef and canned beans is the most practical approach for most trips. It delivers the same hearty result without the high cost, making this Dutch oven campfire chili accessible to any group.
Storing Your Leftovers
If you have leftover Campfire Chili, you're in luck. Like most stews, this actually tastes better the next day after the flavors have had time to mingle.
Store it in a sealed container in a cool spot or a cooler with ice if you're still camping. In a home fridge, it stays good for about 3-4 days. If you're not going to finish it by then, it freezes beautifully for up to 3 months.
To reheat, put it back in a pot over low heat. Add a splash of beef broth or water to loosen it up, as the beans will continue to absorb liquid while sitting.
For zero waste, use any leftover beef fat from the draining process to sauté vegetables for your breakfast hash the next morning. It's a great way to use every bit of flavor.
Serving Your Meal
The best way to serve Campfire Chili is in a bowl with a mountain of toppings. This allows everyone to customize their heat and richness levels.
I recommend a "topping bar" with shredded cheddar cheese, a dollop of sour cream, and sliced green onions. If you have some corn tortillas, fry them up for some quick chips. This pairs well with a Campfire Hobo Dinner if you're feeding a large crowd and want multiple options.
For a classic touch, serve it with a side of honey butter cornbread. The sweetness of the bread cuts through the smoky heat of the chili perfectly.
Right then, you've got a pot of rich, smoky Campfire Chili ready to go. Just remember to keep an eye on your coals and don't be afraid to let that beef get dark and mahogany. It's the difference between a mediocre meal and one that people will talk about for the rest of the trip.
Enjoy the outdoors and the great food that comes with it.
Critical Sodium Level
1415 mg 1,415 mg of sodium per serving (62% 62% of daily value)
The American Heart Association recommends a daily sodium limit of 2,300 mg, with an ideal limit of 1,500 mg for most adults to reduce the risk of cardiovascular disease.
Tips to Reduce Sodium
-
Swap the Broth-30%
Replace the beef broth with low-sodium or no-sodium beef broth, or use water with a touch of extra cumin for depth.
-
Omit Added Salt-25%
Completely remove the 1 tsp of added salt; the canned tomatoes and broth already provide significant sodium.
-
No-Salt Canned Goods-20%
Choose 'no salt added' versions of the crushed tomatoes, diced tomatoes, and tomato paste.
-
Rinse or Soak Beans-20%
Use dry kidney beans soaked overnight or ensure canned beans are thoroughly rinsed under cold water.
-
Boost Aromatics
Increase the amount of fresh garlic and smoked paprika to enhance the savory profile without adding sodium.
Recipe FAQs
How to make easy campfire chili in a Dutch oven?
Simmer ground beef, aromatics, and tomatoes in a heavy pot over glowing coals for 45 minutes.
Tip: Use a bed of red coals rather than active flames to prevent scorching.
Is it true a souffle can be successfully made in a Dutch oven over a campfire?
Surprisingly, no. The heat is too inconsistent for such a delicate dish.
Tip: Stick to hearty stews or foil packets for reliable outdoor results.
Which cookware is best for cooking outdoors?
Cast iron Dutch ovens are ideal because they distribute heat evenly over uneven coals.
Tip: Pre-season your pot to make cleaning easier in the wilderness.
Why must the spices be stirred for 60 seconds before adding liquids?
Toasting the chili powder and cumin releases essential oils for a deeper flavor profile.
Tip: Watch for the aroma to intensify just before pouring in the beef broth.
Hearty Campfire Chili