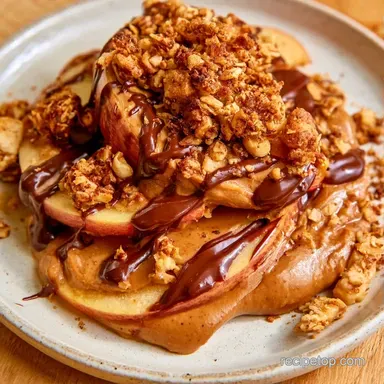
Healthy Chocolate Peanut Butter Apple Bites
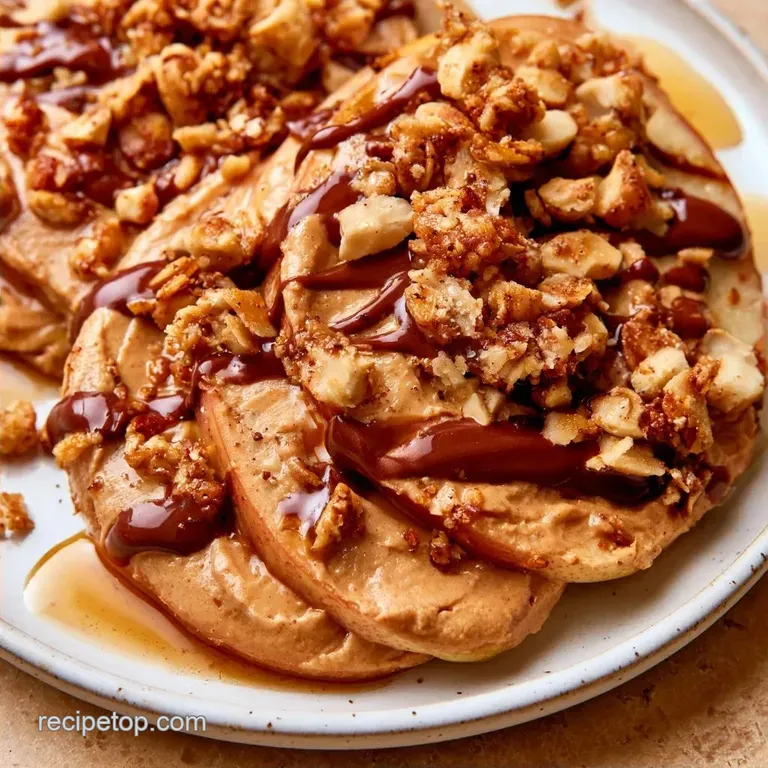
- Time: 20 min prep + 30 min cooling
- The Appeal: Crisp apple contrast with a velvety center
- Perfect for: After-school treats or party trays
That crisp snap of dark chocolate is the highlight of this snack. I once tried a version where the apples were too damp, leaving the chocolate runny and unappealing. It was a soggy mess that went straight into the trash.
I've since perfected the technique. By controlling the fruit's moisture, you get a sharp, clean bite every time. These treats are a fantastic method for encouraging kids to enjoy more fruit without any fuss.
Expect a delicious mix of salty, sweet, and tart flavors. It is a no-bake option that feels elegant but requires very little work. Once you see how quickly these come together, they'll likely become a weekly staple in your home.
Quick Recipe Specs
This process is all about simplicity. A microwave and refrigerator are the only tools required no stove necessary.
Because this is a no-bake treat, the only active "cooking" is the few minutes spent melting the chocolate. The fridge does most of the work by firming up the fats in the peanut butter and chocolate.
You'll end up with exactly 12 bites, perfect for a few days of treats or a small gathering. For larger parties, simply double the quantities and utilize an extra baking sheet to ensure they have enough space.
Gathering Your Essentials
I prefer Honeycrisp apples because they hold their shape and have a natural sweetness that cuts through the dark chocolate. Granny Smith is a great alternative if you love a sharp, tart contrast.
The peanut butter needs to be creamy and natural. If it's too stiff, the bites become chunky. Stir it well before spooning it onto the apples to ensure a smooth consistency.
For the chocolate, 70% cocoa provides a deep flavor that isn't overly sweet. The coconut oil is the real hero here. It thins the chocolate just enough to make it pourable and gives it a glossy finish that looks professional.
| Original Ingredient | Substitute | Why It Works |
|---|---|---|
| Peanut Butter (1/2 cup) | Almond Butter (1/2 cup) | Similar fat profile. Note: Offers a milder, nuttier taste |
| Dark Chocolate Chips (1/2 cup) | Milk Chocolate Chips (1/2 cup) | Melts similarly. Note: Much sweeter, less contrast with apple |
| Coconut Oil (1 tsp) | Unsalted Butter (1 tsp, melted) | Provides similar fat for glide. Note: Adds a slight dairy flavor |
| Honeycrisp Apple | Fuji Apple | Similar crunch. Note: Sweeter and less tart than Honeycrisp |
Essential Kitchen Tools
Basic tools will do for this recipe. All you really need is a sharp knife and a cutting board. To clear out the apple centers, I prefer a melon baller or a small round piping tip, although a regular apple corer is perfectly fine.
Use a microwave safe glass bowl for melting the chocolate. Since glass distributes heat more consistently than plastic, it lowers the risk of scorching your chocolate.
Don't forget the parchment paper. Without it, the treats will stick to your plate, leaving you to scrub the dish rather than enjoy your snack.
| Method | Time | Texture | Best For |
|---|---|---|---|
| Fresh Apple | 55 mins | Crisp and juicy | Daily snacks |
| Dried Apple | 20 mins | Chewy and concentrated | Lunchboxes |
From Prep to Plate
Prepping the Apple Rings
Cut your apples into rounds about 1/4 inch thick. Use a small round cutter or corer to remove the center and form rings. Coat the pieces in 1 tablespoon of lemon juice, then pat the top of each slice with a paper towel until dry. Place them on a baking sheet lined with parchment.
Note: Drying the fruit prevents the chocolate from slipping.
Adding the Nutty Core
Place 1 tablespoon of peanut butter in the middle of every ring. Spread it into a smooth layer, leaving a slight border at the edge. Top with 2 tablespoons of granola, pressing down lightly to ensure it adheres. Note: The granola provides a necessary crunch to balance the creamy filling.
The Chocolate Finish
In a glass bowl, mix 1/2 cup dark chocolate chips and 1 tsp coconut oil. Heat in the microwave in 30-second intervals, stirring between each, until the mixture is smooth and glossy. Drizzle the chocolate over the peanut butter in a zig-zag motion or dip the rings entirely.
Quickly garnish with 1 tablespoon of shredded coconut or sliced almonds.
Setting the Bites
Chill the tray in the refrigerator for 30 minutes. Wait until the chocolate has hardened and snaps when touched. This ensures the toppings remain secure and the bites are clean.
Avoiding Kitchen Disasters
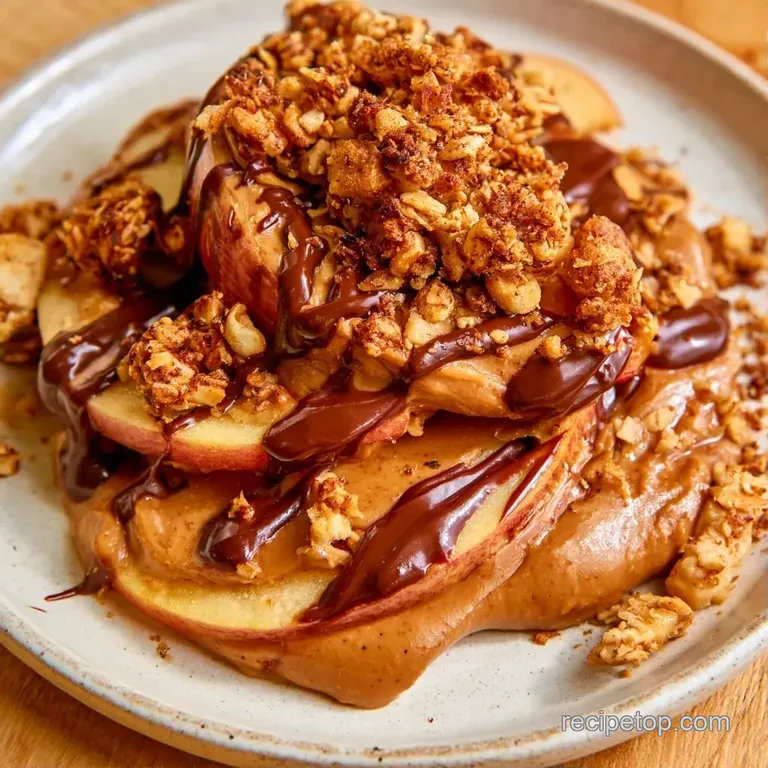
One of the most common issues is the chocolate "beading" or separating from the apple. This happens when there is leftover moisture on the fruit. If you see little droplets of water under your chocolate, it means the blotting step was rushed.
Another problem is chocolate that seizes and becomes clumpy. This usually happens if a drop of water gets into the bowl or if you overheat the chocolate in the microwave. Always stir every 30 seconds to keep the temperature even.
Finally, some people find their peanut butter is too runny, causing it to spill over the edges. If your natural peanut butter is too liquid, put it in the fridge for 10 minutes before spooning it onto the apples.
Stopping the Brown
If your apples turn brown, you need more acidity. Ensure the lemon juice coats every inch of the slice.
Preventing Chocolate Slide
The chocolate slides when the apple is damp. Use a clean paper towel to press firmly on the surface before adding toppings.
Fixing Seized Chocolate
If the chocolate clumps, add a tiny bit more coconut oil and stir vigorously.
| Problem | Fix |
|---|---|
| Apples turning brown | Increase lemon juice coating |
| Chocolate won't set | Chill for another 15 minutes |
| Toppings falling off | Press granola into PB before drizzling |
Flavor Variations to Try
If you want a different vibe, try the Buckeye Twist. Instead of dark chocolate, use milk chocolate and add a tiny pinch of extra salt to the peanut butter. It tastes exactly like the classic peanut butter candy.
For something with more punch, try the Cinnamon Crunch. Mix a dash of cinnamon into the peanut butter and use crushed pretzels instead of granola. It's a salty sweet combo that works surprisingly well.
If you're looking for other party style appetizers, my mini onion bites recipe is another great option for guests who prefer something savory.
The Almond Butter Swap
Swap peanut butter for almond butter for a more subtle flavor. This works especially well if you use sliced almonds for the topping.
The Protein Powerhouse
Mix a teaspoon of vanilla protein powder into the peanut butter. It thickens the center and adds a bit more substance to the snack.
The Coconut Dream
Use shredded coconut in the peanut butter and top with toasted coconut flakes. This gives the bites a tropical feel.
Storage and Waste Tips
While these bites are best enjoyed fresh, they will stay good in the refrigerator for 2 days. Store them in a sealed container with parchment paper between the layers to ensure they don't stick.
I wouldn't suggest freezing these, as the apples tend to lose their crunch and become mealy after thawing. If you have any leftovers, they taste best chilled.
To avoid waste, save your apple cores and peels. Store them in a freezer bag until you have enough to brew some homemade apple cider, or just toss them in your compost. For another great tea-time pairing, check out my zucchini bread recipe.
Great Complements
Since these sweets are decadent, they pair perfectly with flavors that refresh the palate. A bold Earl Grey tea or black coffee helps cut through the richness of the chocolate and peanut butter.
When presenting these to guests, arrange them on a wooden board with fresh berries and grapes. The brightness of the berries balances the intensity of the dark chocolate.
For a heartier option, serve them with a few cubes of sharp cheddar cheese. The interplay between the salty cheese and sweet apple bites is a classic combination.
Why Most Recipes Fail
Many guides simply suggest spreading peanut butter on apple slices. However, they often overlook how apples leak moisture over time, which can degrade the chocolate.
The Moisture Barrier: Drying the fruit and applying a peanut butter layer creates a fat-based shield that prevents the chocolate from sweating.
Temperature Balance: Incorporating coconut oil ensures the chocolate remains glossy and doesn't crack too easily.
This ensures a treat that remains firm and fresh. You'll enjoy the crisp apple and creamy chocolate without any unwanted moisture.
Recipe FAQs
Are apples and peanut butter together a healthy snack?
Yes, they provide a great balance of fiber and healthy fats. This combination helps regulate blood sugar and keeps you full longer than eating fruit alone.
How to stop the peanut butter from sliding off?
Blot the apple slices completely dry with a paper towel. Removing surface moisture allows the peanut butter to adhere firmly to the fruit.
Is it true that these bites can be stored in the freezer?
Actually, no. Apples often become mealy and lose their characteristic snap once they thaw.
Can I use a different apple variety?
Yes, Granny Smith is an excellent choice for a tarter flavor. If you enjoy using apples in healthy treats, try our pumpkin applesauce for a different texture.
Which method melts the chocolate most evenly?
Microwave in 30-second intervals. Stirring between each burst prevents the chocolate from scorching and ensures a glossy finish.
What prevents the apple rings from browning?
Toss the sliced fruit in lemon juice. The acidity inhibits oxidation, keeping the apple slices bright and fresh.
Do I need an oven to set the chocolate?
No, use the refrigerator instead. Chilling the tray for 30 minutes is the only step needed to make the chocolate firm.
Chocolate Peanut Butter Apple Bites