Stabilized Whipped Cream Recipe (Cornstarch Slurry)
- Time: Active 10 minutes, Passive 15 minutes, Total 25 minutes
- Flavor/Texture Hook: Billowy, silky, and structurally sound
- Perfect for: Layer cakes, summer picnics, and Make-ahead holiday desserts
- Achieving the Billowy Structure of This Stabilized Whipped Cream Recipe Perfect Topping
- The Science of Structural Integrity
- Understanding the Essential Metrics for This Stabilized Whipped Cream Recipe Perfect Topping
- Selecting the Finest Elements for Your Stabilized Whipped Cream Recipe Perfect Topping
- Gathering the Right Tools for a Silky Smooth Dessert Experience
- Executing the Step-By-Step Process for a Cloud Like Finished Result
- Navigating Common Pitfalls for a Flawless Stabilized Whipped Cream Topping
- Customizing the Flavor Profile of Your Homemade Whipped Cream Creation
- Optimizing Storage and Longevity for Your Whipped Cream Masterpiece
- Mastering the Art of Plating with This Perfect Dessert Topping
- Recipe FAQs
- 📝 Recipe Card
Achieving the Billowy Structure of This Stabilized Whipped Cream Recipe Perfect Topping
There is nothing quite like the rhythmic clink clink clink of a wire whisk hitting the side of a cold metal bowl. For a long time, I thought that sound was the precursor to a ticking clock, a race against time before my beautiful dessert topping turned into a sad, weeping puddle on the plate.
I remember hosting a backyard birthday party where I spent three hours decorating a berry chiffon cake, only to watch the cream slide off the sides like a slow motion disaster within twenty minutes of being outside.
It was a total mess, and honestly, it was embarrassing. I tried using more sugar to stiffen it, but that just made it cloying and grainy. I tried whipping it until it was almost butter, which just made it look curdled.
That is when I learned that the secret to a stabilized whipped cream recipe perfect topping is not about whipping harder, but about adding a subtle, invisible net of starch to catch those air bubbles and hold them tight.
We are going to walk through exactly how to make a topping that stays firm, looks professional, and tastes like a literal cloud. This recipe perfect topping is a staple in my kitchen now, and once you see how it holds its shape on something like my favorite White Russian Poke recipe, you will never go back to the basic version. Let's get into the mechanics of why this actually works so you can stop worrying about your desserts melting.
The Science of Structural Integrity
To understand why this method is so effective, we have to look at what is happening inside that bowl. Whipped cream is essentially a foam, a delicate balance of air trapped in a web of fat.
- Fat Globule Cohesion: When you whisk cold cream, you are knocking the protective membranes off fat globules, allowing them to stick together and form a network around air bubbles.
- Starch Netting: Adding a tiny amount of cooked cornstarch introduces long chain carbohydrates that act like internal scaffolding, reinforcing the fat network.
- Amylose Gelation: As the cornstarch slurry cools, the starch molecules hydrate and create a gel like consistency that prevents moisture from leaking out, which is what causes "weeping."
- Thermal Resistance: This starch fat bond is more resistant to room temperature than fat alone, which is why this recipe perfect topping stays firm while others fail.
| Method | Hold Time | Texture | Best For |
|---|---|---|---|
| Standard Whipped | 2-4 hours | Light/Airy | Immediate serving |
| Cornstarch (This Recipe) | 24-48 hours | Silky/Stable | Piping & Layering |
| Gelatin Method | 3-4 days | Firm/Mousse like | over High heat outdoor events |
Choosing the right approach depends on your environment. If you are serving a platter of my Smores Cracker Cookies recipe and want a dollop of cream on the side that won't vanish, the cornstarch method is the perfect middle ground between ease and durability.
Understanding the Essential Metrics for This Stabilized Whipped Cream Recipe Perfect Topping
Before we start whisking, we need to look at the components that make this stabilized whipped cream successful. Not all cream is created equal, and the small details like the type of sugar you use can make a massive difference in the final texture.
| Component | Science Role | Pro Secret |
|---|---|---|
| Heavy Cream | Provides the fat (36%+) necessary for a stable foam structure. | Chill the bowl and whisk for 15 minutes before starting. |
| Powdered Sugar | Contains cornstarch which aids stability and sweetens without grit. | Sift it twice to ensure there are zero lumps in the billowy peaks. |
| Cornstarch | Acts as a secondary stabilizer by creating a moisture locking gel. | Must be cooked with a small amount of cream first to activate. |
Selecting the Finest Elements for Your Stabilized Whipped Cream Recipe Perfect Topping
The beauty of this recipe lies in its simplicity, but the quality of your ingredients will dictate the final flavor. I always reach for the highest fat content cream I can find, usually labeled "Heavy Whipping Cream."
- 2 cups (480ml) heavy whipping cream: Ensure it is very cold. Why this? High fat content (36%+) is non negotiable for achieving stiff, lasting peaks.
- Substitute: Double cream (UK) works similarly, but might require less whisking time.
- 1/4 cup (30g) organic powdered sugar: This dissolves instantly. Why this? The trace amounts of starch in powdered sugar provide the first layer of stabilization.
- Substitute: Superfine caster sugar, though you lose the tiny boost of starch.
- 1 tsp (5ml) pure Madagascar vanilla bean paste: For those beautiful black flecks. Why this? Paste adds intense flavor without adding too much liquid like cheap extracts.
- Substitute: Pure vanilla extract or the seeds from one half of a vanilla bean.
- 1.5 tsp (4g) cornstarch: This is our secret weapon. Why this? It provides the structural "glue" that keeps the cream from weeping over time.
- Substitute: Tapioca starch or arrowroot powder (use same measurements).
Chef's Tip: If you want an even deeper flavor, freeze your vanilla bean paste for 10 minutes before adding it. It thickens slightly and incorporates more evenly into the cold cream.
Gathering the Right Tools for a Silky Smooth Dessert Experience
You don't need a kitchen full of gadgets, but a few specific items make this stabilized whipped cream recipe perfect topping much easier to pull off. I personally prefer a stand mixer because it allows for a consistent speed, but a hand mixer works just as well if you have a steady arm.
- Chilled Metal Bowl: Stainless steel retains cold better than glass or plastic, which is vital for fat stability.
- Wire Whisk Attachment: This incorporates the maximum amount of air into the cream.
- Small Saucepan: You will need this to cook the cornstarch slurry, which is the "cook time" mentioned in the specs.
- Fine Mesh Sieve: For sifting the powdered sugar to prevent any grainy surprises.
- Silicone Spatula: Essential for folding and ensuring you get every last bit of that velvety cream out of the bowl.
Executing the step-by-step Process for a Cloud Like Finished Result
Following the order of operations is key here. We aren't just tossing everything into a bowl and hoping for the best. We are building layers of stability.
- Create the slurry. Mix the cornstarch with 2 tablespoons of the heavy cream in a small saucepan until smooth. Note: This prevents lumps from forming later.
- Activate the starch. Heat the mixture over medium low for 1 to 2 minutes until it thickens into a translucent paste.
- Cool completely. Remove from heat and let it sit for 15 minutes. It must be room temperature before hitting the cold cream.
- Prep the equipment. Place your metal bowl and whisk in the freezer for 10 minutes until they feel frosty to the touch.
- Combine the basics. Pour the remaining cold heavy cream, powdered sugar, and vanilla into the chilled bowl.
- Start slow. Whisk on low speed for 1 minute to dissolve the sugar and prevent splashing.
- Incorporate the stabilizer. Add the cooled cornstarch slurry to the bowl while the mixer is running on medium speed.
- Increase the speed. Turn the mixer to medium high and whisk until the cream begins to thicken and leave trails.
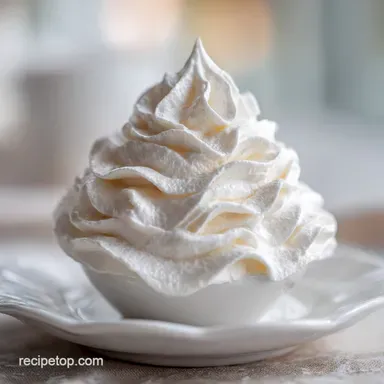
- Monitor the peaks. Continue whisking for 2 to 3 minutes until stiff, upright peaks form when the whisk is lifted.
- Final fold. Use a spatula to gently scrape the bottom and ensure the slurry is fully integrated into the billowy mass.
Navigating Common Pitfalls for a Flawless Stabilized Whipped Cream Topping
Even with a fool proof method, things can go sideways. The most common issue I see is over whipping. One second you have perfect, velvety peaks, and the next, you have grainy, yellowing butter. It happens to the best of us!
Why Your Whipped Cream Turned Grainy
This usually happens because the fat has started to separate from the liquid. It often occurs if the cream was too warm or if you walked away from the mixer for just thirty seconds too long.
If it looks slightly curdled but hasn't turned to butter yet, you can sometimes save it by gently folding in a few tablespoons of fresh, cold, liquid heavy cream.
Why Your Stabilized Cream Feels Chalky
If you can taste the cornstarch, it likely wasn't cooked long enough in the slurry stage. The heat is necessary to break down the raw starch granules. Next time, ensure the slurry reaches a thick, paste like consistency before cooling.
| Problem | Root Cause | Solution |
|---|---|---|
| Cream won't thicken | Cream or bowl is too warm | Chill everything in the freezer for 15 minutes and restart. |
| Lumpy texture | Slurry wasn't smooth or sugar was clumpy | Sift sugar and whisk slurry thoroughly before heating. |
| Weeping after 1 hour | Slurry was added while still hot | Ensure the cornstarch mixture is completely cool to the touch. |
Common Mistakes Checklist
- ✓ Never use "light" cream; you need the 36% fat content for structure.
- ✓ Avoid whisking on high speed from the start; medium high produces smaller, more stable bubbles.
- ✓ Stop immediately when the cream holds its shape on the whisk; over mixing is irreversible.
- ✓ Always sift your powdered sugar, even if it looks fine in the bag.
- ✓ Use a metal bowl whenever possible for maximum temperature control.
Customizing the Flavor Profile of Your Homemade Whipped Cream Creation
Once you have mastered the base version of this stabilized whipped cream recipe perfect topping, the world is your oyster. You can fold in different extracts or even citrus zests to match whatever dessert you are serving.
If you are looking for a shortcut or want a different vibe, here are some quick swaps:
| Original Ingredient | Substitute | Why It Works |
|---|---|---|
| Cornstarch | Cream Cheese (2 oz) | Adds a tangy flavor and incredible density. Note: Not as heat resistant. |
| Powdered Sugar | Maple Syrup (2 tbsp) | Provides a woodsy sweetness. Note: Slightly reduces peak stiffness. |
| Vanilla Bean Paste | Almond Extract (1/2 tsp) | Offers a bold, nutty aroma that pairs beautifully with stone fruits. |
- Temperature
- The cream must be below 40°F (4°C) for the fat to stay solid enough to trap air.
- Slurry Consistency
- The cooked cornstarch should look like a thick, clear hair gel before cooling.
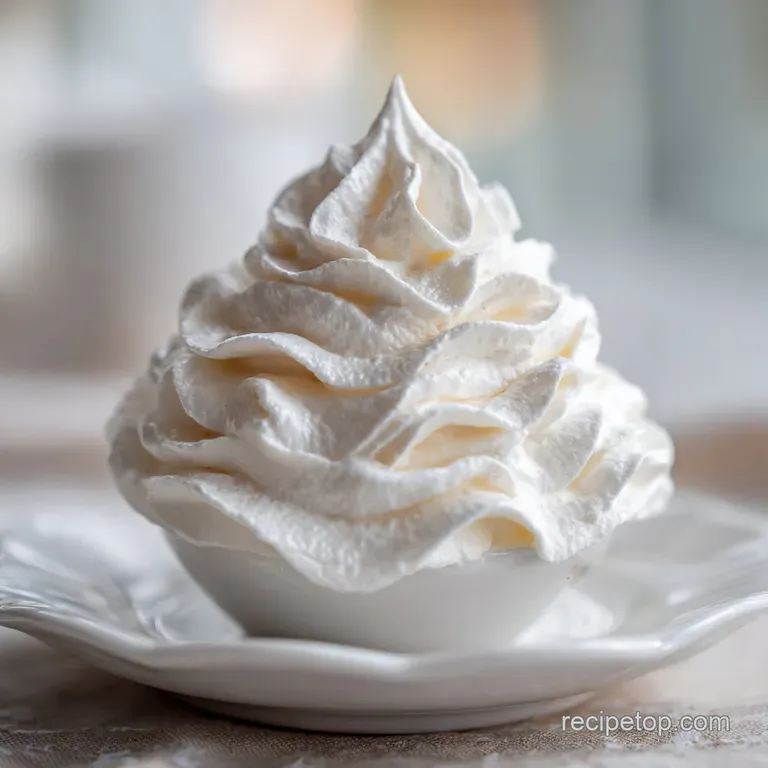
- The "V" Test
- Lift the whisk; the cream should form a sharp "V" that doesn't droop at the tip.
Optimizing Storage and Longevity for Your Whipped Cream Masterpiece
The beauty of this stabilized whipped cream is that it actually keeps its shape in the fridge. You can pipe it onto a cake on Friday night, and it will still look stunning for Saturday's lunch.
Storage Guidelines Keep any leftover cream in an airtight container in the back of the fridge (the coldest part). It will stay fresh and hold its structure for up to 48 hours.
If it loses a bit of its luster, you can give it a very brief whisk (maybe 10 seconds) by hand to revive the air bubbles, but be careful not to overwork it.
Zero Waste Tips If you find yourself with a cup of leftover stabilized cream, don't toss it! I love dolloping it onto parchment paper in small mounds and freezing them. Once frozen, pop them into a freezer bag. They make the most indulgent "ice cream" toppers for hot cocoa or coffee.
You can also use the leftover cornstarch slurry as a thickener for a small batch of fruit sauce or berry compote to serve alongside your cream.
Mastering the Art of Plating with This Perfect Dessert Topping
When it comes to presentation, texture is everything. Because this cream is stabilized, it can handle intricate piping tips. I love using a large star tip to create "ropes" around the edges of a pie. It gives that professional bakery look without the stress of the cream melting before the guests arrive.
Decision Shortcuts for the Best Results If you want maximum stiffness for piping, use the cornstarch slurry method as written. If you want a richer, cheesecake like flavor, swap the cornstarch slurry for 2 ounces of softened cream cheese whipped in at the end.
If you are short on time, use extra powdered sugar and a chilled bowl, but be prepared to serve the dish within 2 hours.
Debunking Whipping Myths One common myth is that adding salt helps cream whip faster. In reality, salt can actually interfere with the fat's ability to bond, so it is best to leave it out or add just a tiny pinch at the very end. Another myth is that you can "fix" butter by adding milk.
Once the fat has fully separated and turned to butter, you can't go back to whipped cream. Just enjoy your homemade vanilla butter on some toast and start fresh with a new batch of cold cream!
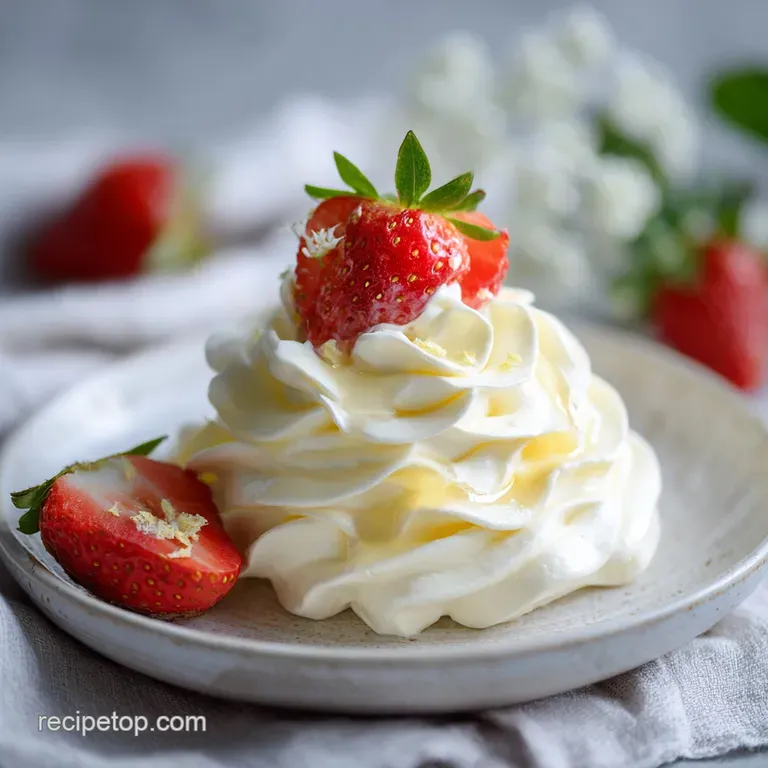
Whether you are topping a complex layered cake or just looking for the perfect partner for a simple bowl of strawberries, this stabilized whipped cream recipe perfect topping is the reliable workhorse you need in your recipe box. It is straightforward, low effort, and delivers high impact results every single time.
Happy whisking!

Recipe FAQs
What is the minimum fat percentage required for heavy cream to stabilize properly?
No less than 36%. This high fat content is essential because the fat globules must stick together to create a strong network that traps the air bubbles.
How quickly will stabilized whipped cream melt at room temperature compared to regular whipped cream?
Significantly slower, holding shape for hours. The cornstarch slurry creates a scaffolding that resists heat better than plain fat alone, keeping it firm while standard cream weeps within an hour or two.
How do I ensure the cornstarch slurry integrates without leaving lumps in the finished cream?
Cook the starch into a translucent paste first. Whisk the cornstarch into a small amount of cream, heat until it thickens, and let it cool completely before adding it to the cold whipping cream mixture.
Can I substitute granulated sugar for powdered sugar in this stabilized recipe?
Yes, but you lose slight stabilization benefit. Powdered sugar contains trace amounts of starch that aid the structure; using granulated requires a slightly longer whipping time to fully dissolve.
How long in advance can I safely prepare this stabilized topping for a large event?
Up to 48 hours is safe, provided it is refrigerated. Because the structure is reinforced, it maintains its billowy texture much longer than traditional cream; if you enjoyed mastering the structural stability here, the same principle of reinforcement applies when making things like the Turtle Lasagna Dessert recipe.
What is the immediate first step to take if my cream starts looking grainy while whipping?
Stop the mixer immediately and fold in 2 tablespoons of fresh, cold heavy cream. Graininess means the fat is starting to separate, and adding cold liquid can sometimes re-emulsify the mixture before it fully turns to butter.
What is the correct temperature to chill the mixing bowl and whisk before whipping the cream?
Chill them until they feel frosty, typically 10 to 15 minutes in the freezer. Cold equipment is crucial because it keeps the fat globules rigid during the initial whisking process, ensuring maximum air incorporation.
Stabilized Whipped Cream
Ingredients:
Instructions:
Nutrition Facts:
| Calories | 74 kcal |
|---|---|
| Protein | 0.4 g |
| Fat | 7.1 g |
| Carbs | 2 g |
| Fiber | 0 g |
| Sugar | 1.8 g |
| Sodium | 8 mg |
