Grilled Corn on the Cob: Smoky and Zesty
- Time: Active 10 minutes, Passive 15 minutes, Total 25 minutes
- Flavor/Texture Hook: Smoky, charred exterior with a sweet, snapping interior and velvety chili butter.
- Perfect for: Backyard family barbecues or a quick weeknight summer side.
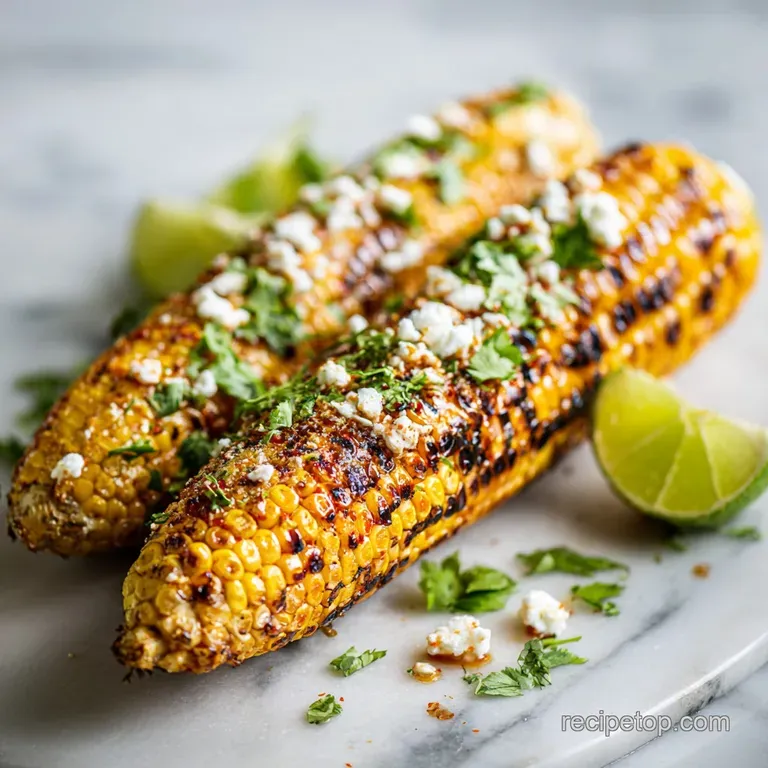
- Perfectly Charred Grilled Corn on the Cob
- Essential Recipe Performance Metrics
- Component Analysis and Ingredient Deep Dive
- Your Essential Shopping List Breakdown
- Necessary Tools for Grilling Success
- Step-by-Step Grilling Execution Guide
- Troubleshooting and Common Mistakes Guide
- Practical Scaling Guidelines
- Kitchen Myths Debunked
- Practical Storage and Reheating Tips
- Expert Presentation and Plating Advice
- Recipe FAQs
- 📝 Recipe Card
Perfectly Charred Grilled Corn on the Cob
Forget everything you know about soaking your corn in a bucket of salt water for three hours before it hits the grates. I used to be that person, meticulously submerging every ear, convinced that moisture was the only way to prevent a shriveled mess.
It turns out, that extra step is just a way to turn your backyard grill into a giant steamer, robbing the kernels of that specific, smoky char we actually want.
Discover how to make our amazing Grilled Corn on the Cob with Chili Lime Butter for your next meal without the unnecessary prep work. When the heat hits the dry husks or bare kernels, the natural sugars do something incredible they don't just cook; they transform.
You get this specific sizzle, a sound like tiny popping corn, followed by an aroma that is purely nostalgic, reminiscent of summer fairs and family reunions.
This dish is about the contrast between the heat of the fire and the cooling, zesty bite of the lime butter. It’s a family favorite because it feels like a treat but takes almost zero effort once the grill is hot.
We’re going for high impact with minimal fuss, ensuring every bite has that signature snap followed by a rich, buttery finish that drips down your chin. It’s messy, it’s loud, and it’s exactly how summer should taste.
Essential Recipe Performance Metrics
Before we light the charcoal, let's look at the "Why" behind this method. Most people overcook their corn, turning the interior into a starchy paste. We want to avoid that at all costs.
By using direct heat, we are creating a specific environment where the water inside each kernel expands rapidly, cooking the corn from the inside out while the outside develops a deep, golden color.
- over High heat Concentration: Direct contact with 400°F grates triggers sugar browning immediately without toughening the core.
- Fat Soluble Spice Delivery: The ancho and paprika flavors are carried deeper into the taste buds when dissolved in the warm butter.
- Acidic Brightness: Lime juice cuts through the heavy fat of the butter, preventing the dish from feeling too weighted.
- Textural Contrast: The dry, salty Cotija provides a powdery finish that clings to the melted butter, creating a layered mouthfeel.
| Corn Thickness | Internal Temp | Rest Time | Visual Cue |
|---|---|---|---|
| Standard (2 inch) | 165°F | 2 mins | Kernels look plump and glossy |
| Large (2.5 inch) | 170°F | 3 mins | Deep golden with dark brown spots |
| Small (1.5 inch) | 160°F | 1 min | Bright yellow and slightly translucent |
When you are aiming for that restaurant quality finish, the visual cue is actually more important than the timer. Look for the way the light hits the kernels; they should look like they are about to burst, glowing under the grill light.
If they start to look shrunken or wrinkled, you’ve gone too far and the sugars have started to carbonize into bitterness rather than sweetness.
Component Analysis and Ingredient Deep Dive
Selecting the right corn is the foundation of this entire operation. Look for husks that are bright green and slightly damp to the touch, which indicates the corn was recently harvested and still holds its natural moisture. If you peel back the tip and the kernels are missing or shriveled, put it back.
You want full, tightly packed rows that feel firm when you press your thumb against them through the husk.
| Ingredient | Science Role | Pro Secret |
|---|---|---|
| Sweet Corn | Primary Sugar Source | Keep refrigerated until the very moment of grilling to preserve sugar levels. |
| Unsalted Butter | Flavor Carrier | Use high-quality butter with low water content for a creamier, less oily finish. |
| Lime Zest/Juice | Acidic Balance | Zest contains oils that provide aroma without the tongue pinching sourness of juice. |
| Ancho Chili Powder | Smokiness | This specific chili provides a mild, raisin like sweetness rather than pure heat. |
Beyond the corn, the butter is where the personality of this dish lives. I prefer using a European style butter for this because the higher fat content means it clings to the cob instead of just sliding off onto the plate. The spices need that fat to bloom.
When you whip the ancho and paprika into the butter, you’re essentially creating a shelf stable flavor bomb that works just as well on grilled vegetables as it does on this corn.
Your Essential Shopping List Breakdown
For this recipe, we are keeping things simple and focused. You will need 6 ears of fresh sweet corn, shucked and silks removed. Make sure you really get those silks off; nobody likes a side of "hair" with their dinner. A stiff vegetable brush can help with the stubborn strands.
- 6 ears fresh sweet corn Why this? Freshness ensures the highest natural sugar content for better charring.
- 2 large limes Why this? The juice provides essential acidity to balance the rich butter.
- 15g fresh cilantro Why this? Adds a herbal, cooling finish to the spicy butter.
- 113g unsalted butter Why this? Control your salt levels by adding sea salt separately.
- 2g ancho chili powder Why this? Offers deep, smoky notes without overwhelming heat.
- 1g smoked paprika Why this? Mimics the flavor of wood fired cooking.
- 3g fine sea salt Why this? Enhances the sweetness of the corn kernels.
- 0.5g cayenne pepper Why this? Adds a tiny back of-the throat kick.
- 60g cotija cheese Why this? Salty, dry texture that doesn't melt completely.
If you can't find Cotija, don't panic. While it's traditional, you can swap it for a very dry Feta or even a finely grated Parmesan. The goal is a salty, crumbly hit that contrasts with the sweet corn.
For the chili powder, if Ancho isn't in your pantry, a standard chili powder works, though you'll miss that specific dark, fruity undertone.
| Original Ingredient | Substitute | Why It Works |
|---|---|---|
| Cotija Cheese | Feta Cheese | Similar salty profile. Note: Feta is creamier and more tangy than Cotija. |
| Ancho Powder | Regular Chili Powder | Provides basic heat. Note: Lacks the specific smoky, sweet depth of Ancho. |
| Fresh Cilantro | Flat Leaf Parsley | Provides a green, fresh finish. Note: Won't have that classic citrusy cilantro zing. |
Necessary Tools for Grilling Success
You don't need a high end outdoor kitchen to make this happen, but a few specific tools will make your life significantly easier. First and foremost, a pair of long handled grill tongs is non negotiable. You’re working over 400°F heat, and short kitchen tongs will lead to singed knuckles.
I’ve made that mistake more times than I’d like to admit.
A small, heat proof bowl for the butter is also essential. You want something you can set near the grill so the butter stays soft but doesn't completely liquify into a yellow puddle.
A fork works better than a spoon for whipping the compound butter; it incorporates air, making the mixture fluffy and easier to spread over the hot kernels.
Finally,, make sure your grill grates are clean. I always give them a good scrub with a wire brush once they’ve preheated. Any leftover residue from last night's burgers will stick to the corn and create a bitter, acrid taste.
If you're worried about sticking, you can lightly oil the grates using a paper towel dipped in vegetable oil, held by your tongs, just before the corn goes on.
step-by-step Grilling Execution Guide
- Combine 113g softened butter, lime zest, 1 tablespoon lime juice, 2g ancho powder, 1g smoked paprika, 3g sea salt, and 0.5g cayenne in a bowl. Note: Whipping creates a light texture that melts instantly on contact.
- Preheat the grill to medium high (400°F) for at least 10 minutes. Note: A hot grill prevents sticking and ensures immediate caramelization.
- Place 6 shucked ears of corn directly onto the clean grill grates.
- Close the grill lid immediately. Note: This traps heat to cook the interior while the grates sear the outside.
- Cook for 12 to 15 minutes in total.
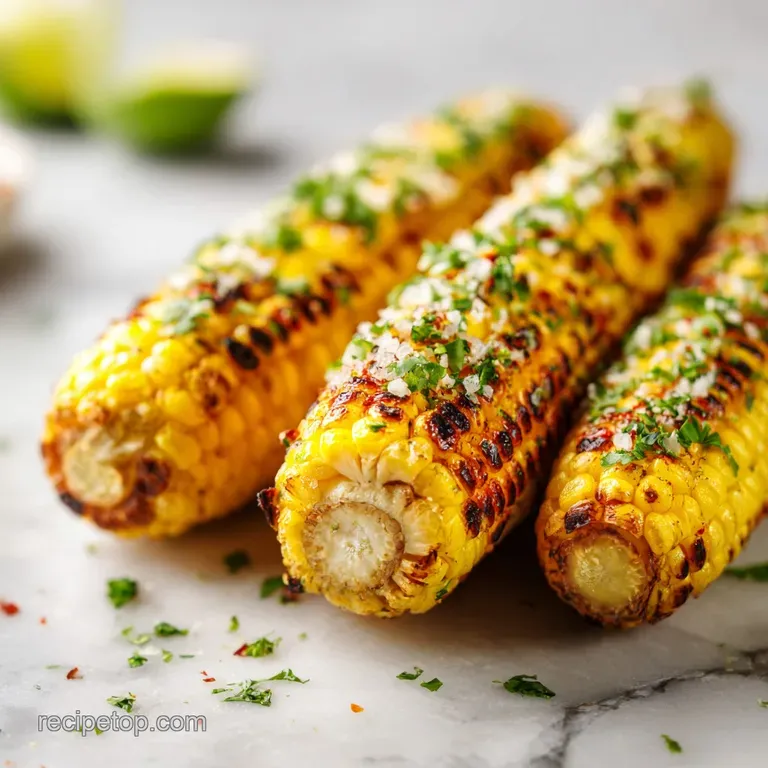
- Rotate the ears a quarter turn every 3 minutes using tongs. until kernels are golden with scattered dark charred spots.
- Transfer the hot corn to a serving platter.
- Slather the ears immediately with the prepared chili lime butter. until the butter disappears into the crevices.
- Sprinkle 60g crumbled cotija and 15g chopped cilantro over the top.
- Serve immediately with extra lime wedges for squeezing.
The most important part of this process is the rotation. If you forget to turn the corn, you’ll end up with one side that is black and bitter while the other is raw and starchy. Stay by the grill. This isn't a "set it and forget it" situation.
It's only 15 minutes of cooking, so keep your eyes on the prize.
Troubleshooting and Common Mistakes Guide
The biggest issue people run into is the corn becoming "rubbery." This usually happens when the corn is cooked for too long at too low of a temperature. The cell walls of the kernels break down slowly, losing their snap. You want high, fast heat to sear the outside while leaving the inside juicy.
Another common pitfall is the butter sliding right off. If the corn is too wet when it comes off the grill, or if the butter is completely melted into a liquid, it won't cling. You want a "slatherable" consistency think room temperature peanut butter.
This creates a thick coating that stays put until it hits your mouth.
Why Your Corn Is Tough
If your corn feels chewy rather than snappy, it's likely a moisture issue. Overcooking is the primary suspect. As the corn sits on the heat, the water inside evaporates. Once that moisture is gone, the starches toughen up.
Always pull the corn off as soon as you see those beautiful char marks, even if it feels "too fast."
| Problem | Root Cause | Solution |
|---|---|---|
| Burnt, bitter skin | Heat is too high or no rotation | Move to a cooler spot and turn every 2-3 minutes. |
| Bland interior | Undersalted butter | Increase sea salt in the compound butter mixture. |
| Soggy kernels | Soaking corn before grilling | Skip the soak; grill the corn dry for a better snap. |
Common Mistakes Checklist
- ✓ Shuck the corn completely; leaving any silk will cause flare ups and a burnt hair smell.
- ✓ Ensure the grill hits a full 400°F before the corn touches the grates to prevent sticking.
- ✓ Don't skip the lime zest; it contains the essential oils that provide the best flavor.
- ✓ Use unsalted butter so you can precisely control the saltiness with sea salt.
- ✓ Apply the butter while the corn is "ouch hot" so it penetrates the kernels.
Practical Scaling Guidelines
If you're hosting a massive neighborhood party and need to double or triple this recipe, the logistics change slightly. You can't fit 24 ears of corn on most standard grills without overcrowding.
When you crowd the grill, the temperature drops, and instead of grilling, you end up "steaming" the corn, which ruins that crispy texture we worked so hard for.
Work in batches if necessary. You can keep the first batch warm by wrapping the buttered ears in heavy duty aluminum foil and placing them in a cooler (without ice!). This insulated environment will keep them piping hot for up to 30 minutes while the next batch cooks.
For the butter, you can easily triple the recipe, but keep it in the fridge until about 20 minutes before you need it so it stays workable.
If you are scaling down for a solo dinner, don't try to use a fraction of an egg if you were making a cake, but here, it's easy. Just make the full batch of butter and save the extra. It is incredible on a Garlic Butter Roasted Cabbage or even stirred into a Chicken Street Corn Bowl. The butter keeps for a week, so there’s no waste.
Kitchen Myths Debunked
One of the most persistent myths is that you must soak corn in sugar water to make it sweeter. Modern "supersweet" corn varieties are already incredibly high in sugar. Adding more to the soaking water won't penetrate the kernel's skin; it just makes the outside sticky and prone to burning. Trust the produce!
Another myth is that salt should be added to the water if you're boiling (or soaking) corn. Salt actually toughens the cell walls of the corn during the cooking process. It’s much better to add your salt at the very end, either in the butter or as a finishing sprinkle, to ensure the kernels stay tender and juicy.
Finally, many believe that you can't get "grilled" flavor without husks. In reality, grilling the corn naked (shucked) allows the fire to interact directly with the sugars. Grilling in the husk is essentially just steaming the corn inside a green wrapper. If you want that deep, charred flavor, the husk has to go.
Practical Storage and Reheating Tips
Grilled corn is undeniably best served the second it leaves the fire, but life happens. If you have leftovers, strip the kernels off the cob using a sharp knife. Store these kernels in an airtight container in the fridge for up to 4 days.
These leftovers are a goldmine for salads, salsas, or even folded into an omelet the next morning.
Freezing is also an option. If you have a surplus of summer corn, grill it, cut it off the cob, and freeze the kernels in a single layer on a baking sheet before transferring to a freezer bag. This prevents them from clumping into a giant ice block.
They'll stay fresh for about 3 months, giving you a hit of summer in the middle of November.
To reheat, avoid the microwave if possible, as it tends to make the corn rubbery. Instead, toss the kernels in a hot skillet with a tiny pat of butter for 2-3 minutes. This refreshes the char and brings the sugars back to life.
If you're reheating a whole cob, wrap it in a damp paper towel and microwave for only 30-45 seconds, but know the texture won't be quite as snappy as day one.
Expert Presentation and Plating Advice
When it comes to serving, this corn is a showstopper, so let it look the part. I like to pile the ears onto a large wooden board or a dark ceramic platter to make the yellow kernels and green cilantro pop. Don't be neat with the cheese and cilantro let it fall where it may.
That "overflow" look makes the dish feel abundant and rustic.
If you're serving this as part of a larger spread, think about the color palette. This corn pairs beautifully with grilled meats and vibrant greens. It’s the perfect side for a Grilled Halloumi Sandwich or even a simple Chicken Parm Grilled Cheese if you're doing a fusion style lunch.
Always provide extra lime wedges on the side. Some people love that extra hit of acid to cut through the butter. Also, don't forget the napkins. Real, cloth napkins or high-quality paper ones are a must because this is a hands on, face first kind of meal.
The butter will drip, the cheese will scatter, and that's exactly why everyone will be asking for the recipe.

Recipe FAQs
How to prevent grilled corn from becoming rubbery?
Maintain high heat throughout the process. Cooking the corn at 400°F for 12 15 minutes ensures the exterior sears quickly while the inside remains juicy, preventing the kernel cell walls from breaking down.
Is it true I should boil the corn before putting it on the grill?
No, this is a common misconception. Pre-boiling causes the kernels to lose their structural snap and dilutes the natural sugars, whereas placing them directly on the grill grates maximizes the flavor enhancing Maillard reaction.
How to get the chili lime butter to stick to the corn?
Whip the compound butter until aerated before application. When the butter reaches a spreadable, room temperature consistency, it will adhere properly to the hot, dry kernels rather than sliding off.
How to achieve an even char on every side of the corn?
Rotate the ears a quarter turn every 3 minutes. Using long handled tongs to flip the corn consistently ensures uniform contact with the grill grates and prevents localized burning.
Can I prepare the corn in advance for a large gathering?
Yes, shuck the corn ahead of time and keep it refrigerated. If you enjoyed mastering the herbal balance required for complex flavor profiles, you can prepare the compound butter hours early so it is ready to whip and slather the moment the corn comes off the grill.
How to know exactly when the corn is finished grilling?
Look for vibrant color and a charred exterior after 12 15 minutes. The corn is ready when the kernels are tender and show visible, evenly spaced char marks from the medium high 400°F grill surface.
How to clean the grill before placing the corn on it?
Scrub the grates thoroughly while the grill is preheating. A clean surface is essential to ensure the ears do not stick and to allow the direct heat to properly caramelize the natural sugars in the kernels.
Grilled Corn With Chili Lime

Ingredients:
Instructions:
Nutrition Facts:
| Calories | 268 kcal |
|---|---|
| Protein | 5.8 g |
| Fat | 19.6 g |
| Carbs | 22.1 g |
| Fiber | 2.9 g |
| Sugar | 6.2 g |
| Sodium | 315 mg |
