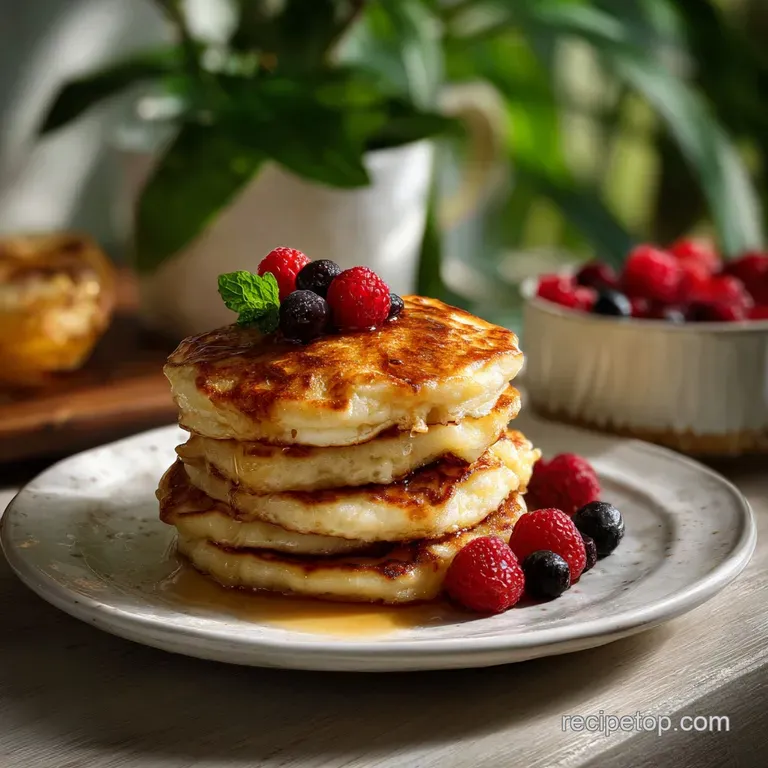
Best Fluffy Pancake from Scratch for Beginners
- Time: Active 5 minutes, Passive 10 minutes, Total 15 minutes
- Flavor/Texture Hook: Tangy, cloud like interior with golden, buttery edges
- Perfect for: Slow weekend mornings or a beginner friendly brunch
- Why Beginners Love These Pancakes
- Component Analysis and Pro Secrets
- Sourcing Your Morning Ingredients
- Simple Tools for Success
- Master the Stovetop Technique
- Solve Common Cooking Hurdles
- Creative Flavor Adaptations
- Essential Scaling Guidelines
- Debunking Common Kitchen Myths
- Smart Storage Strategies
- Serving Your Golden Stack
- High in Sodium
- Recipe FAQs
- 📝 Recipe Card
Why Beginners Love These Pancakes
You don’t need to be a professional to get these right because the buttermilk does most of the heavy lifting for you. The acidity in the dairy softens the flour proteins, which means even if you over mix the batter slightly, you still won't end up with a tough, chewy texture.
It is a very forgiving recipe for anyone still learning the ropes of kitchen chemistry.
The Science of Why it Works: The lactic acid in buttermilk reacts with the baking soda to create a massive surge of carbon dioxide. This chemical leavening, paired with the structural support of the eggs, traps air inside the batter as it hits the heat, resulting in a tall rise.
- Acid Base Activation: The immediate fizzing you see when wet meets dry is the leavening working its magic before the heat even hits.
- Protein Tenderizing: Buttermilk breaks down long gluten strands, ensuring the crumb remains soft rather than bready.
- Fat Emulsification: The melted butter coats the flour, preventing too much water protein interaction which keeps things tender.
- Maillard Reaction: The small amount of sugar reacts with the dairy proteins to create that iconic golden brown "sizzle" color and nutty aroma.
| Method | Time | Texture | Best For |
|---|---|---|---|
| Stovetop | 10 minutes | Crispy edges, soft center | Traditional breakfast vibes |
| Oven Baked | 18 minutes | Uniform, cake like | Serving a large crowd at once |
| Electric Griddle | 8 minutes | Perfectly even browning | Cooking 6-8 cakes at a time |
Using a stovetop pan is my favorite because you get to control the heat for each individual pancake, but the oven method is a lifesaver if you have four hungry kids waiting at the table. If you're using a pan, make sure it's a heavy bottomed one to prevent hot spots that can scorch your breakfast.
Component Analysis and Pro Secrets
I’ve made the mistake of using cold eggs before, and let me tell you, it makes a difference. When your eggs are room temperature, they incorporate much better into the buttermilk and melted butter. If your butter is hot and your buttermilk is ice cold, the butter will just clump up into little wax pellets.
Take ten minutes to let everything sit on the counter first.
| Ingredient | Science Role | Pro Secret |
|---|---|---|
| Buttermilk | Acidic Leavener | Use full fat for a richer, more velvety crumb. |
| Baking Soda | pH Neutralizer | Sift it with the flour to avoid bitter "yellow spots." |
| Melted Butter | Flavor & Fat | Let it cool slightly so it doesn't scramble the eggs. |
| All Purpose Flour | Structure | Spoon and level your measuring cup; never pack it down. |
When you are measuring your flour, don't just scoop the measuring cup into the bag. That packs the flour down, and you'll end up with way more than 250g, leading to a dry, dense pancake. Use a spoon to fill the cup and level it off with a knife.
Sourcing Your Morning Ingredients
You probably have most of this in your pantry right now. If you don't have buttermilk, don't panic. You can make a quick version by adding a tablespoon of lemon juice to regular milk, though the real stuff provides a much better "tang" and thickness.
- 2 cups (250g) all purpose flour: Why this? Provides the necessary gluten structure without being as heavy as bread flour.
- 2 cups (480ml) full fat buttermilk: Why this? The fat provides flavor while the acid creates the fluffy lift.
- 2 large eggs, room temp: Why this? Acts as a binder and adds richness to the batter.
- 3 tbsp (42g) unsalted butter, melted: Why this? Creates those crispy, golden edges we all crave.
- 2 tbsp (25g) granulated sugar: Why this? Aids in browning and balances the tangy buttermilk.
- 2 tsp (8g) baking powder: Why this? Provides the secondary "lift" once the pancake hits the heat.
- 1 tsp (5ml) pure vanilla extract: Why this? Adds an aromatic depth that makes the kitchen smell like a bakery.
- 1 tsp (5g) baking soda: Why this? Reacts specifically with the buttermilk for instant fluffiness.
- 1/2 tsp (3g) fine sea salt: Why this? Sharpens all the other flavors so they aren't flat.
| Original Ingredient | Substitute | Why It Works |
|---|---|---|
| Buttermilk | 2 cups Milk + 2 tbsp Lemon Juice | Mimics the acidity needed for the rise. Note: Batter will be thinner. |
| Unsalted Butter | Neutral Oil (Canola/Grapeseed) | Provides fat but loses the nutty, toasted flavor profile. |
| Granulated Sugar | Honey or Maple Syrup | Adds moisture and sweetness. Note: May brown faster due to sugars. |
If you go the lemon juice and milk route, let it sit for 5 minutes before using it. You'll see it start to curdle slightly, which is exactly what you want. It won't be as thick as store-bought buttermilk, so you might need to add an extra tablespoon of flour to get the consistency right.
Simple Tools for Success
You don't need a standing mixer for this. In fact, a standing mixer is the enemy of a fluffy pancake because it's too easy to over work the batter. I prefer using a large stainless steel bowl and a classic wire whisk. For the actual cooking, a non stick skillet or a well seasoned cast iron pan is your best friend.
Chef's Tip: Use a 1/4 cup measuring scoop to pour your batter. It ensures every pancake is the same size, which means they all finish cooking at the exact same time. No more guessing if the big one is done while the small one burns.
If you are using a cast iron, remember that it holds heat like a champion. You might need to turn the burner down slightly after the first batch so the outsides don't get too dark before the insides are set. A thin, flexible spatula is also essential for getting under those delicate edges without tearing the cake.
Master the Stovetop Technique
The biggest mistake people make is rushing the heat. You want a medium low flame. If the pan is too hot, the sugar in the batter will caramelize and burn before the baking powder has a chance to puff up the center. Patience is the secret ingredient here.
- Whisk dry ingredients. Combine the flour, sugar, baking powder, baking soda, and salt in a large bowl. Note: This ensures the leavening agents are evenly distributed.
- Mix wet ingredients. In a separate jug, whisk the buttermilk, eggs, melted butter, and vanilla. Note: Mixing separately prevents over working the flour later.
- Combine the mixtures. Pour the wet into the dry. Stir with a spatula until just combined. Stop when you see some lumps. Note: Over mixing develops gluten, which makes pancakes rubbery.
- Rest the batter. Let it sit for 5 minutes. Watch for small bubbles forming. Note: This allows the flour to hydrate and the soda to activate.
- Preheat the pan. Place your skillet over medium low heat for 3 full minutes. Note: A consistent surface temperature prevents sticking.
- Grease lightly. Add a tiny pat of butter or a wipe of oil. Wait for the sizzle.
- Pour the batter. Use a 1/4 cup scoop to drop batter into the pan. Note: Don't crowd the pan; leave space for flipping.
- Look for bubbles. Cook for 2-3 minutes until bubbles form and stay open on the surface.
- The Flip. Slide your spatula underneath and flip in one swift motion. Avoid pressing down. Note: Pressing the pancake deflates all the air you just worked to create.
- Finish cooking. Heat for another 1-2 minutes until the bottom is golden brown.
Whisking the Foundations
When you combine the two mixtures, do not try to get it perfectly smooth. I know it goes against every instinct, but those lumps are actually pockets of flour that will steam inside the pancake, creating extra lift. If you whisk until it’s like a smooth crepe batter, your pancakes will be flat and tough.
Mastering the Heat and Flip
The flip is all in the wrist. Don't lift the pancake too high off the pan; you just want to turn it over gently. If the batter is still very runny when you try to flip, it’s not ready. Wait until the edges look dry and matte rather than shiny and wet.
Solve Common Cooking Hurdles
Pancake making is a bit of a dance with your stove. The first pancake is almost always the "test" pancake it's usually a bit wonky while the pan temperature stabilizes. Don't let that discourage you! Just adjust the dial and keep going.
Why Your Pancakes Are Flat
If your pancakes aren't rising, your baking powder or soda might be expired. These chemical leaveners lose their punch over time. Another common culprit is over mixing; if you stir until the batter is perfectly smooth, you've knocked out all the air and developed too much gluten.
Why Your Pancakes Are Burnt Outside but Raw Inside
This is a classic case of the pan being too hot. The outside cooks in seconds because of the sugar, but the heat hasn't reached the center yet. Turn your burner down to medium low. It should take a solid 2 to 3 minutes for those bubbles to appear on the first side.
| Problem | Root Cause | Solution |
|---|---|---|
| Rubbery texture | Over mixing the batter | Stop stirring while you still see small lumps of flour. |
| Greasy surface | Too much oil/butter in pan | Use a paper towel to wipe out excess fat between batches. |
| No "lift" or fluff | Expired leavening agents | Check your baking powder by dropping a pinch in hot water. |
✓ Preheat your pan for at least 3 minutes before adding the first drop of batter. ✓ Use a 1/4 cup scoop for consistent sizing and even cooking. ✓ Never press down on the pancake with your spatula after flipping.
✓ Let the batter rest for 5 minutes to allow the leavening to "bloom." ✓ Wipe the pan with a clean paper towel between batches to prevent burnt butter bits.
Creative Flavor Adaptations
Once you’ve mastered the base recipe, the sky is the limit. You can easily turn these into a gourmet breakfast with just one or two small additions. Just remember to add your "mix ins" after you've poured the batter onto the pan, rather than stirring them into the big bowl.
This ensures every pancake gets an even amount of goodies.
- Blueberry Burst: Drop 5-6 fresh blueberries onto the wet side of the pancake before flipping.
- Chocolate Chip: Use mini chocolate chips so they melt quickly and don't weigh down the batter.
- Lemon Poppyseed: Add 1 tbsp of poppyseeds and the zest of one lemon to the dry ingredients.
Adding Fruit or Crunch
If you want to add nuts, toast them in a dry pan for a few minutes first. It brings out the oils and keeps them from getting soggy inside the batter. Pecans or walnuts paired with a dash of cinnamon in the dry mix is a game changer for fall mornings.
Dietary Swaps
If you need to make these dairy-free, you can use a high fat nut milk like cashew milk and add a teaspoon of apple cider vinegar. It won't be quite as thick as the buttermilk version, but it still provides that necessary acidic reaction for the baking soda to work.
Essential Scaling Guidelines
Cooking for a crowd? This recipe scales beautifully, but there are a few things to keep in mind when you're doubling or tripling the volume. You don't want the batter sitting out for an hour while you cook batch after batch, as the leavening will eventually lose its fizz.
- Scaling Up (2x-4x): Double all ingredients, but keep the salt to 1.5x to avoid over seasoning. Work in batches and keep finished pancakes on a wire rack in a 200°F oven.
- Scaling Down (1/2): Use 1 cup flour, 1 egg, and 1 cup buttermilk. For the butter, use 1.5 tablespoons. Reduce the baking powder and soda by half as well.
Chef's Note: If you're doubling the recipe, don't mix all the wet and dry at once. Mix them in smaller batches so the last few pancakes are just as fluffy as the first ones.
If you are cooking a large batch, never stack the finished pancakes on top of each other on a plate. The steam from the bottom ones will make the top ones soggy. Place them in a single layer on a baking sheet in a warm oven until you're ready to serve the whole family.
Debunking Common Kitchen Myths
Myth: You should flip the pancake as soon as you see one bubble. Truth: Wait until the bubbles are popping and staying open. If the bubble fills back in with batter immediately, the structure isn't set yet, and you'll end up with a mess when you try to flip.
Myth: Sifting flour is a waste of time. Truth: For pancakes, sifting (or at least vigorous whisking) is vital. It breaks up clumps of baking soda and salt, ensuring you don't bite into a bitter pocket of leavener. It also aerates the flour for a lighter crumb.
Myth: More baking powder equals more fluff. Truth: Too much leavener will actually cause the bubbles to grow too large and pop, leading to a collapsed, flat pancake. It can also leave a metallic or "soapy" aftertaste. Stick to the measurements in the recipe!
Smart Storage Strategies
If you have leftovers, you are in luck. These actually store and reheat better than almost any other breakfast food. I often make a double batch just so I can have a quick "toaster pancake" on busy Monday mornings.
Storage: Keep cooked pancakes in an airtight container in the fridge for up to 4 days. To prevent them from sticking together, place a small square of parchment paper between each one.
Freezing: These are incredibly freezer friendly. Lay them flat on a baking sheet to freeze for 1 hour, then move them to a zip top bag. They will stay fresh for up to 2 months.
Zero Waste Tip: If you have leftover batter that you can't cook right away, don't throw it out! You can store it in the fridge for about 12 hours. It won't be as fluffy the next day, but it still makes a decent pancake.
Alternatively, stir in some extra flour and a bit of shredded cheddar to make savory "pancake biscuits."
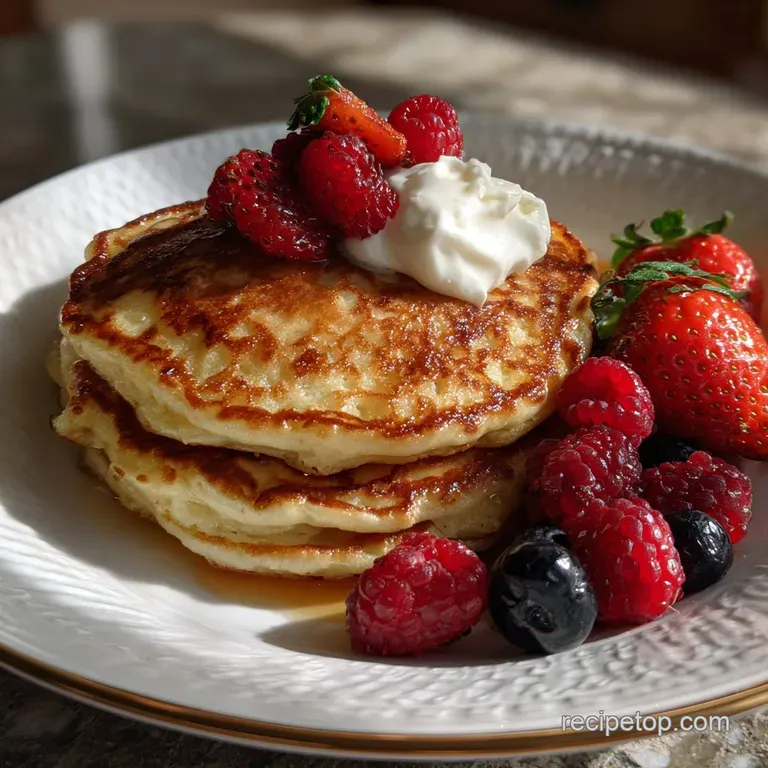
Serving Your Golden Stack
The classic move is a pat of salted butter and a generous pour of pure maple syrup. But if you want to elevate the experience, try a dollop of Greek yogurt and some fresh honey. The tartness of the yogurt plays perfectly with the tangy buttermilk in the batter.
- For the traditionalist: Warm maple syrup and crispy bacon on the side.
- For the fruit lover: A quick berry compote made by simmering frozen berries with a splash of orange juice.
- For the sweet tooth: A drizzle of peanut butter and sliced bananas.
Whatever you choose, serve them immediately. There is nothing like a pancake that is still steaming, with the butter just beginning to melt into those little craters on the surface. Now that you've got the technique down, go grab your whisk and get started!

High in Sodium
955 mg mg of sodium per serving (42% of daily value)
The American Heart Association recommends limiting sodium intake to about 2,300mg per day for overall health.
Tips to Reduce Sodium in Your Recipe
-
Reduce Salt by Half-25%
Reducing the amount of added salt by half will have a significant impact. Start by using only 1/4 tsp (1.5g) of fine sea salt instead of 1/2 tsp (3g) and adjust to taste. This will noticeably lower the sodium content.
-
Omit the Salt-25%
Completely omit the added salt from the recipe. With other flavors present, you might not miss it at all, offering a significant sodium reduction.
-
Use Low-Sodium Baking Soda-15%
Replace regular baking soda with a low-sodium alternative. Although baking soda contributes to the overall flavor and texture, a low-sodium version can help reduce the total sodium content without significantly altering the recipe.
-
Consider Low-Sodium Buttermilk-10%
While buttermilk typically contains some sodium, explore options for low-sodium or reduced sodium buttermilk. Always check the nutrition label and adjust accordingly.
-
Enhance with Herbs & Spices
Instead of relying on salt for flavor, experiment with sodium free herbs and spices like black pepper, garlic powder, onion powder, paprika, or Italian seasoning to enhance the taste of your recipe. Get creative and find your favorite combinations!
Recipe FAQs
What makes these pancakes extra fluffy?
The buttermilk and baking soda reaction. The acidity in buttermilk reacts with baking soda to create carbon dioxide bubbles, giving the pancakes their signature lift and airy texture.
Can I use regular milk instead of buttermilk?
Yes, but it's not ideal. You can create a quick substitute by adding 2 tablespoons of lemon juice or vinegar to 2 cups of regular milk and letting it sit for 5 minutes. However, true buttermilk provides a superior tang and thickness for optimal fluffiness.
How do I prevent my pancakes from being tough?
Don't overmix the batter. Stir the wet and dry ingredients until they are just combined, leaving some small lumps. Overmixing develops gluten, which leads to a rubbery texture.
Why are my pancakes burning on the outside but raw inside?
Your pan is too hot. Reduce the heat to medium low. The sugar in the batter caramelizes and burns quickly at high temperatures before the inside has a chance to cook through.
How long should I let the batter rest?
Let the batter rest for 5 minutes. This brief rest allows the flour to hydrate and the leavening agents to begin their reaction, contributing to a better rise and texture.
Can I make the batter ahead of time?
Yes, for a short period. Leftover batter can be stored in the refrigerator for about 12 hours. It may not be as fluffy the next day, but it's still usable.
What's the best way to cook these pancakes?
Use a medium low heat on a stovetop or griddle. Preheat your pan for at least 3 minutes to ensure even cooking, and look for bubbles forming and staying open on the surface before flipping.
Fluffy Buttermilk Pancakes

Ingredients:
Instructions:
Nutrition Facts:
| Calories | 443 kcal |
|---|---|
| Protein | 13.8 g |
| Fat | 15.6 g |
| Carbs | 60.6 g |
| Fiber | 1.8 g |
| Sugar | 12.3 g |
| Sodium | 955 mg |
