Brownie Bites Bliss Recipe: Fudgy & Crinkly
- Time: Active 10 minutes, Passive 12 minutes, Total 22 minutes
- Flavor/Texture Hook: Fudgy, chocolatey, and buttery with a delicate, crispy crust.
- Perfect for: Party platters, late night cravings, and quick holiday dessert swaps.
- Bake the brownie bites bliss recipe
- The science of fudgy texture
- Precision stats for baking success
- The components of chocolate bliss
- Essential gear for mini bites
- Perfect steps for fudgy centers
- Fixing common brownie baking fails
- Easy ways to customize treats
- Keep your brownie bites fresh
- Serve and plate your desserts
- Recipe FAQs
- 📝 Recipe Card
Bake the brownie bites bliss recipe
You know that specific scent that fills a bakery right around 10:00 AM? It’s that intoxicating mix of toasted cocoa, melting butter, and a hint of caramelized sugar. I spent years trying to bottle that aroma in my own kitchen, but my brownies always came out either too dry like a sponge or so oily they left a residue on the napkin.
It was frustrating because I just wanted that tiny, two bite piece of heaven that hits all the right notes without requiring a nap afterward.
Then, everything changed during a rainy Sunday bake off. I realized I was over mixing my batter and using butter that was far too cold. The moment I started using hot, melted butter to "bloom" the cocoa powder, the flavor transformed from "okay" to "absolutely incredible." Now, this brownie bites bliss recipe is my go to whenever I need to impress a crowd or just treat myself to something special after a long day.
It’s foolproof, fast, and honestly, a bit dangerous to have sitting on your counter.
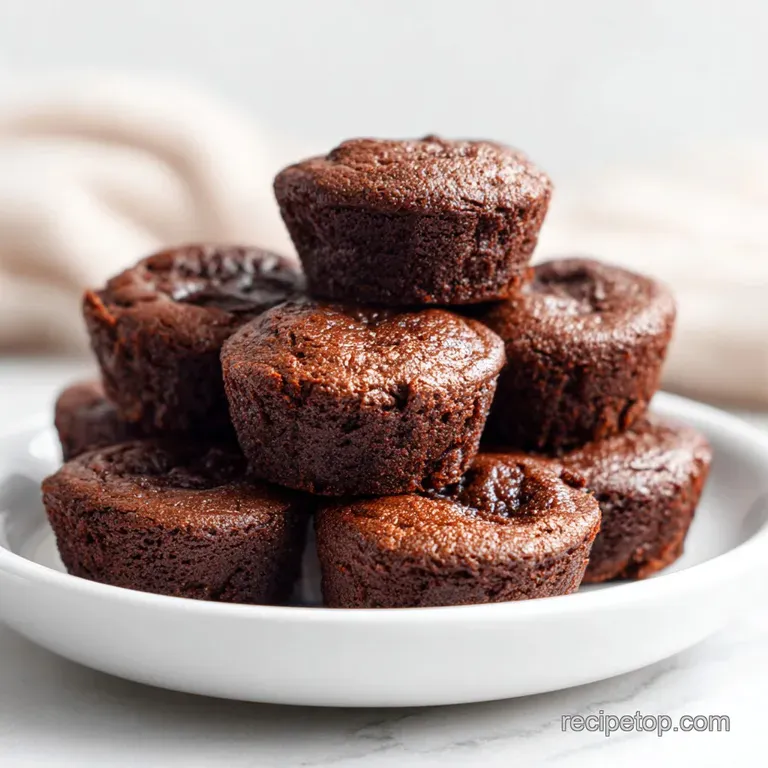
We’re going for a texture that is unapologetically fudgy. There’s no baking powder here because we don't want a cake like crumb; we want something that feels like a cross between a truffle and a traditional brownie.
This recipe is designed to be small, concentrating all that chocolate intensity into a bite sized format that cooks quickly and stays moist. Trust me, once you see those shiny, crackly tops emerging from your oven, you'll never go back to the boxed stuff.
The science of fudgy texture
Understanding the physics of a brownie helps you avoid the common pitfalls of dry or tough treats. It’s all about controlling the air and the protein structure within the batter.
- Sugar Melt Mechanism: Dissolving the granulated sugar into hot butter creates a stable syrup that migrates to the surface, forming the iconic "crinkle" top.
- Low Aeration Mixing: By hand stirring rather than using a high speed mixer, we prevent air bubbles from forming, ensuring the center remains dense and velvety.
- Fat to Flour Ratio: High fat content from 115g of butter combined with minimal flour keeps the gluten structure weak, which is the secret to that melt in-your mouth feel.
- Maillard Reaction: The Dutch processed cocoa interacts with the heat to develop deep, complex flavors that aren't just "sweet" but truly chocolate forward.
| Cook Method | Time | Texture | Best For |
|---|---|---|---|
| Standard Oven | 12 minutes | Crinkle top, fudgy center | Authentic bliss results |
| Stovetop (Pan) | 18 minutes | Soft, steamed, very dense | No oven emergencies |
| Air Fryer | 9 minutes | Extra crispy edges | Small batch cravings |
If you are looking for a larger format with a similar profile, you might enjoy the technique used in my Fudgy Brownies for recipe. It uses the same principles of fat led moisture but scales them up for a traditional 8x8 pan.
Precision stats for baking success
Baking is a game of ratios, and even a few grams can shift the result from fudgy to crumbly. Using a scale for the 65g of flour is much more reliable than using a measuring cup, which can vary by 20% depending on how you pack it.
| Component | Science Role | Pro Secret |
|---|---|---|
| Hot Butter (115g) | Emulsifier & Flavor | Use it while it’s bubbling to bloom the cocoa powder |
| Sugar (200g) | Structure & Crust | Whisk vigorously into butter to start the "crinkle" film |
| Eggs (2 Large) | Binding & Moisture | Must be room temp to prevent the butter from seizing |
| Cocoa (45g) | Flavor Intensity | Dutch processed yields a darker, smoother chocolate taste |
One thing I've learned the hard way: don't even think about using cold eggs. If you add cold eggs to that beautiful hot butter and sugar mixture, the butter will immediately clump up into little greasy beads. It ruins the emulsion, and your brownie bites will come out oily on the bottom and dry on top.
If you forgot to take them out of the fridge, just pop them in a bowl of warm water for 5 minutes.
The components of chocolate bliss
This recipe relies on pantry staples, but the quality of your cocoa powder will dictate the final result. I always reach for a high-quality Dutch processed cocoa for that deep, dark color and mellow acidity.
- Unsalted Butter (115g): Melted and hot. Why this? Provides the fat base and heat needed to dissolve the sugar crystals.
- Granulated Sugar (200g): Standard white sugar. Why this? Creates the crispy top and keeps the interior moist and chewy.
- Dutch processed Cocoa (45g): Sifted to avoid lumps. Why this? Offers a richer chocolate flavor than natural cocoa powder.
- Fine Sea Salt (1/4 tsp): Don't skip it! Why this? Cuts through the sweetness and highlights the chocolate notes.
- Vanilla Extract (1 tsp): Real vanilla is best. Why this? Rounds out the flavor profile with floral, sweet aromatic notes.
- Large Eggs (2): Room temperature. Why this? Provides the necessary structure without making the bites too airy.
- All purpose Flour (65g): Sifted for lightness. Why this? Just enough to hold everything together without becoming "cakey."
| Original Ingredient | Substitute | Why It Works |
|---|---|---|
| Unsalted Butter | Salted Butter | Works fine; just omit the 1/4 tsp of fine sea salt |
| Granulated Sugar | Light Brown Sugar | Adds moisture but makes the top less crackly/crispy |
| Dutch Cocoa | Natural Cocoa | More acidic; result will be lighter in color |
| All purpose Flour | 1:1 gluten-free Blend | Rice based blends work well due to the high fat content |
If you find yourself out of eggs but still craving something sweet, you might consider making a Creamy Vegetable Casserole recipe for dinner instead while you wait for a grocery run. It's a completely different vibe, but it uses many of the same pantry staples like butter and flour for the roux!
Essential gear for mini bites
You don't need a lot of fancy equipment for this brownie bites bliss recipe, but a couple of specific tools make the process much smoother.
- Mini Muffin Tin: This is non negotiable for that specific "bite" size. A standard 24 cup tin is perfect.
- Metal Whisk: You want something sturdy to really beat the sugar into the hot butter.
- Rubber Spatula: Crucial for folding in the flour gently so you don't overwork the gluten.
Chef's Tip: Grease your mini muffin tin with melted butter AND a dusting of cocoa powder instead of flour. This prevents white streaks on your beautiful dark brownies and adds an extra layer of chocolate flavor to the crust.
Perfect steps for fudgy centers
1. The Chocolate Emulsion Phase
Preheat your oven to 180°C (350°F). In a large microwave safe bowl, melt the 115g of unsalted butter until it is bubbling hot. Immediately whisk in the 45g of Dutch processed cocoa powder.
You should smell a rich, earthy chocolate perfume as the heat from the butter "blooms" the cocoa, releasing its essential oils.
2. The Sugar Integration
Add the 200g of granulated sugar and the 1/4 tsp of fine sea salt to the butter cocoa mixture. Whisk vigorously for about 1 minute. The mixture will look gritty at first, but keep going until it looks a bit glossy.
3. The Protein Integration
Add the 1 tsp of vanilla extract and the 2 room temperature eggs. Whisk again for 2 minutes. This is the only time you should be "aggressive" with the batter. You want to fully incorporate the eggs until the batter becomes smooth, thick, and shiny.
4. The Gentle Fold
Sift the 65g of all purpose flour over the wet ingredients. Using a rubber spatula, gently fold the flour in until just combined. Stop the moment you see no more white streaks. The aroma will shift here toward a sweet, buttery vanilla note.
5. The Precision Bake
Grease your 24 cup mini muffin tin. Spoon about 1 tablespoon of batter into each cup, filling them about 3/4 full. Bake for exactly 12 minutes at 180°C. At the 10 minute mark, your kitchen will fill with a deep, caramelized sugar scent.
6. The Doneness Cue
Remove the tin from the oven when the edges are set and the tops have developed a thin, papery crust. The centers should still look slightly soft. Do not wait for a toothpick to come out clean; it should have a few moist crumbs attached.
7. The Cooling Stage
Let the bites cool in the pan for at least 10 minutes. They are very fragile when hot and need this time to "set" their fudgy structure.
8. The Release
Run a thin knife or an offset spatula around the edges of each bite to pop them out. Transfer to a wire rack to cool completely, or eat them warm if you can't wait!
Fixing common brownie baking fails
The most common issue people have with this brownie bites bliss recipe is the texture. If they come out like little cakes, you likely over mixed the flour or used extra large eggs. If they are greasy, the butter wasn't properly emulsified with the sugar and eggs.
Bites Sticking to the Pan
This usually happens if you try to remove them while they are still piping hot. The sugar is like glue when it's melted.
| Problem | Root Cause | Solution |
|---|---|---|
| Sticky Bottoms | Inadequate greasing | Use butter and cocoa powder coating |
| Crumbly Texture | Overbaked | Reduce oven time by 2 minutes next time |
| Dull Top (No Shine) | Sugar didn't dissolve | Whisk sugar into butter while it's still hot |
The "Dry & Crumbly" Disaster
If your bites are dry, check your oven temperature. Many home ovens run 10-15 degrees hot. Use an oven thermometer to ensure you are truly at 180°C. Also, make sure you aren't over measuring your flour always fluff the flour first before scooping, or better yet, use a scale.
Common Mistakes Checklist:
- ✓ Ensure eggs are room temperature (dip in warm water if needed)
- ✓ Sift the cocoa and flour to prevent "flour bombs" in the small bites
- ✓ Don't use a hand mixer; a manual whisk gives you better control over aeration
- ✓ Let the bites rest in the pan for 10 minutes before attempting to remove them
- ✓ Use Dutch processed cocoa for the specific pH balance required for this texture
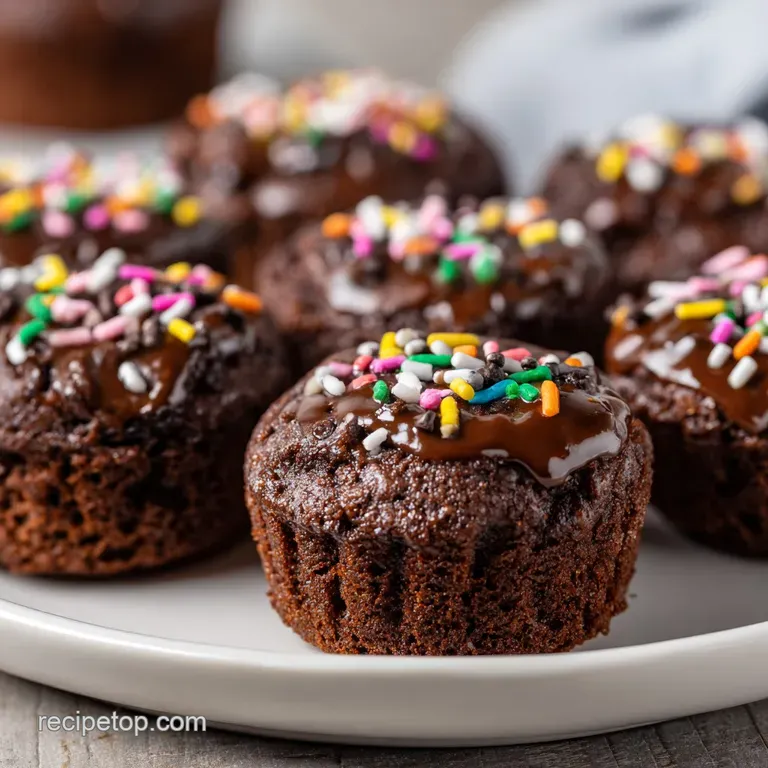
Easy ways to customize treats
Once you've mastered the base brownie bites bliss recipe, you can start getting creative with the "Bliss" variations.
- Stuffed Brownie Bites Recipe: Press a single raspberry or a small cube of cream cheese into the center of the batter before baking.
- Nutella Brownie Bites Recipe: Swirl a half teaspoon of Nutella into the top of each cup using a toothpick before sliding the tray into the oven.
- The Salted Caramel Twist: Drop a small piece of soft caramel into the center and sprinkle with flaky sea salt immediately after baking.
If you enjoy experimenting with brownie variations, you have to try my Banana Bread Brownies recipe. It combines that fudgy chocolate base with the moisture and sweetness of overripe bananas for a totally different experience.
| Servings | Ingredient Adjustments | Pan Size | Cook Time |
|---|---|---|---|
| 12 Bites | Half all ingredients (use 1 egg) | 12 cup mini tin | 11 minutes |
| 24 Bites | Standard recipe (use 2 eggs) | 24 cup mini tin | 12 minutes |
| 48 Bites | Double recipe (use 4 eggs) | Two 24 cup tins | 14 minutes (rotate tins) |
For large parties, I usually double the recipe and do two separate bakes. Don't try to crowd your oven with too many trays at once, as the airflow will be restricted, and you won't get that perfect crinkle top we're aiming for.
Keep your brownie bites fresh
Since this recipe is so moisture rich, these bites stay fresh longer than your average cookie. However, they are best enjoyed within the first 48 hours for that contrast between the crispy top and fudgy center.
Storage: Keep them in an airtight container at room temperature for up to 4 days. If you live in a very humid climate, you can store them in the fridge, but let them come back to room temperature before eating so the butter softens.
Freezing: These are amazing freezer treats! Wrap them individually in plastic wrap and store in a freezer bag for up to 3 months. You can eat them straight from the freezer for a "fudge pop" experience, or zap them in the microwave for 10 seconds.
Zero Waste: If you end up with crumbs or broken pieces, don't throw them away! I love to fold them into softened vanilla ice cream or use them as a "crust" for a chocolate cheesecake. You can also dry out any stale bites in a low oven and pulse them into "brownie croutons" for a dessert salad.
Serve and plate your desserts
Presentation is everything when it comes to "bliss" treats. For a professional look, dust the finished bites with a tiny bit of powdered sugar or a drizzle of melted white chocolate.
If you're hosting a party, serve these alongside something salty like my Buffalo Chicken Dip recipe. The contrast between the spicy, savory dip and the rich, sweet brownie bites is always a hit with my friends. I usually arrange them on a wooden board with some fresh strawberries and sprigs of mint to make the deep chocolate color pop.
One final myth to debunk: many people think you have to wait until brownies are stone cold to enjoy them. While they do set better as they cool, there is nothing quite like a slightly warm brownie bite with a cold glass of milk. The center is almost molten, and the aroma is at its peak.
Just make sure you give them that initial 10 minute rest in the pan so they don't fall apart when you pick them up!

Recipe FAQs
What's the secret to perfectly chewy brownie bites?
Use melted butter to bloom the cocoa. Pouring hot, melted butter over the cocoa powder releases its deep flavor compounds without over developing the flour. This method keeps the overall gluten structure weak, resulting in that dense, chewy interior rather than a cakey crumb.
What are the ingredients in to bite brownies?
The core ingredients are flour, sugar, cocoa, eggs, and butter. This recipe relies on a high ratio of fat (melted butter) to flour (65g) to ensure the texture remains fudgy and dense, perfect for a single bite.
What is in a Killer brownie?
A "killer" brownie focuses on intense chocolate flavor and a signature crinkle top. This is achieved by dissolving the sugar fully into hot melted butter and whisking the eggs vigorously to create a stable emulsion before gently folding in the flour.
What are the ingredients in little bite brownies?
They require minimal flour (65g) and primarily use cocoa powder for structure and flavor. The recipe heavily depends on room temperature eggs and hot melted butter to form the essential fudgy matrix, avoiding leavening agents like baking soda.
How do I prevent the shiny top from cracking too much during cooling?
Let them rest in the pan for the full 10 minutes before removal. The rapid temperature change causes cracking; allowing them to cool slightly stabilizes the sugar crust gradually. If you master this temperature control here, you'll see similar benefits when cooking proteins, like in our Lemon Herb Baked recipe.
Is it true I can use natural cocoa powder instead of Dutch processed?
No, this is a common misconception for this specific recipe. Dutch processed cocoa is neutralized, leading to a darker color and smoother, less acidic chocolate taste that pairs better with the high sugar content. Natural cocoa will result in a lighter, tangier flavor.
How can I make these ahead for a party?
Prepare the batter completely and chill it for up to 24 hours before baking. The cold batter might require about 1-2 extra minutes in the oven, so keep an eye on the edges. Storing the baked bites is also simple; they maintain freshness for four days in an airtight container.
Brownie Bites Bliss Recipe

Ingredients:
Instructions:
Nutrition Facts:
| Calories | 87 kcal |
|---|---|
| Protein | 1.2 g |
| Fat | 4.6 g |
| Carbs | 11.5 g |
| Fiber | 0.6 g |
| Sugar | 8.3 g |
| Sodium | 24 mg |
