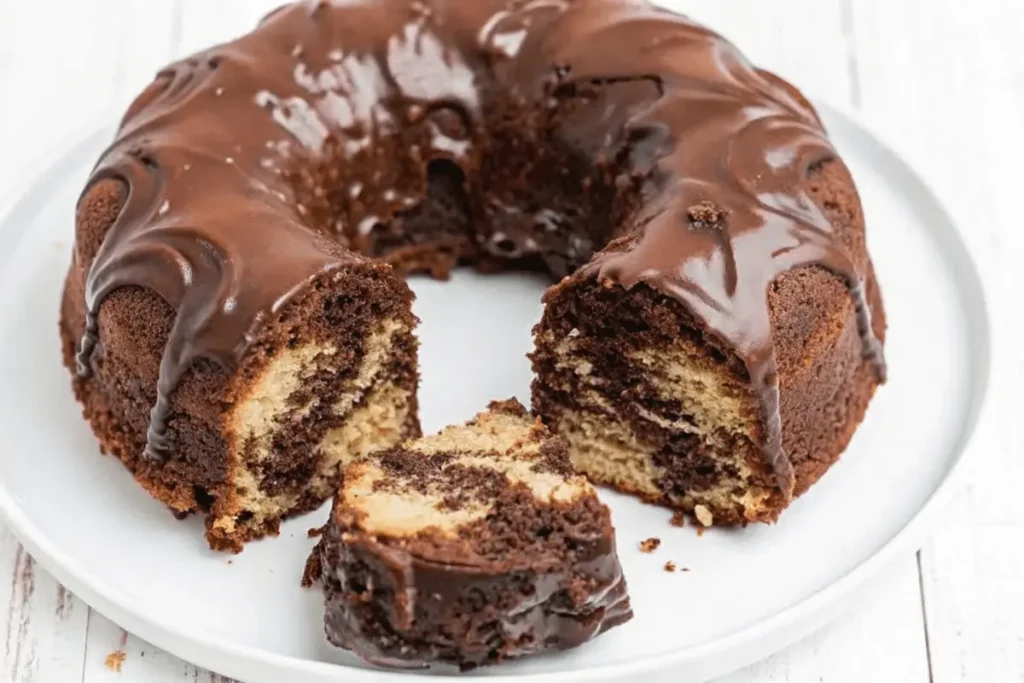
There’s something magical about baking. The way the aroma fills the kitchen, the anticipation of that first bite—it’s pure joy. For me, nothing beats the satisfaction of creating a dessert that brings smiles to every face at the table.

Today, I’m sharing my signature Sour Cream Chocolate Cake. This isn’t just any dessert; it’s a masterpiece of moistness and rich flavor. The secret? A generous dollop of sour cream that ensures every bite is tender and unforgettable.
This recipe is a family favorite, and it’s incredibly easy to make. Whether you’re baking for a special occasion or just because, this chocolate cake will always hit the spot. Let’s dive into the magic of homemade baking together!
My Journey with the Sour Cream Chocolate Cake
I never imagined how one ingredient could change everything. When I first stumbled upon the idea of adding sour cream to a chocolate cake, I was skeptical. Would it make the dessert taste tangy? Would it ruin the texture? These questions lingered in my mind as I prepared the batter.

To my surprise, the cake came out with a moist crumb that was unlike anything I’d baked before. The texture was rich and fudgy, and there wasn’t a hint of tanginess. It was a game-changer. That moment made me realize how a simple addition could elevate a classic recipe.
Why I Fell in Love with This Recipe
What truly won me over was the way the sour cream transformed the cake. It added a level of moisture that kept every bite tender. Friends and family couldn’t stop raving about it. Their feedback reinforced my belief in this recipe’s magic.
The Secret Behind Its Moist, Fudgy Crumb
The key lies in the fat content of the sour cream. It binds the ingredients together, creating a velvety batter that bakes into perfection. Even a small amount makes a big difference. This discovery has made this chocolate cake a staple in my kitchen.
Essential Ingredients & Must-Have Tools
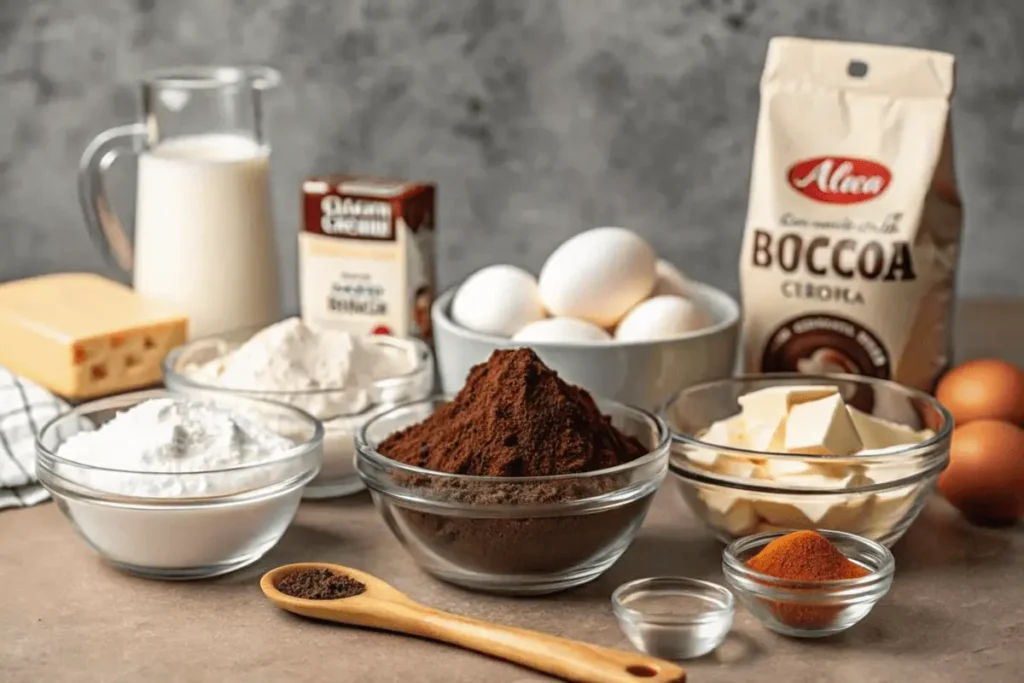
Baking becomes effortless when you have the right ingredients and tools. For this recipe, I rely on simple, everyday items that bring out the best in every bite. Let’s dive into what you’ll need to create this masterpiece.
Handpicked Ingredients for Rich Flavor
The key to a moist and flavorful dessert lies in the quality of your ingredients. Start with unsalted butter and cocoa powder for a deep, rich taste. Adding a touch of vanilla extract enhances the overall flavor profile.

Don’t forget the sour cream—it’s the secret to keeping the texture tender. A pinch of baking soda ensures the cake rises perfectly, while granulated sugar balances the richness.
Kitchen Tools That Make Baking a Breeze
Having the right tools on hand makes the process smooth and enjoyable. A large mixing bowl is essential for combining ingredients evenly. I also recommend a 9×13-inch pan for even baking and easy serving.
Precision is key, so use measuring cups and spoons for accurate portions. A hand mixer saves time and effort, while a saucepan is perfect for melting ingredients. With these tools, you’re ready to bake like a pro.
Detailed Baking Process & Techniques
Creating a dessert masterpiece starts with the right process. From mixing the batter to baking and frosting, every step matters. Let’s dive into the details to ensure your chocolate cake turns out perfectly every time.
Step-by-Step Mixing and Preparation
Begin by melting butter in a saucepan with cocoa powder and water. This creates a smooth base for your batter. Once melted, transfer the mixture to a large bowl and add sugar, eggs, and vanilla. Whisk until well combined.
Next, gradually add flour, baking soda, and a pinch of salt. Mix until just combined to avoid overworking the batter. Finally, fold in sour cream for that signature moist texture. The result? A velvety batter ready for the oven.
Baking Time, Temperature, and Testing for Doneness
Preheat your oven to 350°F and grease a 9×13-inch pan. Pour the batter evenly into the pan and smooth the top. Bake for about 35 minutes, or until a toothpick inserted into the center comes out clean.
Keep an eye on the cake during the last few minutes. Oven temperatures can vary, so adjust the time if needed. Once baked, let it cool in the pan for 10 minutes before transferring to a wire rack.
Preparing the Perfect Chocolate Frosting
While the cake cools, prepare the frosting. Melt chocolate with heavy cream in a saucepan over low heat. Stir until smooth and glossy. Let it cool slightly before spreading it over the cake.
For a professional finish, use an offset spatula to create even layers. The frosting should be spreadable but not too runny. This step adds the final touch to your cream chocolate cake.
Creative Frosting Ideas & Serving Suggestions
The final touch of any dessert is what makes it unforgettable. When it comes to this chocolate cake, the frosting and presentation can take it from delicious to extraordinary. Let’s explore some creative ways to make your dessert stand out.
Extra Twists for a Dazzling Presentation
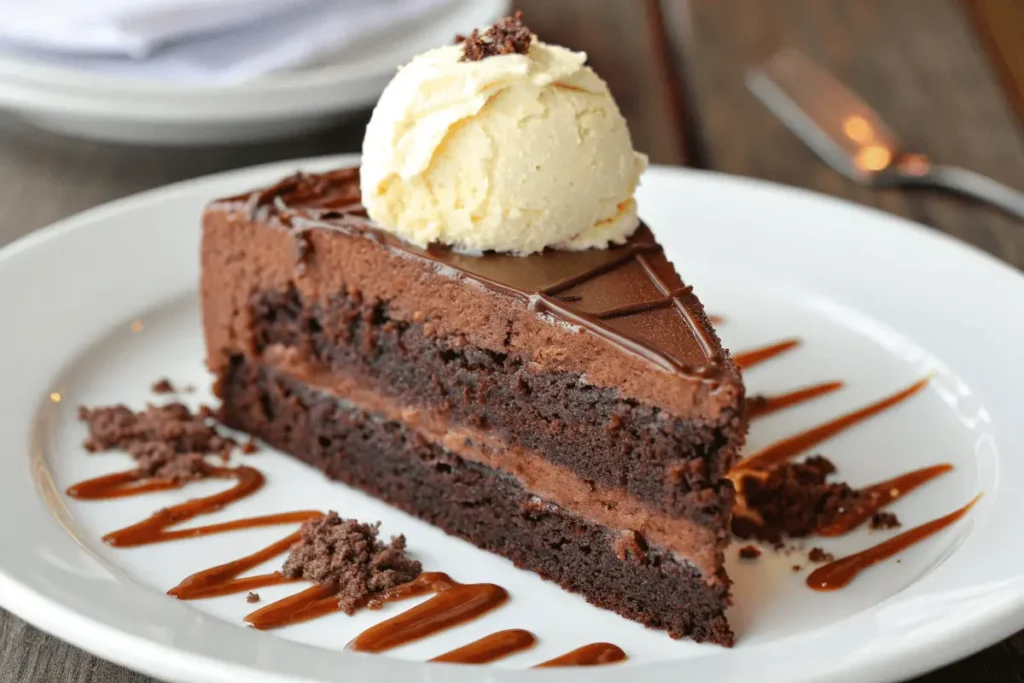
One of my favorite ways to personalize this recipe is by experimenting with frosting. While a classic chocolate frosting is always a winner, you can try a light glaze or even a whipped cream topping for a different vibe. Adding a drizzle of caramel or a sprinkle of cocoa powder can also enhance the flavor and look.
For a fun twist, consider adding colorful sprinkles or edible flowers. These small touches make the dessert visually appealing and perfect for celebrations. If you’re feeling adventurous, a dusting of powdered sugar or a few chocolate shavings can add elegance.
When it comes to serving, pairing a slice with a scoop of vanilla ice cream is a crowd-pleaser. The contrast of warm cake and cold ice cream creates a delightful experience. You can also serve it with fresh berries or a dollop of whipped cream for a refreshing touch.
To achieve a smooth, professional finish on your frosting, let the cake cool completely before applying it. Use an offset spatula to spread it evenly, and don’t be afraid to get creative with patterns or swirls. Remember, the presentation is just as important as the taste.
Personalizing the final look of your dessert ensures every slice is as delightful to the eyes as it is to the palate. Whether you’re baking for a special occasion or just because, these ideas will make your cream chocolate cake truly unforgettable.
Conclusion
This recipe is a game-changer for any baking enthusiast. With Sour Cream Chocolate Cake and quality ingredients, it delivers a moist, fudgy texture that’s hard to resist. Even if you’re new to baking, the step-by-step process makes it simple to achieve perfection.
For best results, store leftovers in the fridge to maintain freshness. This dessert is versatile, perfect for birthdays, holidays, or just a sweet treat. Let it sit at room temperature before serving to enjoy its balanced flavors fully.
Feel free to tweak the recipe to suit your taste. Add a sprinkle of cocoa powder or experiment with different frostings. I’d love to hear how you make it your own—share your creations and inspire others!
FAQ
What makes this cake so moist and fudgy?
The secret lies in using sour cream and cocoa powder. The sour cream adds richness and moisture, while the cocoa powder enhances the deep, indulgent flavor.
Can I substitute the sour cream with something else?
Yes, you can use plain yogurt or buttermilk as a substitute. Both will help maintain the cake’s moist texture, though the flavor might slightly differ.
How do I know when the cake is fully baked?
Insert a toothpick into the center of the cake. If it comes out clean or with a few crumbs, it’s done. Overbaking can dry it out, so keep an eye on the timer.
Can I make this recipe ahead of time?
Absolutely! You can bake the cake a day in advance. Just wrap it tightly in plastic wrap and store it at room temperature. Frost it before serving for the best results.
What’s the best way to store leftovers?
Keep the cake in an airtight container at room temperature for up to 2 days or refrigerate it for up to 5 days. Let it come to room temperature before serving for the best flavor.
Can I freeze this cake?
Yes, you can freeze it! Wrap the unfrosted cake tightly in plastic wrap and aluminum foil. It will stay fresh for up to 3 months. Thaw it in the fridge before frosting and serving.
What’s the best frosting to pair with this cake?
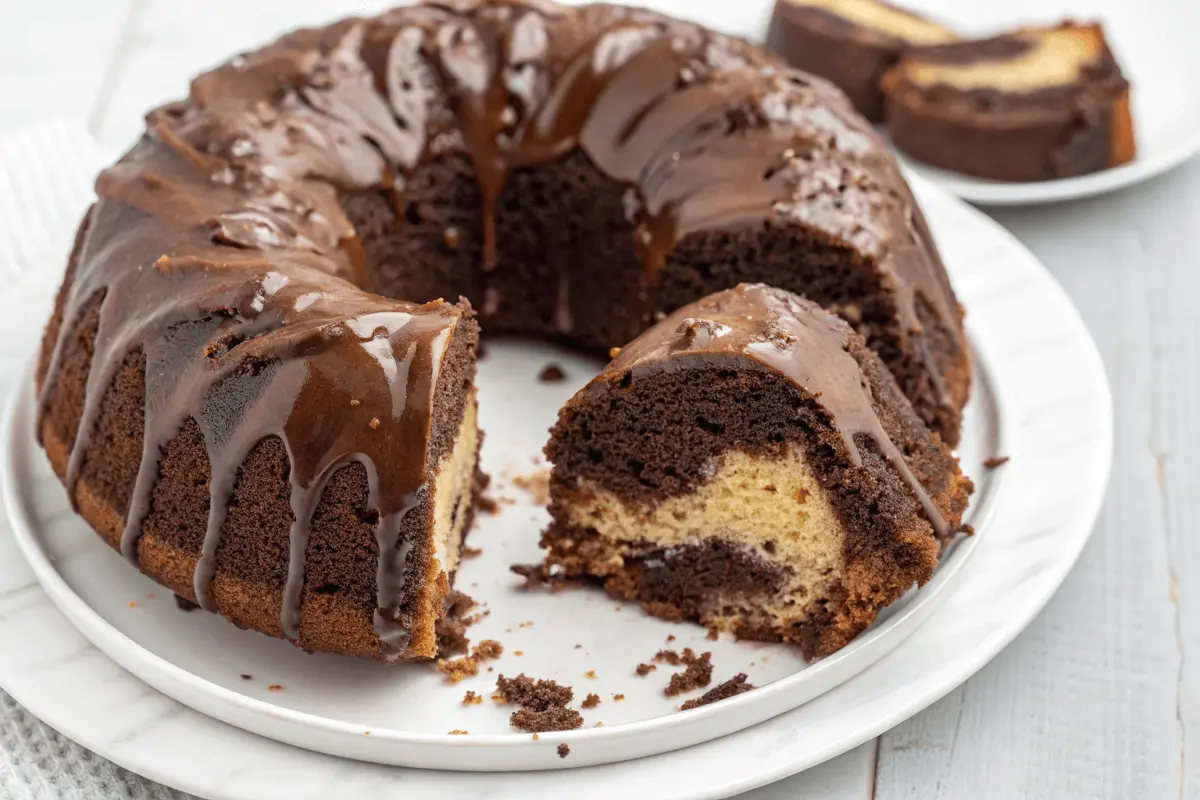
A classic chocolate ganache or cream cheese frosting works beautifully. Both complement the rich flavor and add a luxurious finish.
Can I use a different type of pan?
Sure! You can use a 9×13-inch pan, bundt pan, or even cupcake liners. Just adjust the baking time accordingly and keep an eye on the doneness.

