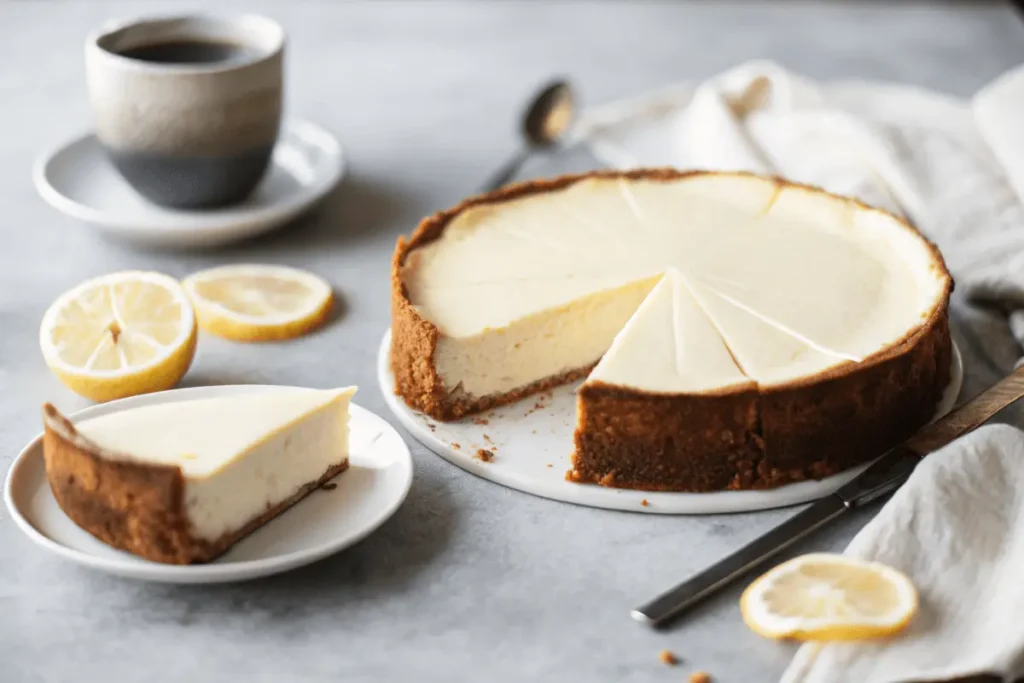
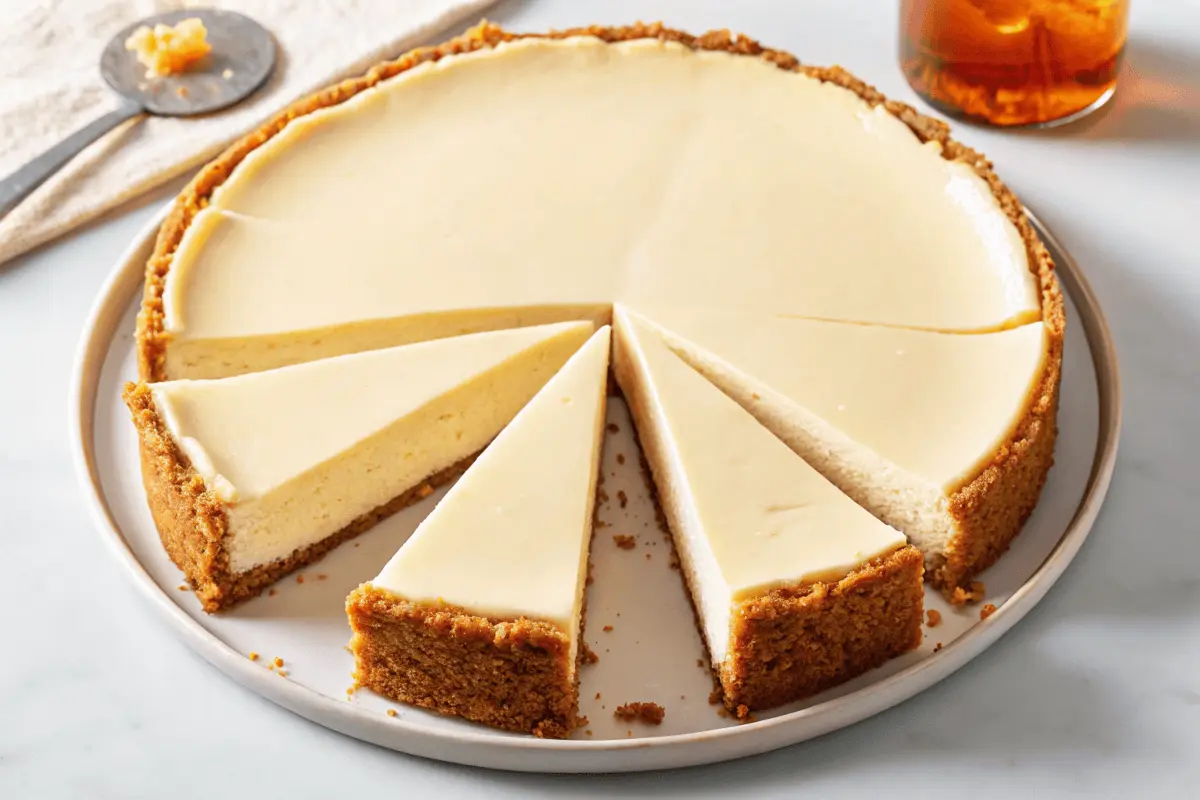
I’ve always had a sweet tooth, but finding desserts that fit my health goals has been a challenge. That’s why I decided to create a guilt-free treat that’s both delicious and nutritious. This easy recipe combines creamy textures with balanced flavors, making it a favorite in my kitchen.

What makes this dessert special is its simplicity. With just a few ingredients like cream cheese and Greek yogurt, you can whip up a rich and satisfying treat. Whether you prefer a classic crust or a crustless version, this recipe is flexible and perfect for any occasion.
Baking this dessert is a breeze, and the step-by-step instructions ensure success every time. It’s a crowd-pleaser that’s as easy to make as it is to enjoy. Let’s dive into this delicious recipe and create something truly special!
Introduction to My Protein-Packed Cheesecake Journey
Baking has always been my escape, but I wanted to create something that felt indulgent yet healthy. This journey began with a simple idea: transform classic desserts into nutritious treats without sacrificing flavor. My love for experimenting in the kitchen led me to discover the perfect balance between taste and health.
Why I Love Making Protein Cheesecake

What draws me to this recipe is its versatility. By swapping traditional ingredients for healthier alternatives, I’ve created a dessert that’s both satisfying and guilt-free. Using Greek yogurt and cream cheese as the base adds a creamy texture while boosting the nutritional value.
Here’s why this dessert stands out:
- It’s packed with flavor but light on calories.
- The ingredients are simple and easy to find.
- It’s perfect for anyone looking to enjoy a sweet treat without compromise.
The Inspiration Behind This Recipe
My inspiration came from a desire to enjoy desserts without the guilt. I started by tweaking traditional recipes, adding vanilla for a hint of sweetness and experimenting with a crust made from wholesome ingredients. Over time, this evolved into a recipe that’s become a staple in my kitchen.
This protein-packed dessert is more than just a treat—it’s a reflection of my passion for creating food that’s both delicious and nourishing.
Ingredients and Nutritional Benefits
Creating a dessert that’s both indulgent and healthy has been my mission. This recipe relies on a few key ingredients that not only enhance flavor but also pack a nutritional punch. Let’s dive into what makes this treat so special.
Key Ingredients
At the heart of this recipe is Greek yogurt, which adds a creamy texture while boosting the protein content. Combined with cream cheese, it creates a rich base that’s both satisfying and nutritious. Eggs are another essential component, helping to bind the mixture and give it structure.
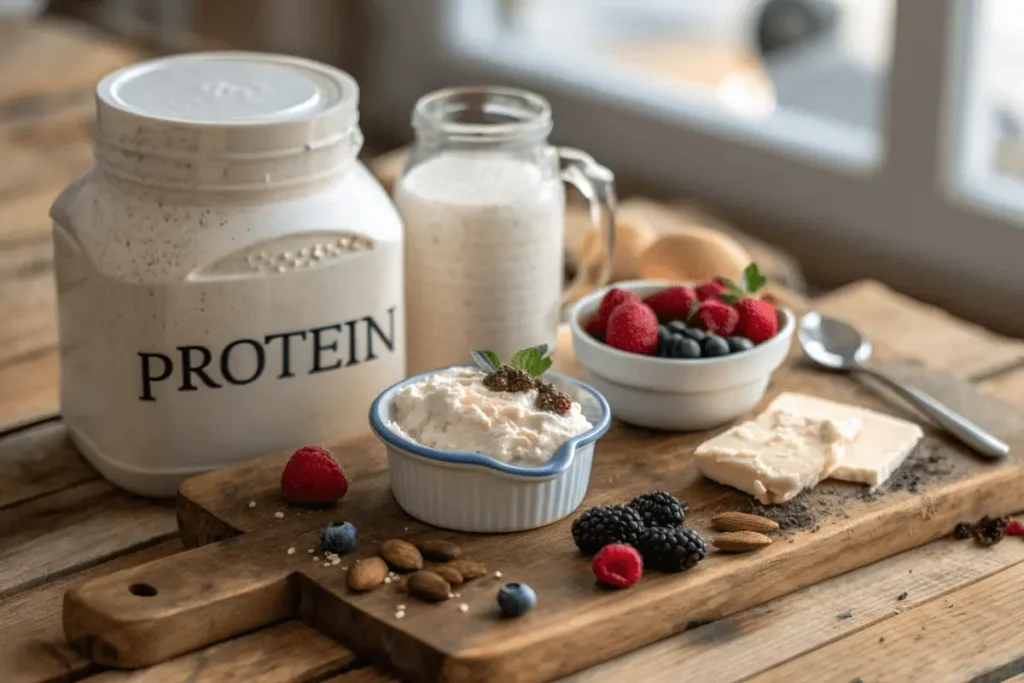
For those looking to amp up the protein even further, adding a scoop of protein powder is a great option. It blends seamlessly into the mix, enhancing the nutritional profile without altering the flavor. A touch of vanilla extract adds a hint of sweetness, while a natural sweetener like allulose keeps the sugar content low.

Nutritional Advantages
Each ingredient has been carefully chosen for its health benefits. Greek yogurt is packed with probiotics, which support gut health, while cream cheese provides a good source of calcium. Eggs are rich in essential amino acids, making them a complete protein source.
Using a natural sweetener like allulose helps keep the dessert low in sugar, making it a guilt-free option. The optional protein powder adds an extra boost, perfect for those looking to increase their daily intake. Together, these ingredients create a dessert that’s not only delicious but also nourishing.
Here’s a quick breakdown of the nutritional highlights per serving:
- High in protein, with 10 grams per slice.
- Low in carbs, with just 3 grams per serving.
- Contains essential vitamins and minerals like calcium and iron.
By selecting quality ingredients and keeping them at room temperature, you ensure a smooth and creamy texture every time. This dessert is proof that indulgence and health can go hand in hand.
Step-by-Step Protein Cheesecake Recipe
When it comes to baking, I’ve always believed that simplicity leads to perfection. This recipe is no exception. With a few easy steps, you can create a dessert that’s both indulgent and nutritious. Let’s walk through the process together.
Prepping the Crust and Filling
Start by preheating your oven to 325°F. While it heats, prepare your crust. You can use crushed protein cookies or go crustless for a lighter option. If using a crust, mix the crumbs with melted butter and press firmly into the bottom of your pan lined with parchment paper.
For the filling, ensure your cream cheese and Greek yogurt are at room temperature. This helps achieve a smooth texture. In a bowl, blend them together until creamy. Add vanilla extract and a natural sweetener for flavor. Gradually mix in protein powder to avoid clumps.
Baking and Perfecting the Texture
Pour the filling over the crust and smooth the top with a spatula. Bake for 45-60 minutes, or until the edges are set but the center still jiggles slightly. Turn off the oven, crack the door, and let it cool for 30 minutes. This prevents cracking.
Once cooled, refrigerate for at least 4 hours or overnight. This step is crucial for the perfect texture. Here’s a quick guide to baking times and temperatures:
| Step | Time | Temperature |
|---|---|---|
| Preheat Oven | 10 minutes | 325°F |
| Bake | 45-60 minutes | 325°F |
| Cool | 30 minutes | Oven off, door cracked |
With these steps, you’ll create a dessert that’s creamy, flavorful, and perfectly balanced. Enjoy every bite!
Enhancing Your Protein Cheesecake
Customizing desserts to fit my lifestyle has always been a passion of mine. This recipe is incredibly versatile, allowing you to add your own creative touches. Whether you’re looking to boost the nutritional value or simply make it more visually appealing, there are endless possibilities.
Optional Protein Boosts and Toppings
One of my favorite ways to enhance this dessert is by folding in an extra tablespoon of protein powder. This not only increases the protein content but also maintains the creamy texture. For a richer flavor, try drizzling almond or peanut butter on top. A marbled chocolate drizzle is another crowd-pleaser.
Here are some topping ideas to inspire you:
- Fresh berries for a burst of natural sweetness.
- Crushed nuts for added crunch and healthy fats.
- A light dusting of powdered sugar for a touch of elegance.
Serving Suggestions and Storage Tips
This dessert is perfect for any occasion. Serve it chilled with a dollop of Greek yogurt or a side of granola for added texture. If you’re hosting, consider slicing it into smaller portions for easy sharing.
To keep it fresh, store leftovers in an airtight container in the fridge for up to 5 days. For longer storage, wrap individual slices tightly and freeze for up to 3 months. Here’s a quick guide to storage:
| Storage Method | Duration |
|---|---|
| Refrigerator | Up to 5 days |
| Freezer | Up to 3 months |
With these tips, you can enjoy this delicious treat anytime. Get creative and make it your own!
Variations and Customizations for Protein Cheesecake
I love finding ways to adapt classic recipes to meet different dietary needs. This dessert is incredibly versatile, making it easy to customize for low-carb, gluten-free, or vegan lifestyles. With a few simple swaps, you can enjoy a treat that fits your preferences without compromising on taste.
Low Carb and Gluten-Free Options
For a low-carb or gluten-free version, start with the crust. Swap traditional graham crackers for almond flour or crushed nuts. These alternatives add a nutty flavor while keeping the carb count low. If you’re avoiding gluten, ensure your ingredients are certified gluten-free.
For the filling, use a natural sweetener like monk fruit or erythritol. These options provide sweetness without the added calories or carbs. Here’s a quick guide to ingredient swaps:
| Original Ingredient | Low-Carb/Gluten-Free Swap |
|---|---|
| Graham Crackers | Almond Flour |
| Sugar | Monk Fruit Sweetener |
| Regular Yogurt | Greek Yogurt (Low-Carb) |
Vegan and Dairy-Free Alternatives
Creating a vegan or dairy-free version is just as simple. Replace cream cheese with plant-based alternatives like cashew or almond-based spreads. For the yogurt, opt for thick coconut or soy yogurt. These swaps maintain the creamy texture while keeping the dessert dairy-free.
To enhance the flavor, add a splash of vanilla extract or a drizzle of nut butter. These small touches ensure the dessert remains indulgent and satisfying. Here’s a quick comparison of dairy and plant-based options:
| Dairy Ingredient | Vegan/Dairy-Free Swap |
|---|---|
| Cream Cheese | Cashew-Based Spread |
| Greek Yogurt | Coconut Yogurt |
| Butter | Coconut Oil |
These adaptations allow everyone to enjoy this delicious treat, regardless of dietary restrictions. Get creative and make it your own!
Conclusion
Desserts can be both indulgent and nutritious, and this recipe proves it. My journey to create a healthier treat has been rewarding, and I’m thrilled to share it with you. This protein-packed dessert is not only easy to make but also delicious and satisfying.
With its simple ingredients and flexible options, you can customize it to fit your preferences. Whether you’re adding fresh berries or experimenting with a gluten-free crust, the possibilities are endless. I encourage you to try it and make it your own.
If you do, I’d love to hear about your experience! Leave a comment, share your creations on social media, and tag me. This cheesecake is more than just a recipe—it’s a way to enjoy a modern twist on a classic treat.
Stay tuned for more of my high-protein dessert ideas. Happy baking!
FAQ
Can I use Greek yogurt instead of cream cheese?
Yes, you can! Greek yogurt is a great substitute for cream cheese. It adds a tangy flavor and keeps the dessert light while boosting its nutritional value.
What’s the best way to store this dessert?
I recommend keeping it in an airtight container in the fridge. It stays fresh for up to 5 days. You can also freeze it for longer storage.
Can I make this recipe gluten-free?
Absolutely! Swap the regular crust with almond flour or gluten-free cookie crumbs. It’s an easy way to cater to dietary needs without losing flavor.
How can I add more fiber to this recipe?
I like mixing in chia seeds or flaxseed meal into the crust. It’s a simple way to increase fiber content while keeping the texture delicious.
Can I use a sugar substitute?
Definitely! Stevia, erythritol, or monk fruit sweetener work well. They keep the sweetness without adding extra calories.
What’s the best way to serve this dessert?
I love topping it with fresh berries, a drizzle of sugar-free chocolate, or a dollop of whipped cream. It’s a perfect way to enhance the flavor and presentation.
Can I make this recipe vegan?
Yes! Use plant-based cream cheese and a flax egg as substitutes. It’s a great way to enjoy a dairy-free version of this treat.
How do I prevent cracks while baking?
I bake it in a water bath and let it cool gradually in the oven. This helps maintain a smooth, crack-free surface.

